
Have a question?
Support Categories
- Account and Billing
- Email setup
- Security
- Settings menu & tips
- Troubleshooting
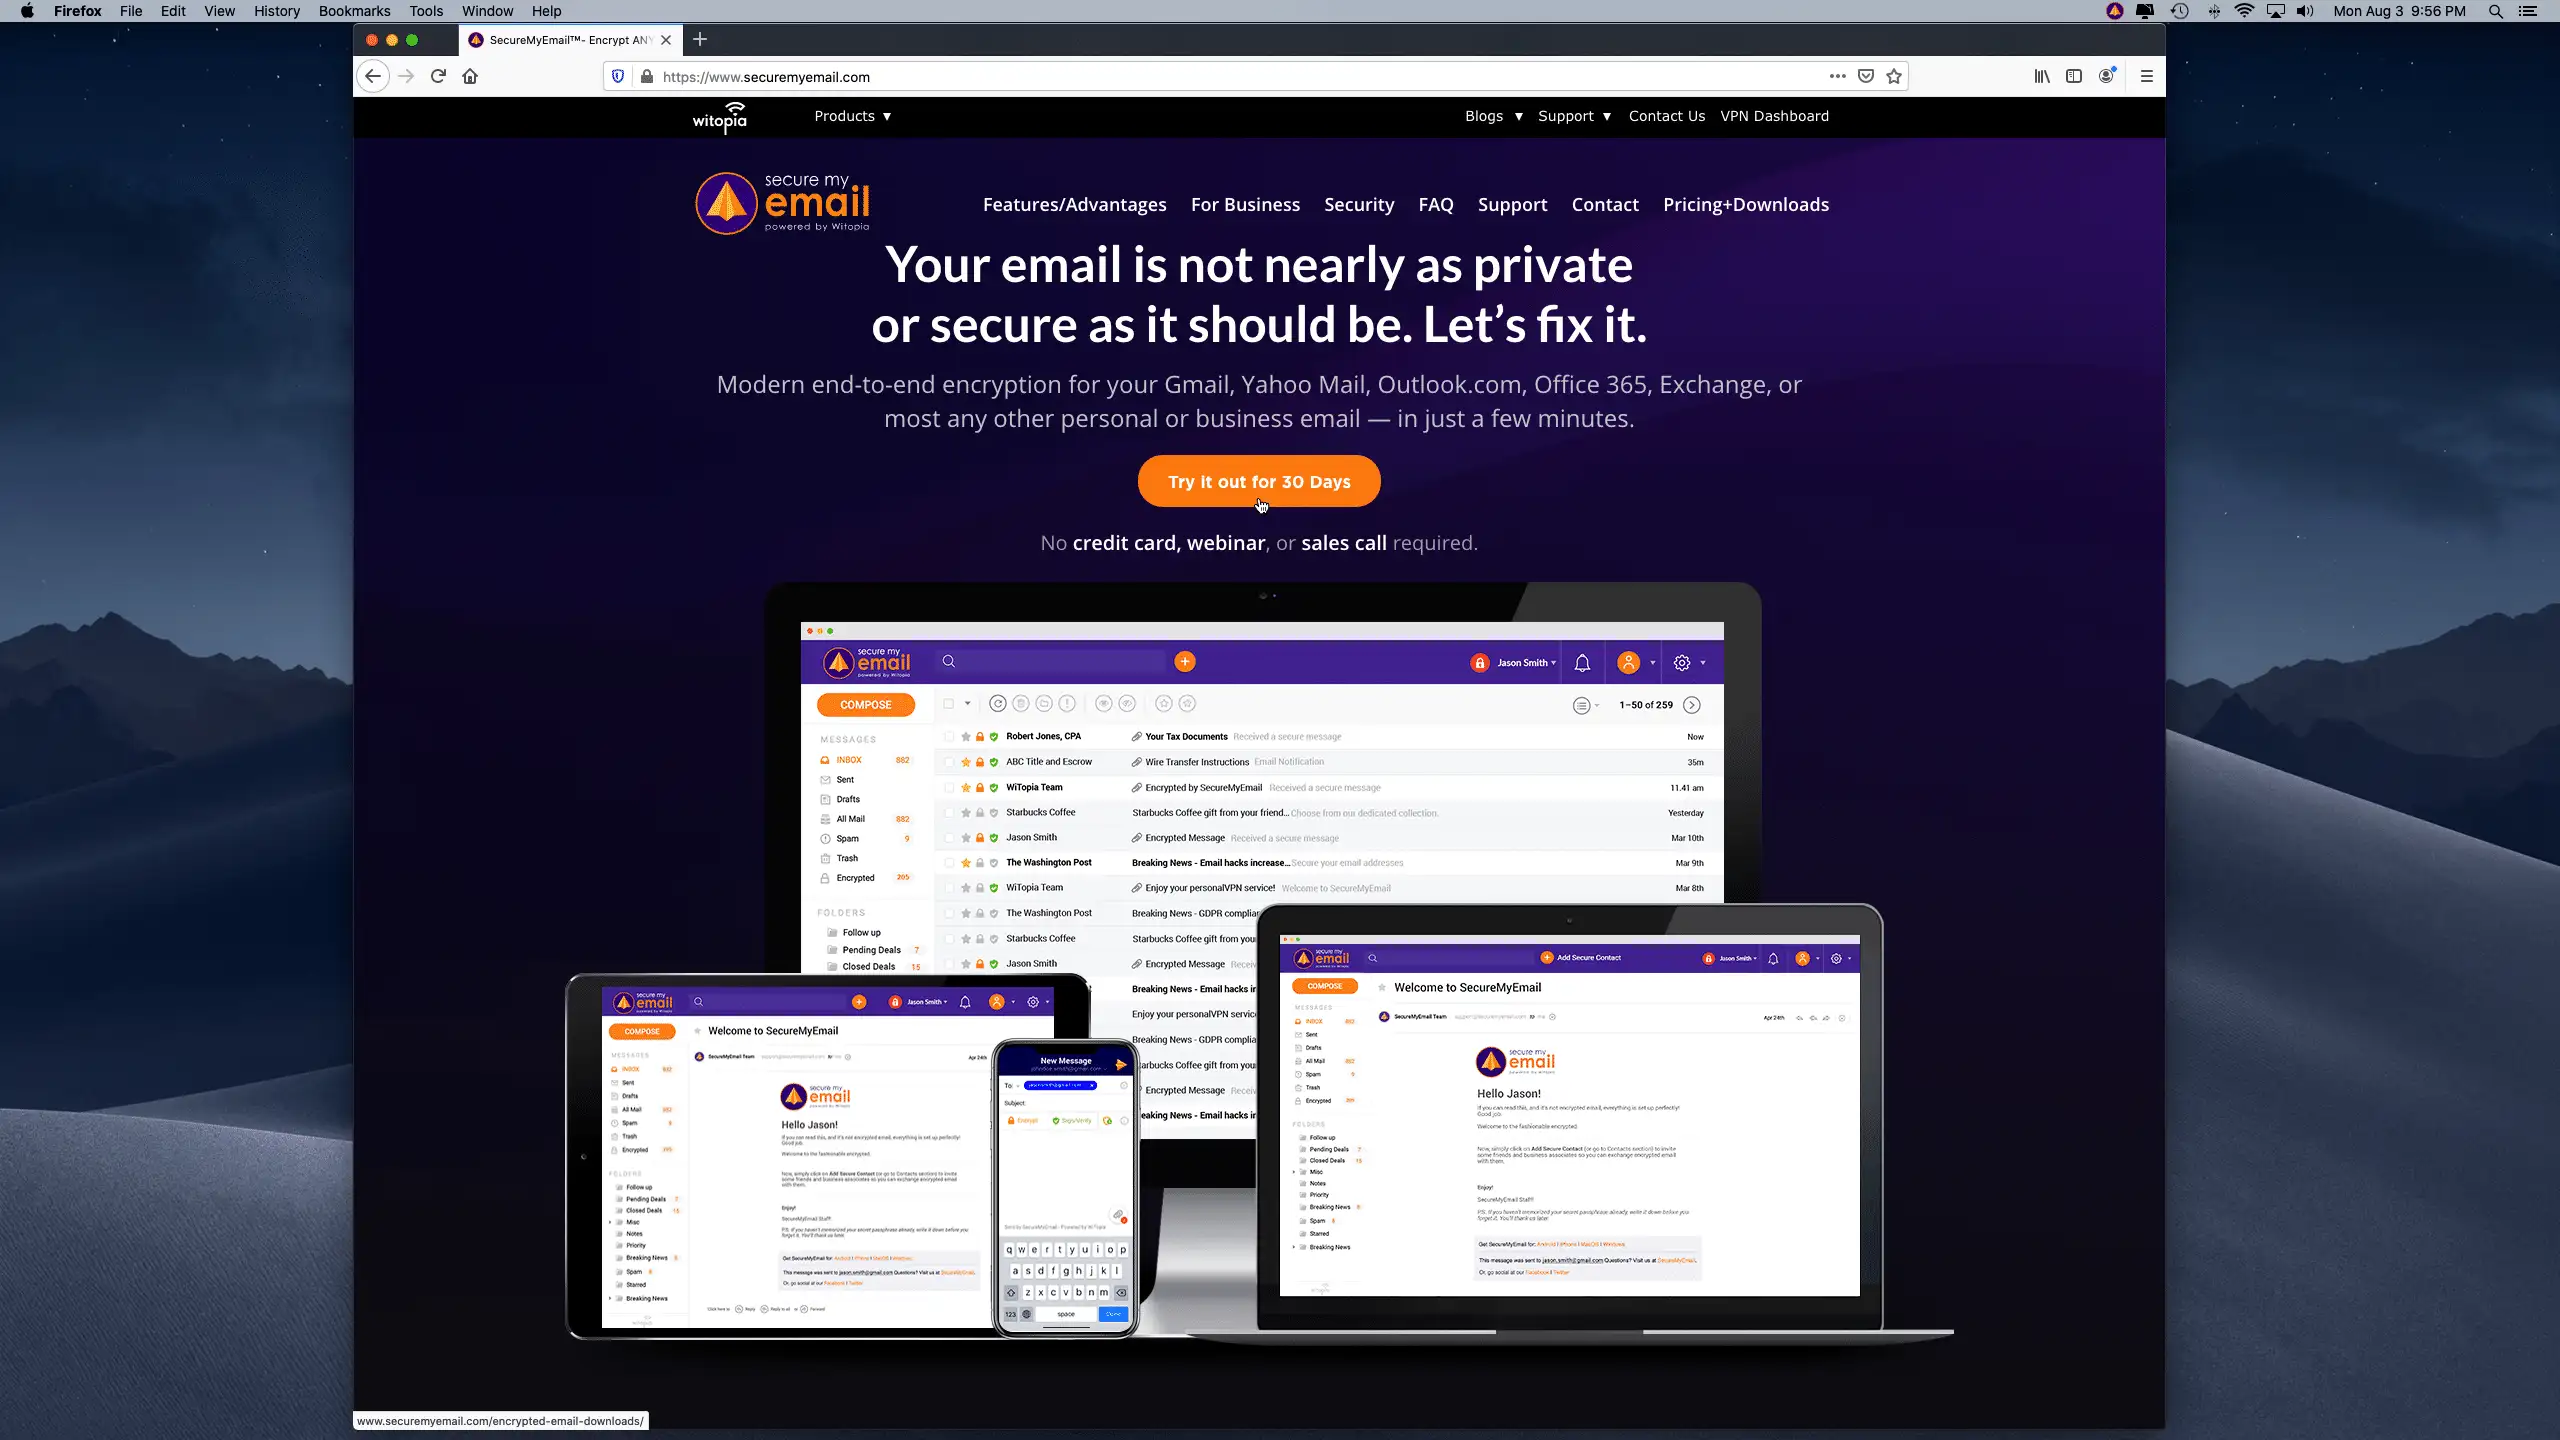
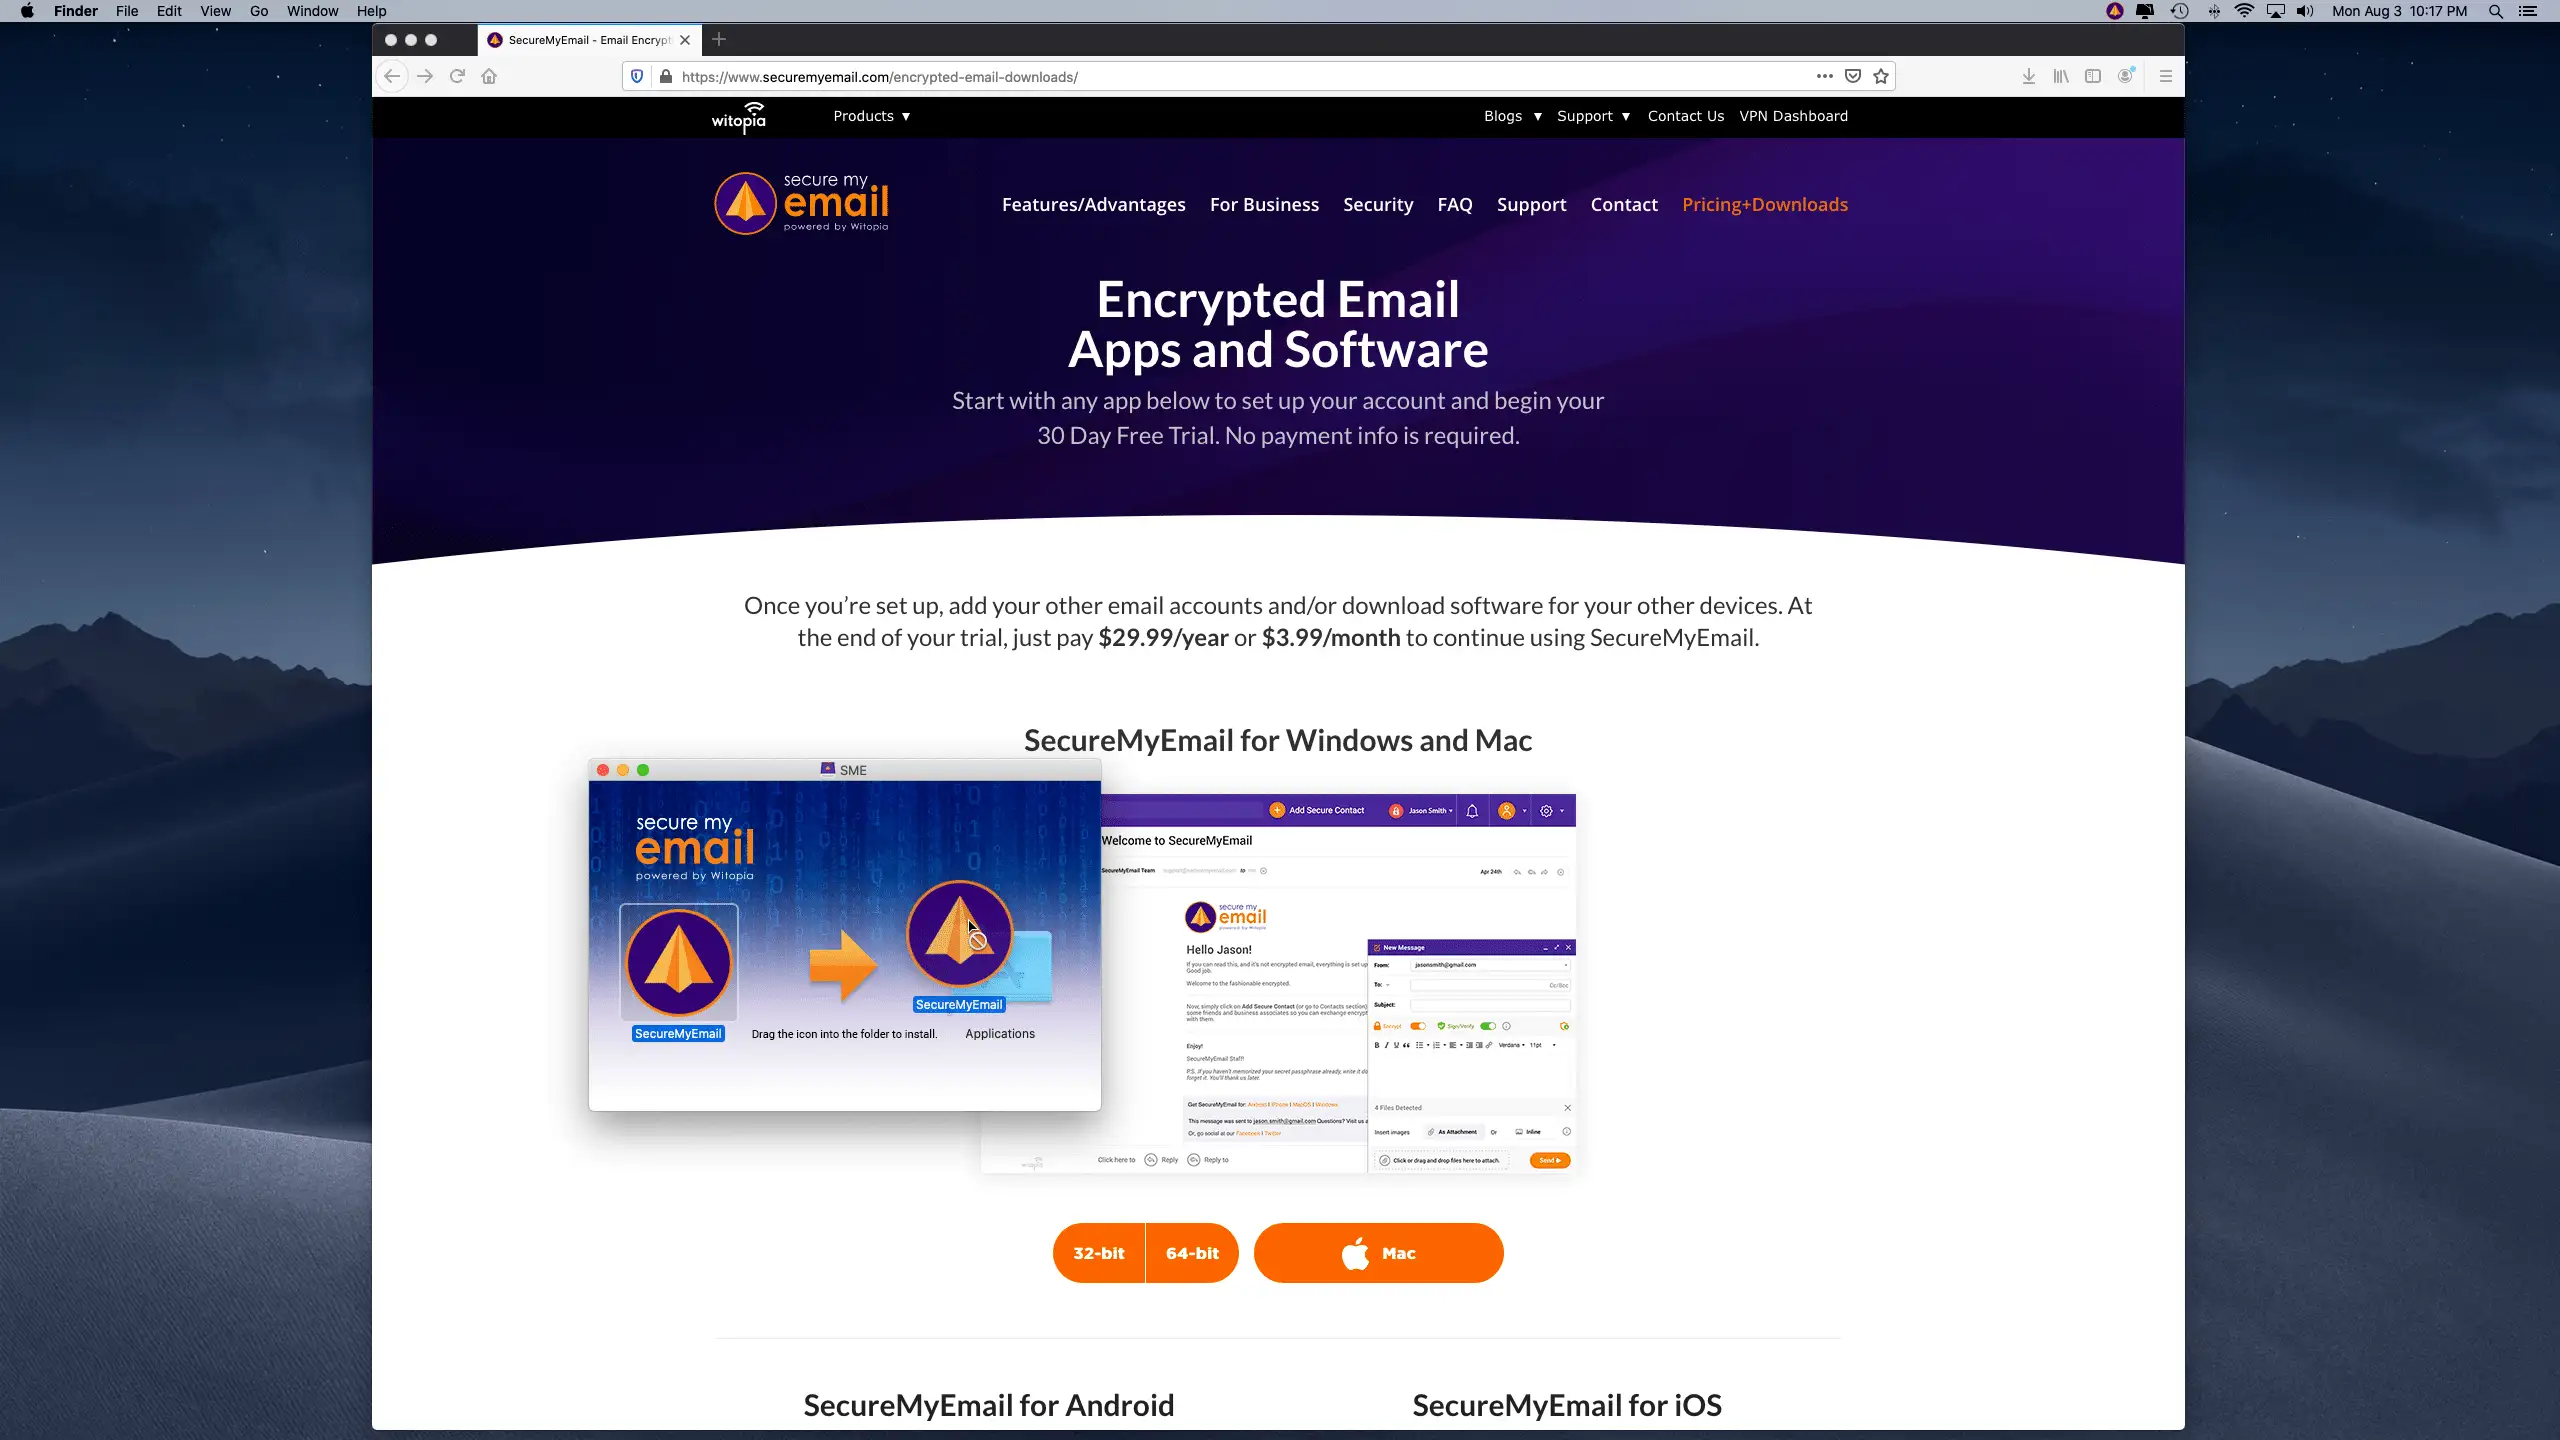
How to set up Encrypted Email on a Mac or PC

Hello there. Here is an overly-detailed step-by-step guide showing how to set up encrypted email with SecureMyEmail™ on a Mac or PC. 🙂
NOTE: If you’re used to installing software on your computer, it’s doubtful you’ll need this guide, and think the steps are way way too granular. Just go download the SecureMyEmail software and jump right in. We made it very intuitive and it’s free to try (and free to keep if you use Gmail, Yahoo, or most Microsoft email domains).
This was done on an iMac with a Gmail account but, because we’re geniuses ;-), the apps and setup are nearly identical for ease of setup on all your devices.
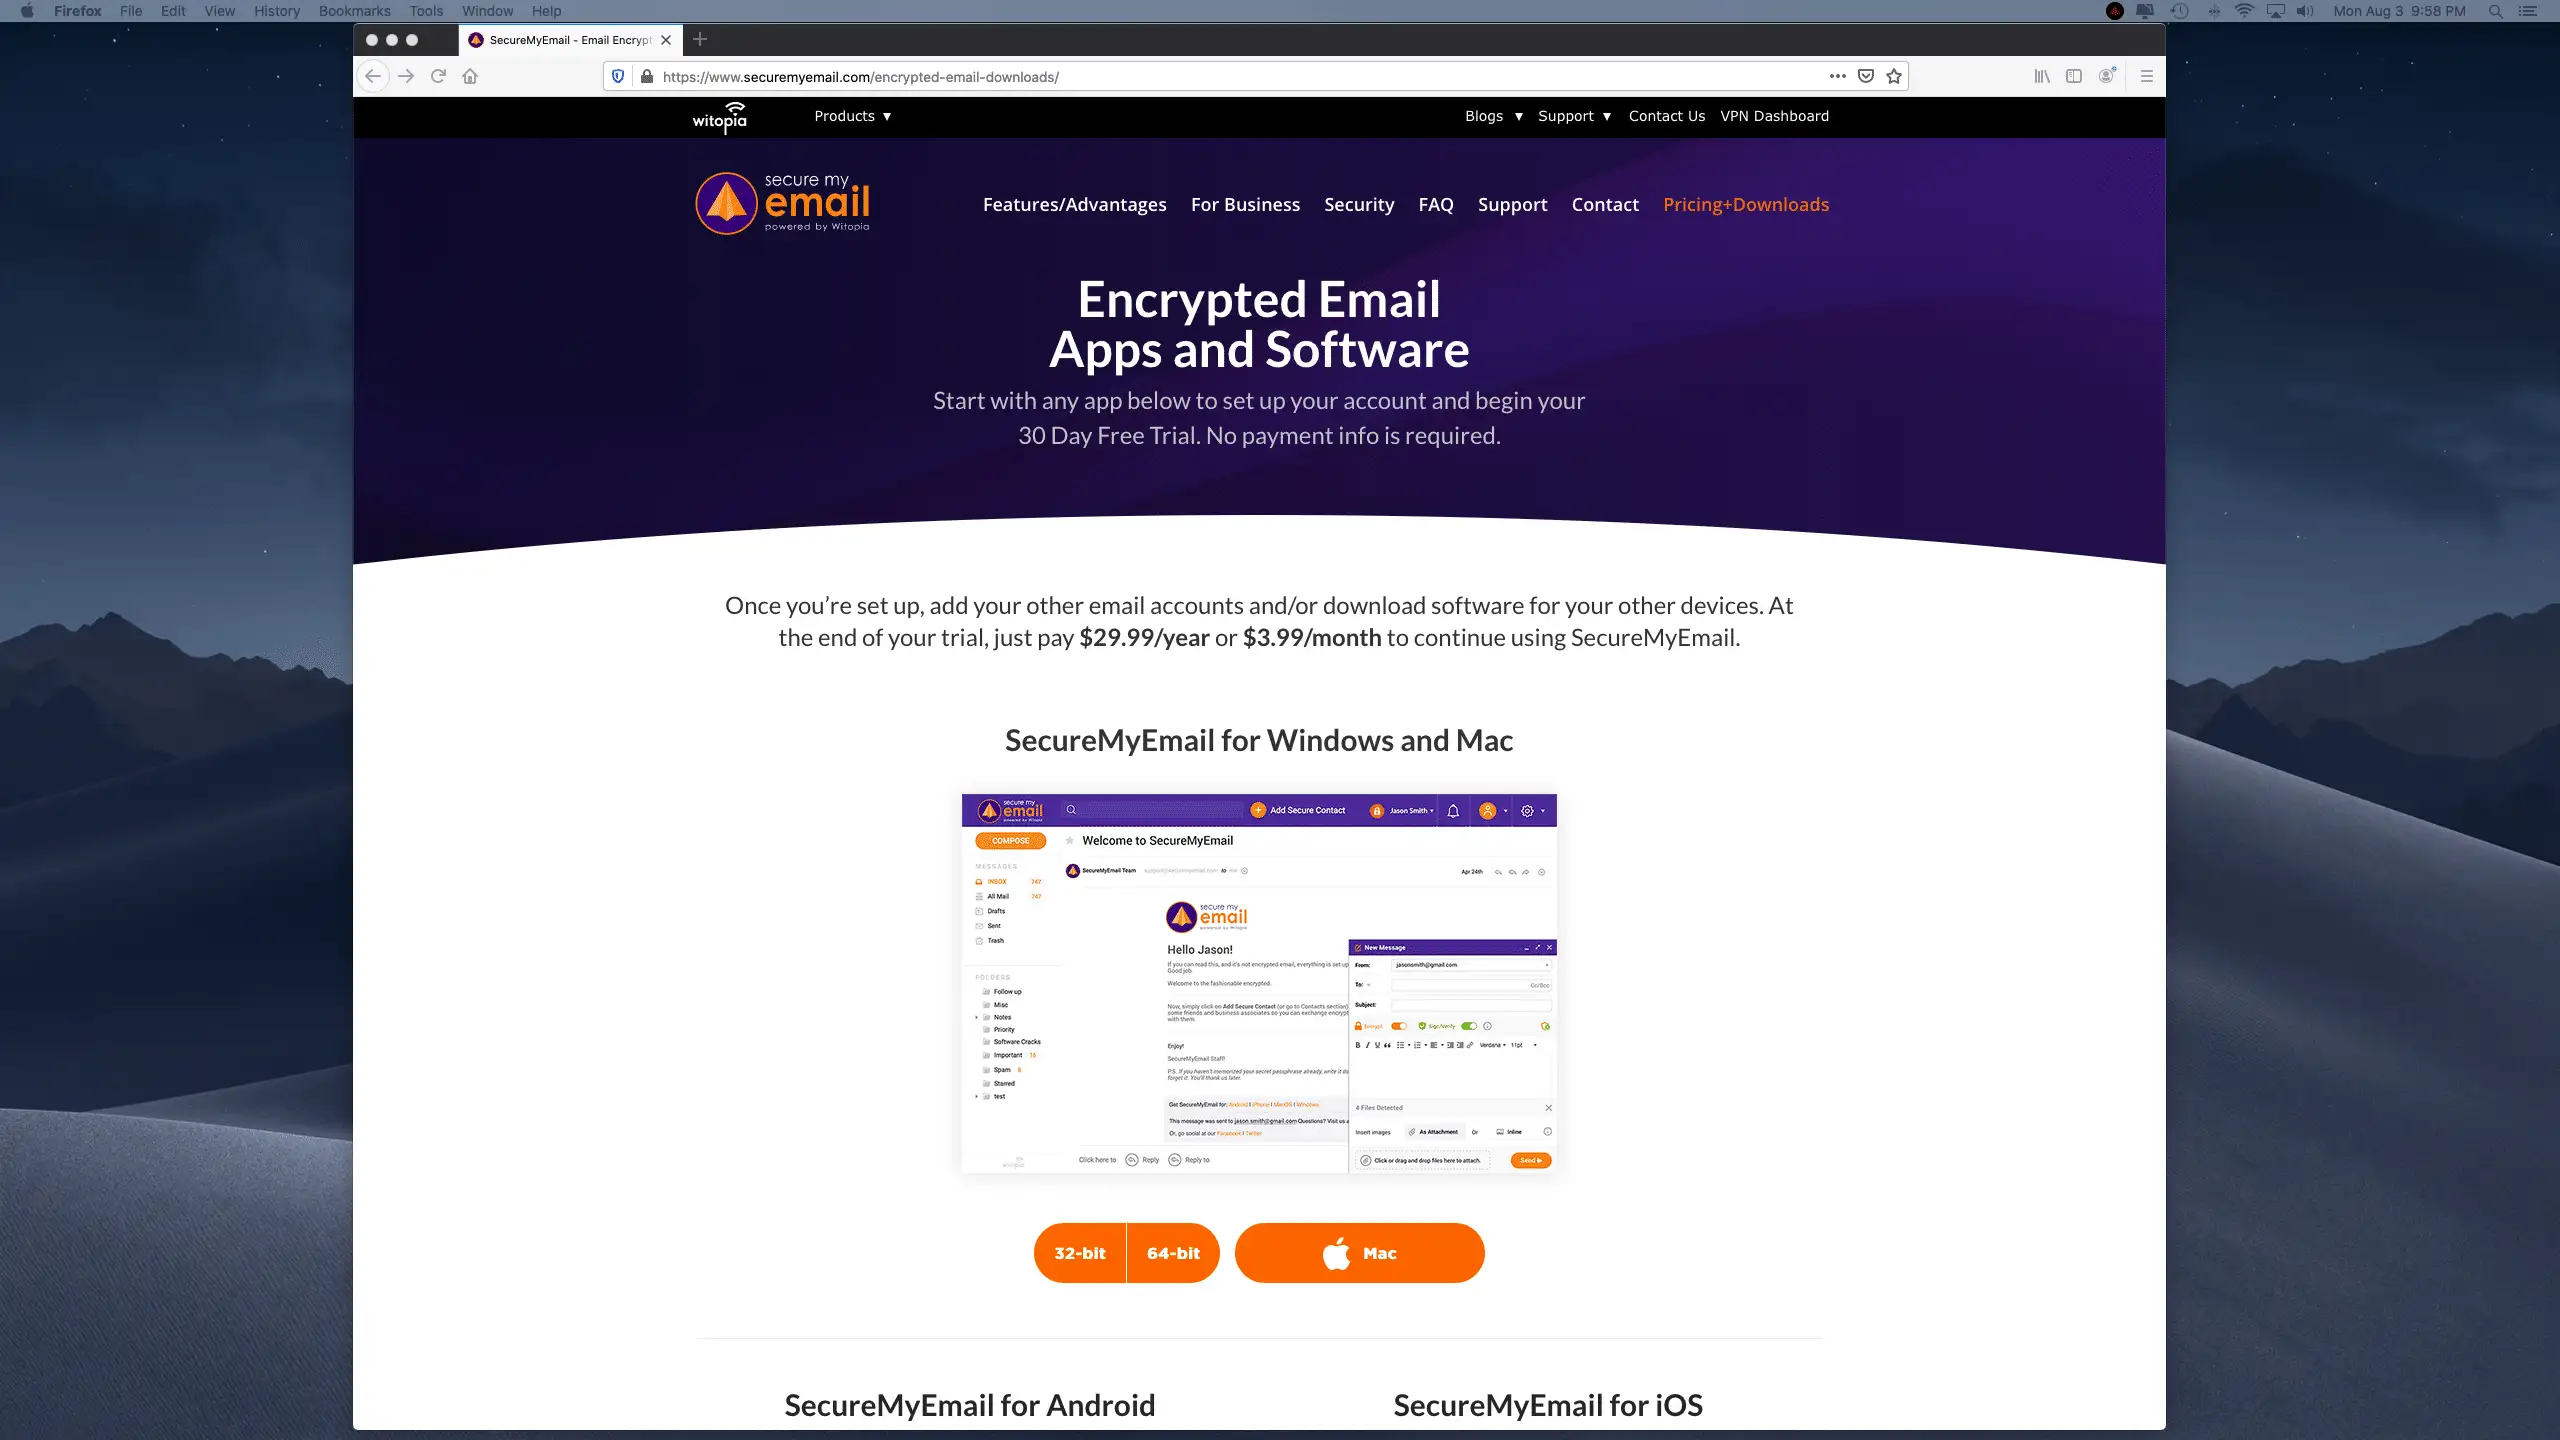
1. If you don’t have the software installed yet, go to our main website and click on “Pricing + Downloads, or just click here.
2. Click on the compatible software for your device and download it.
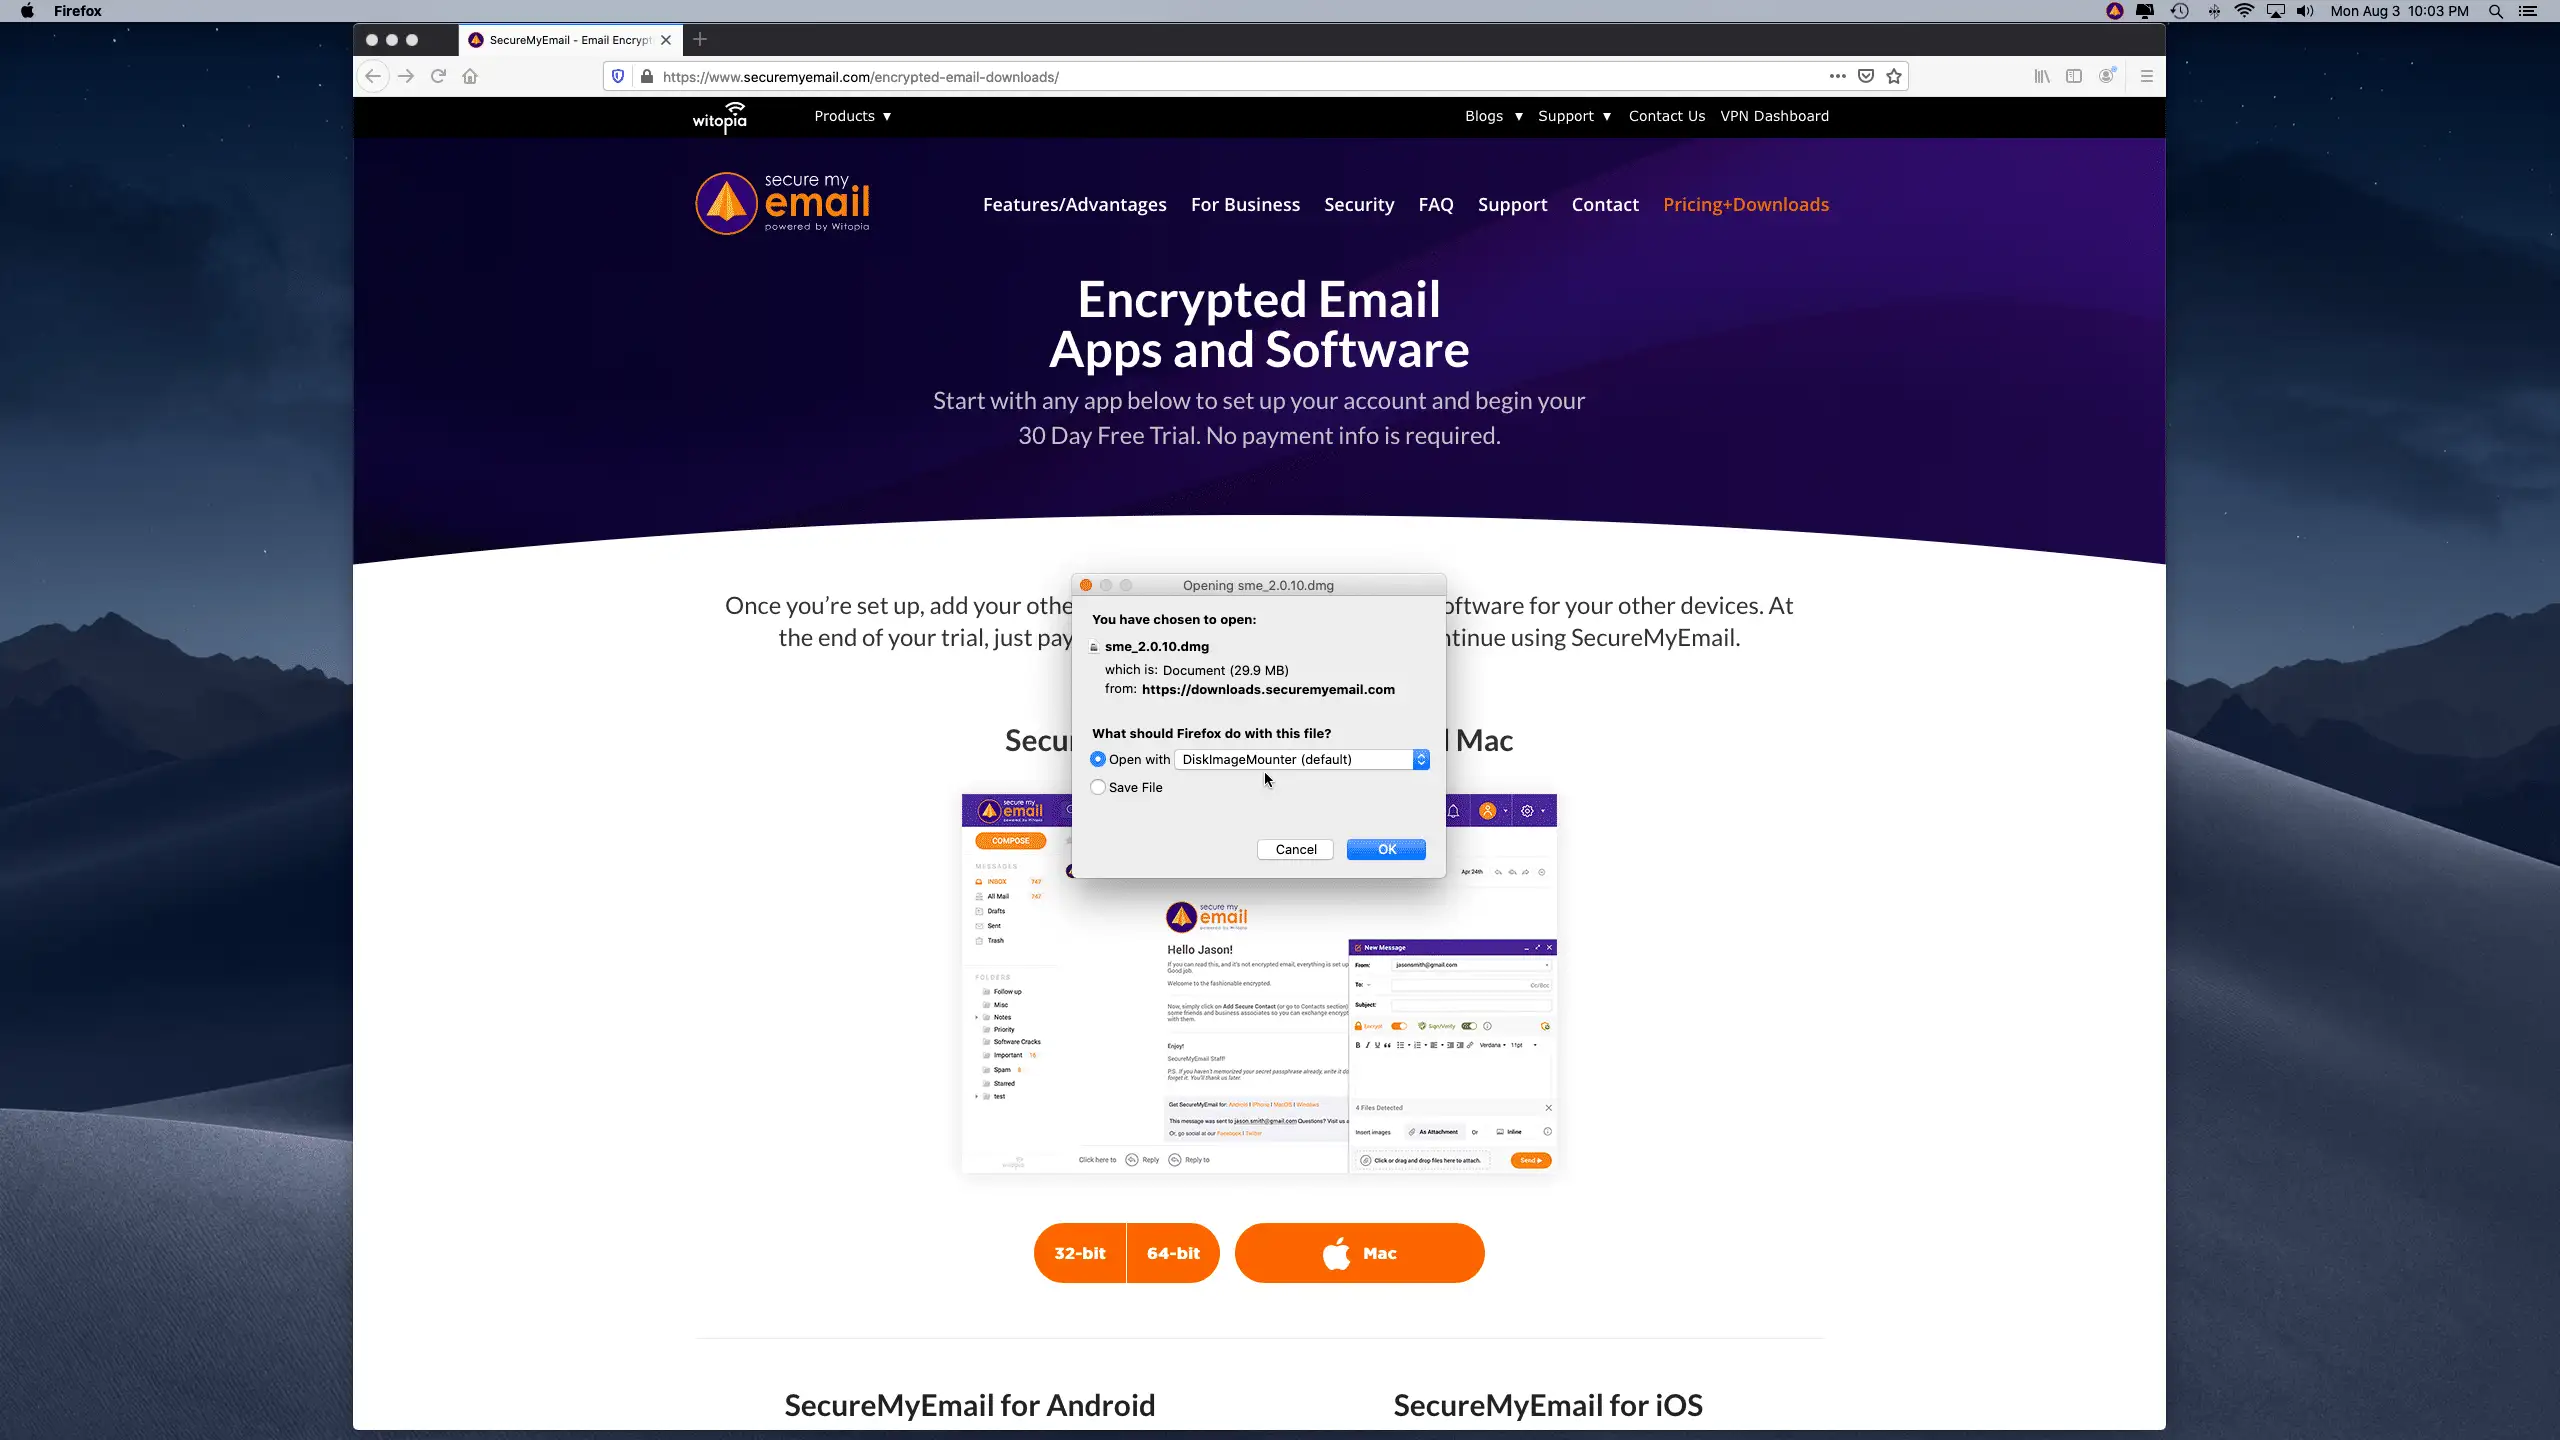
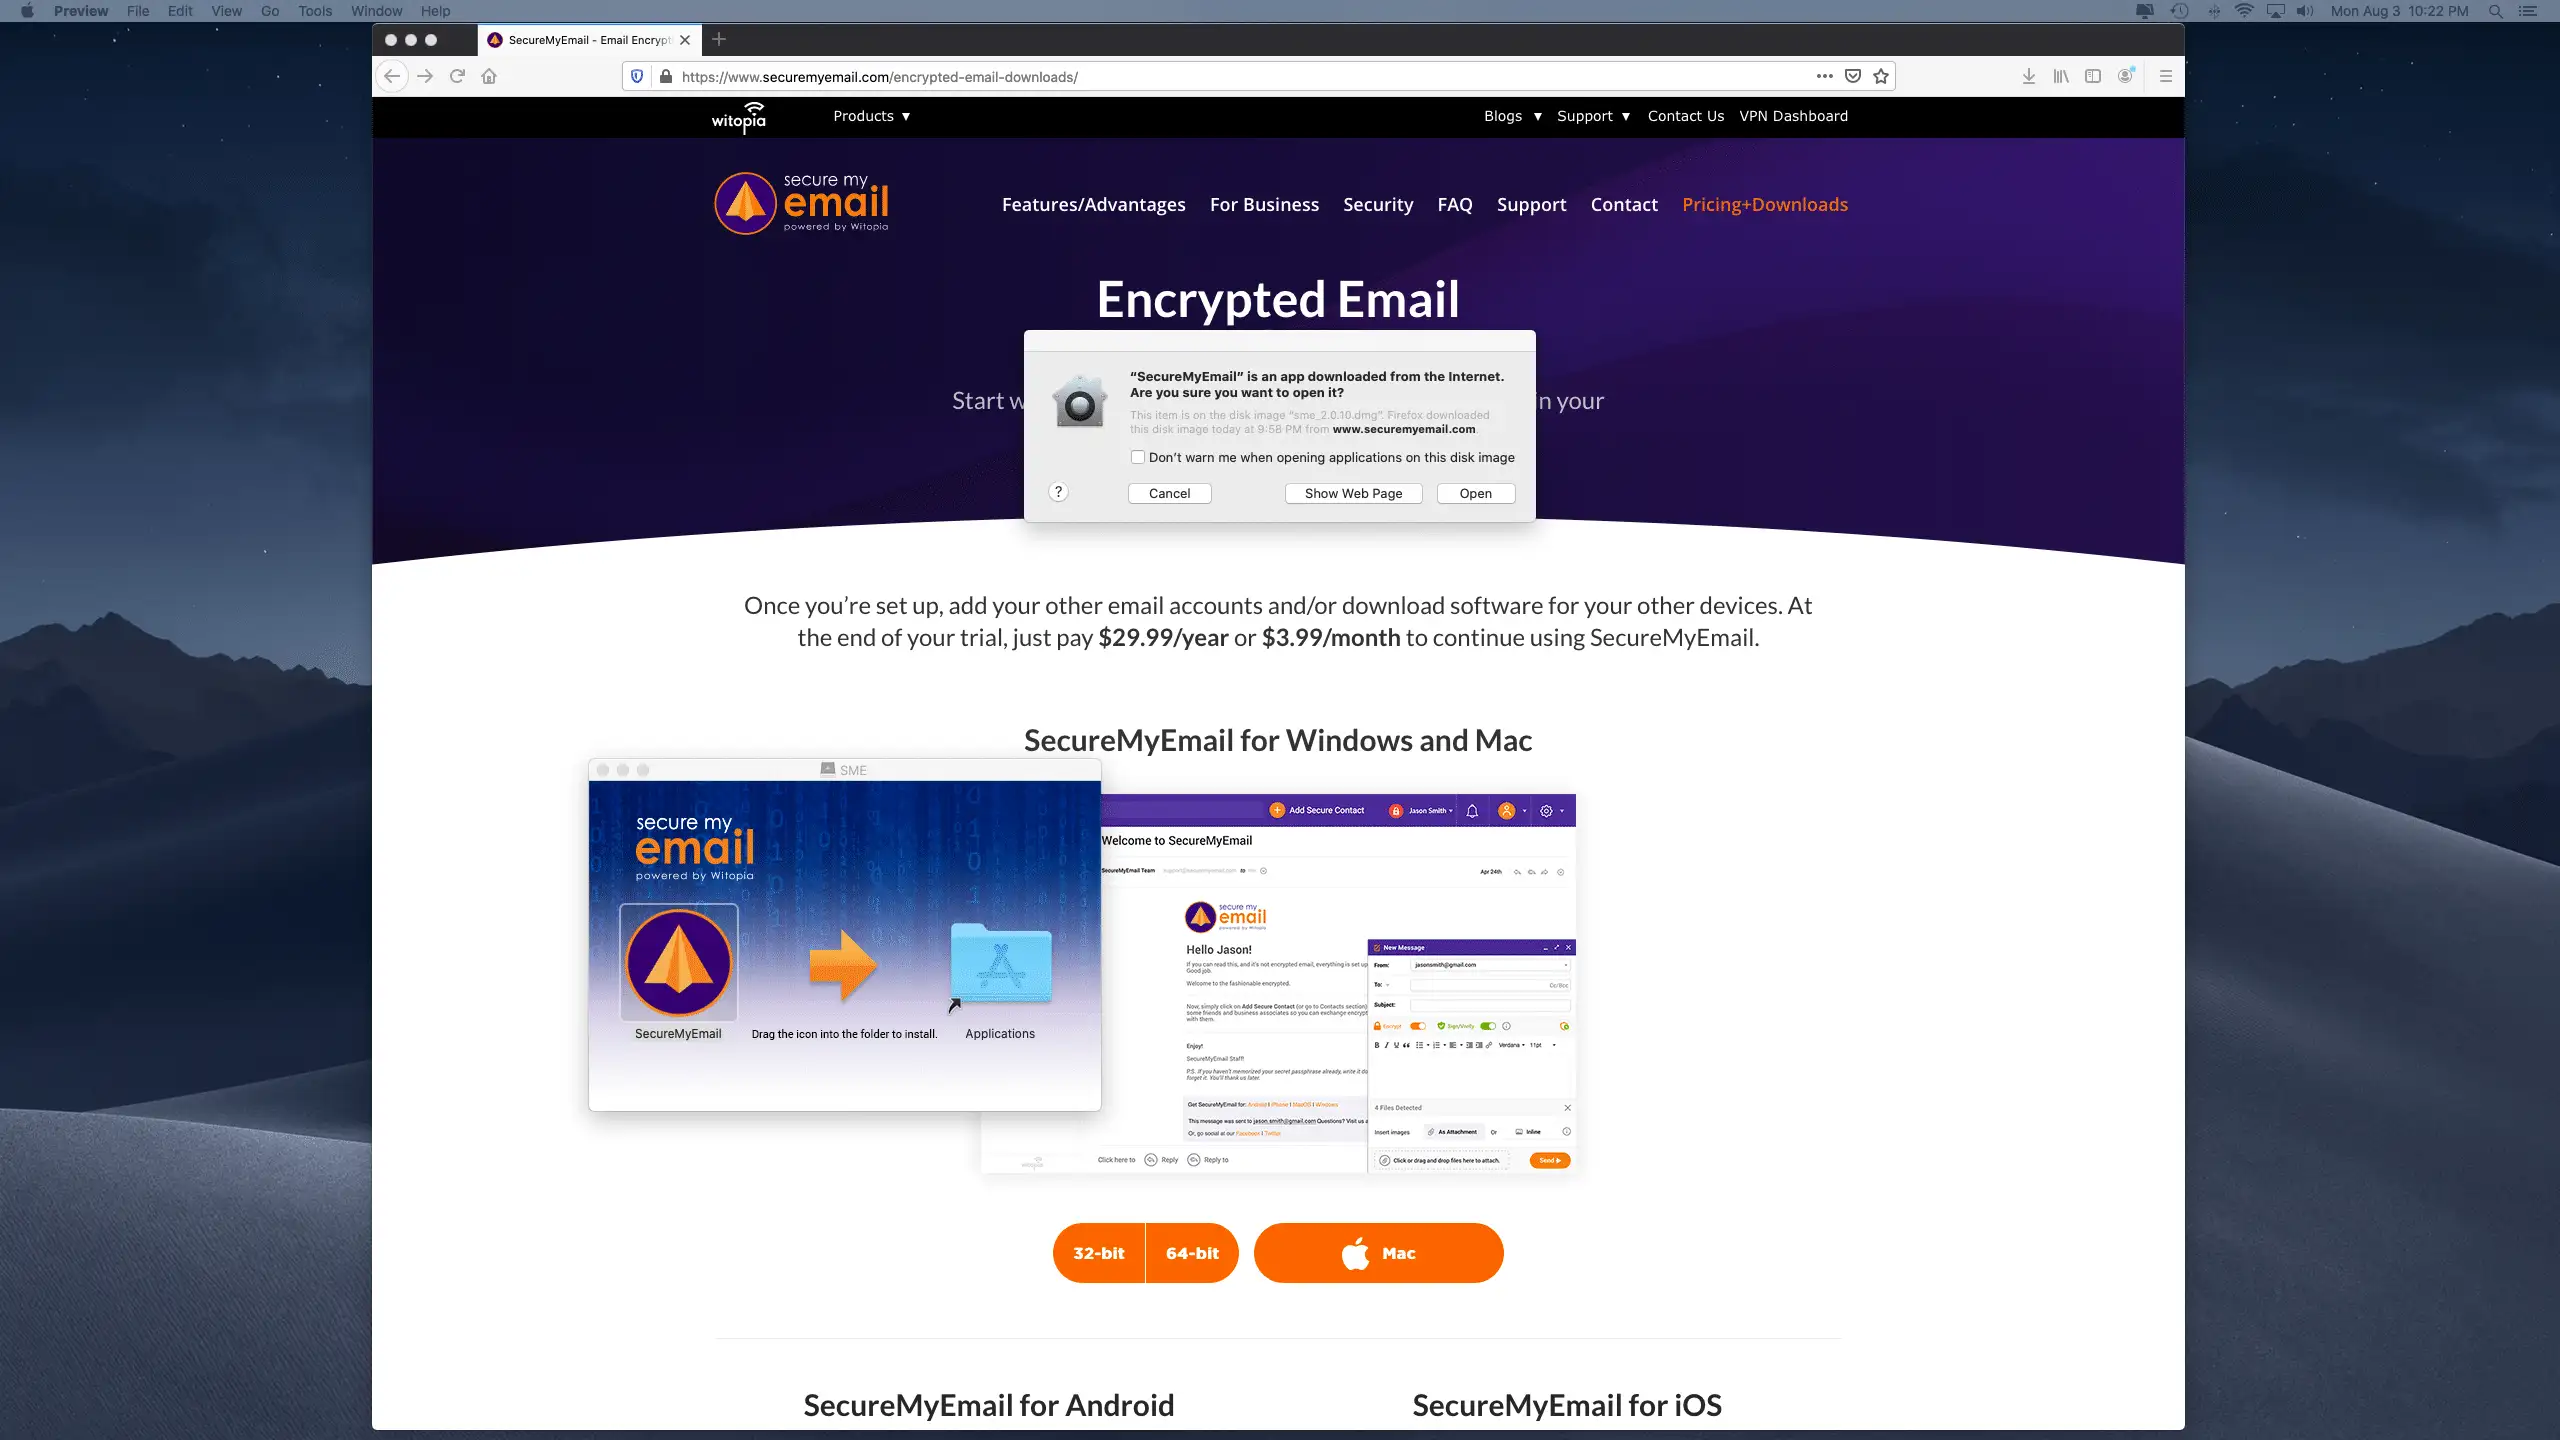
3. Do you want to install it? Yes, you do.
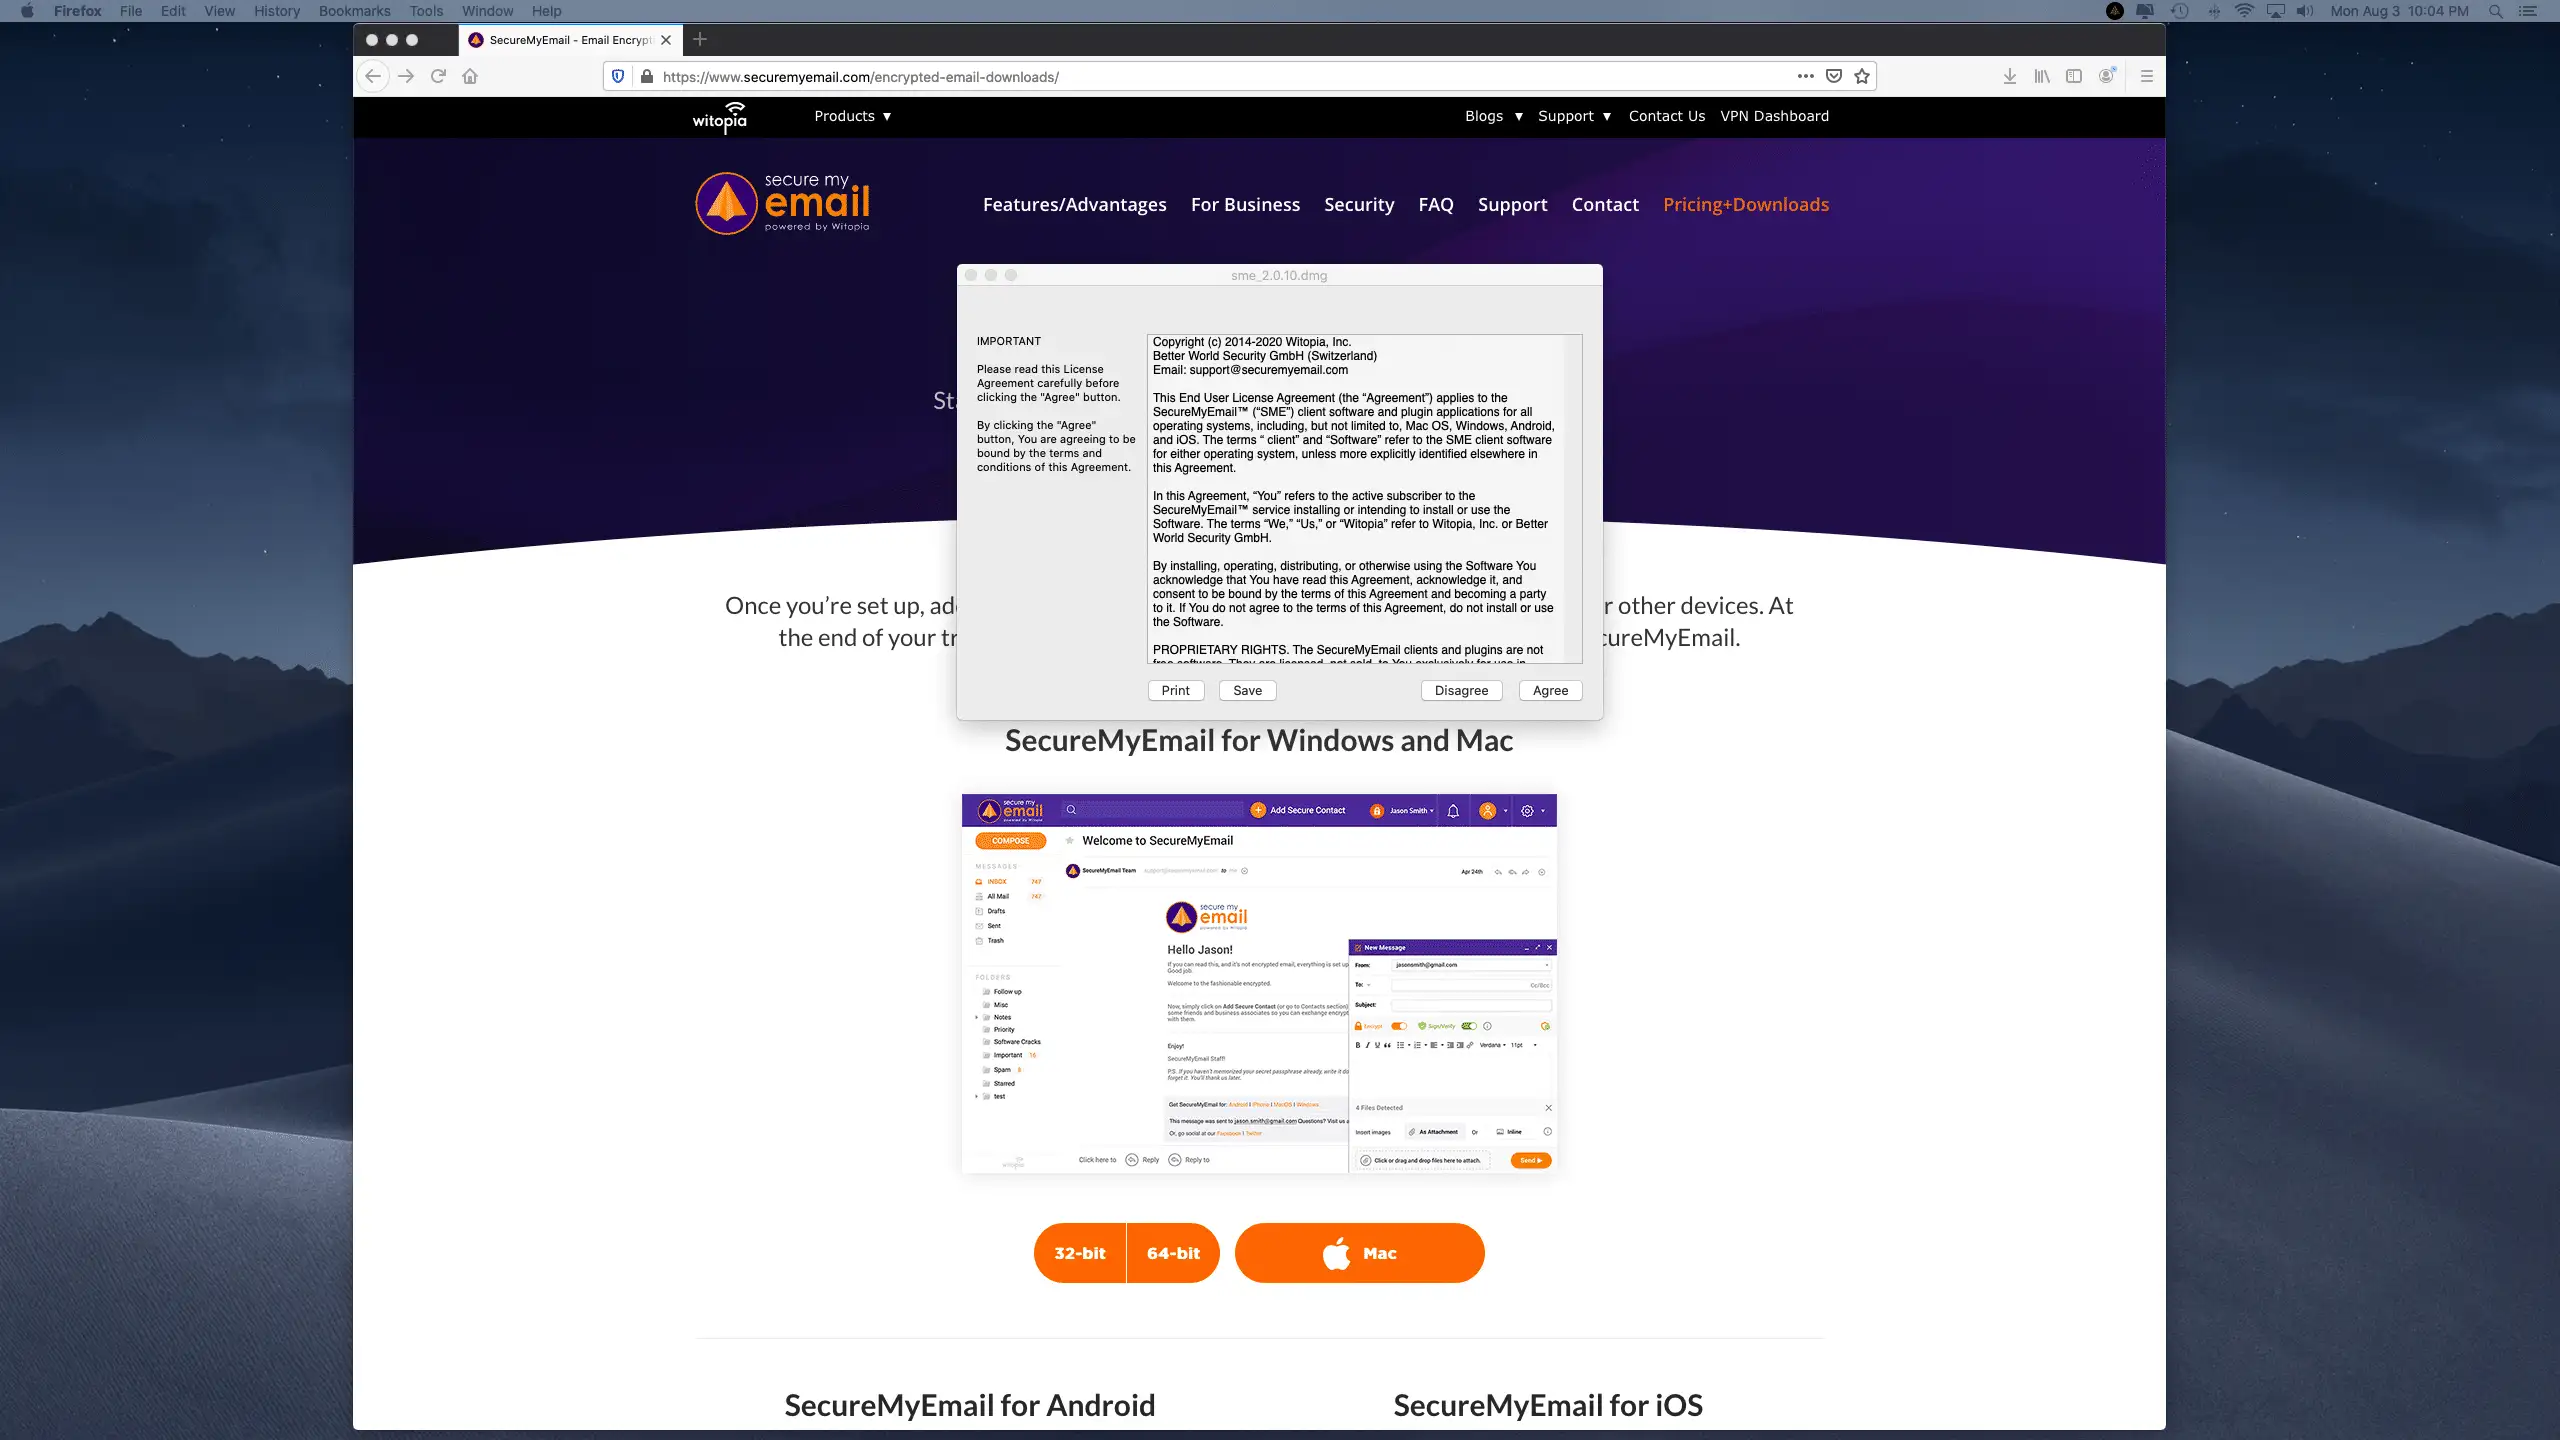
4. Accept the license agreement.
5. This is me, trying to get an “action shot” of dragging the SecureMyEmail icon into the Applications folder to install it. Hopefully, you get the idea.
6. Install warning. Do you trust us? Yes, you do.
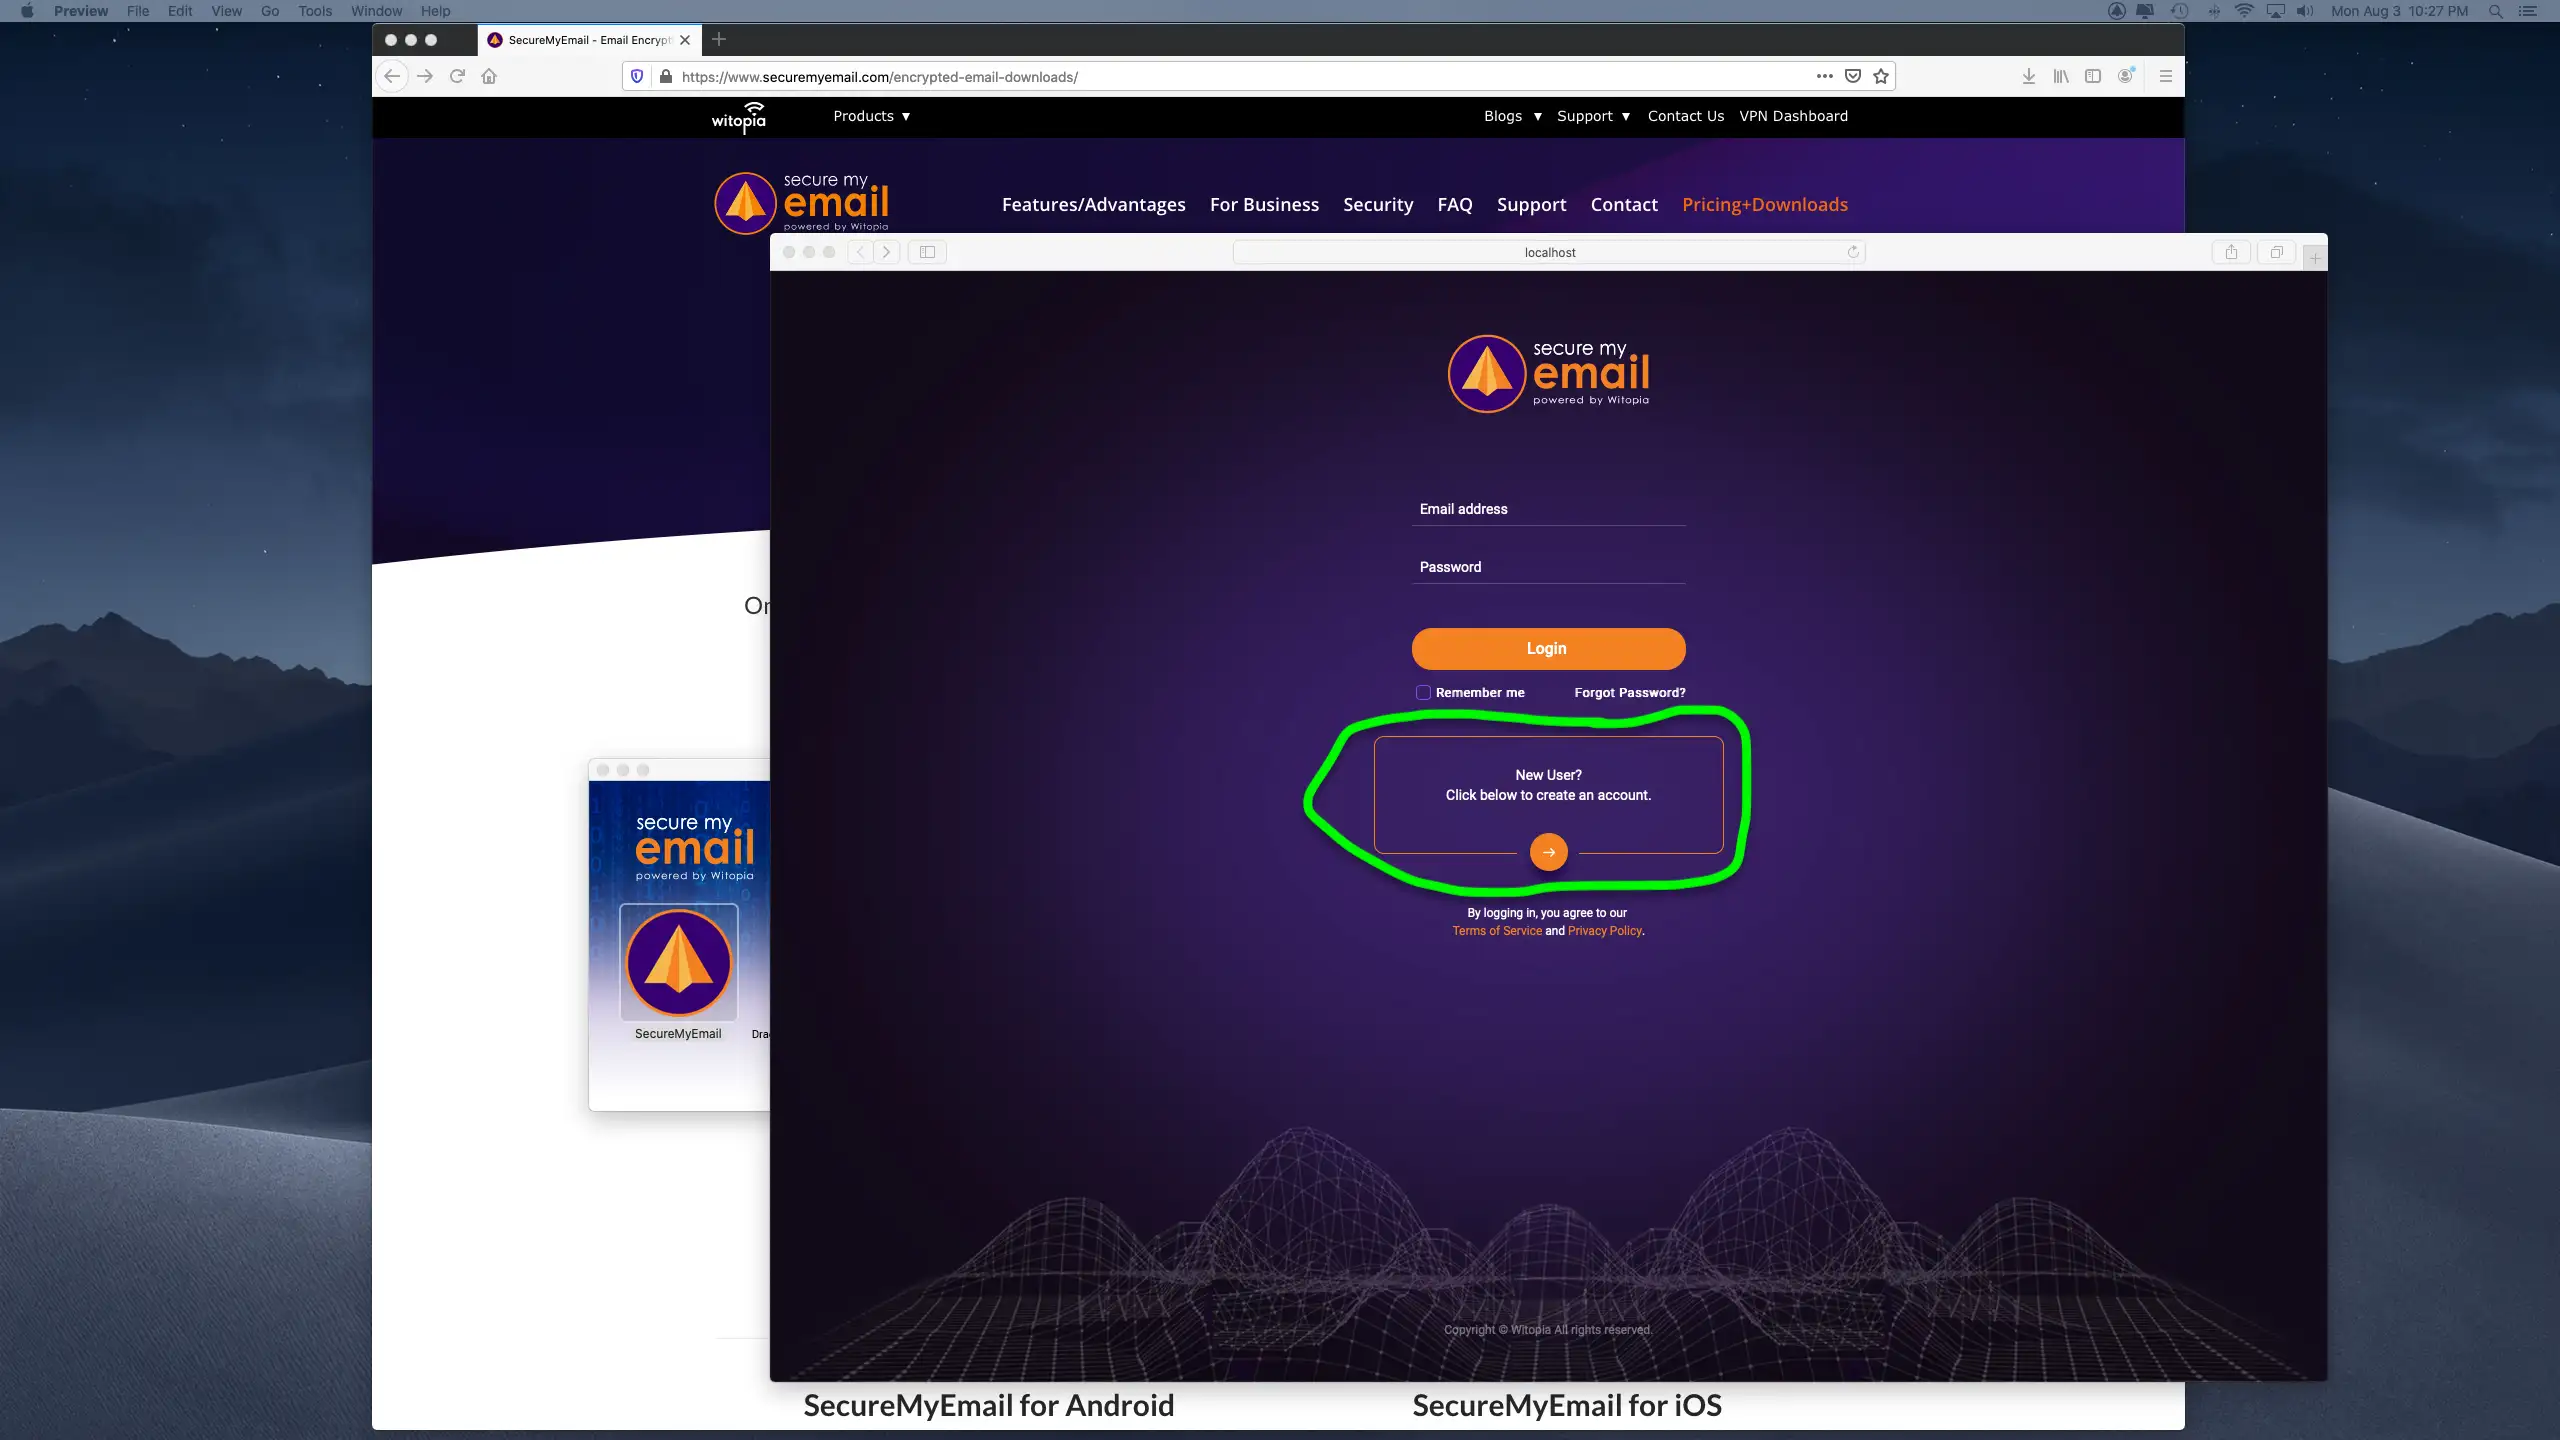
7. SecureMyEmail installs and you should see an icon appear in your Menubar and Dock (Mac) or Desktop and Taskbar (when running) (PC). If it doesn’t automatically launch, click on the icon to launch SecureMyEmail.
![]()
8. As a NEW USER, make sure you click on the section to create a new account.
9. Fill in your info to create a SecureMyEmail account. Be sure to enter the primary email you wish to secure. You can add additional emails after you complete setup of the first email and account.
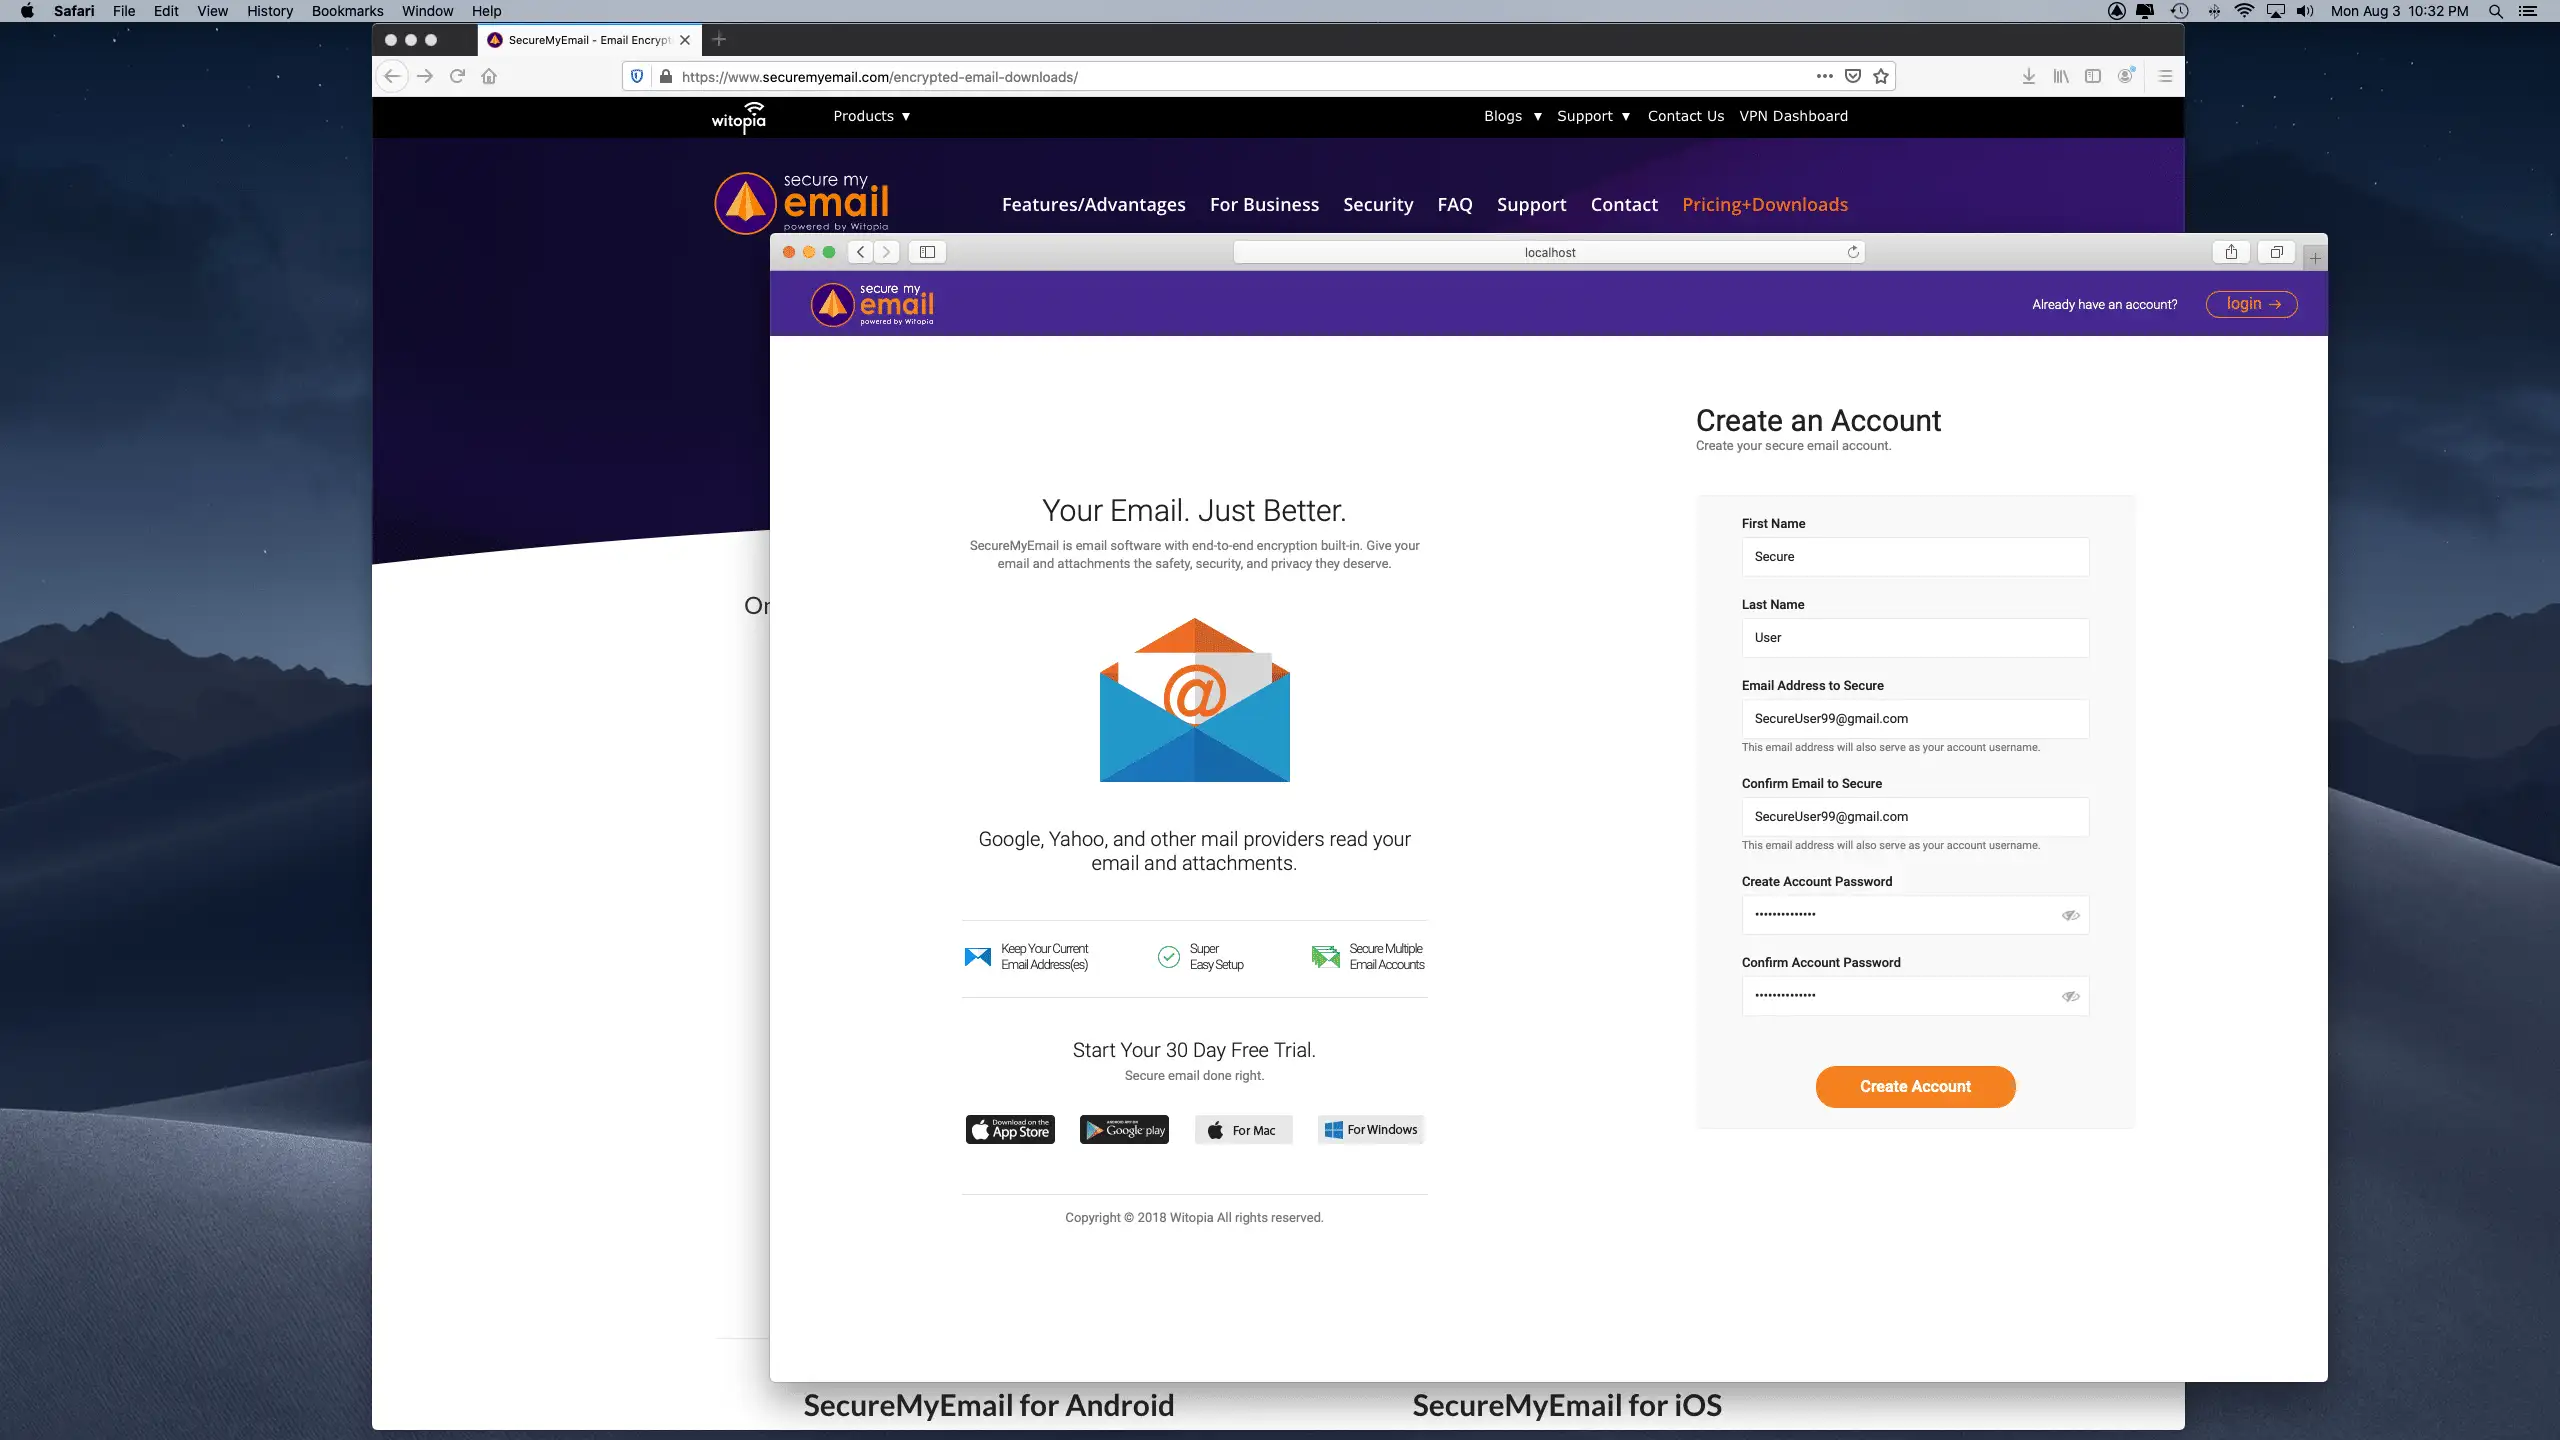
10. Create your Secret Password/Passphrase. This is the password/passphrase you will keep private. No one will know it but you. It should be a good one because we will create your 4096-bit encryption keys using it. This password unlocks your private key and allows you to decrypt emails and attachments. It’s very important, but you can also change it later, so don’t freeze up. 🙂
Note that this is also the place that if you are already using PGP, and you wish to use your current PGP keys with SecureMyEmail, that you should stop and go to Settings >> Advanced >> Import PGP Key.
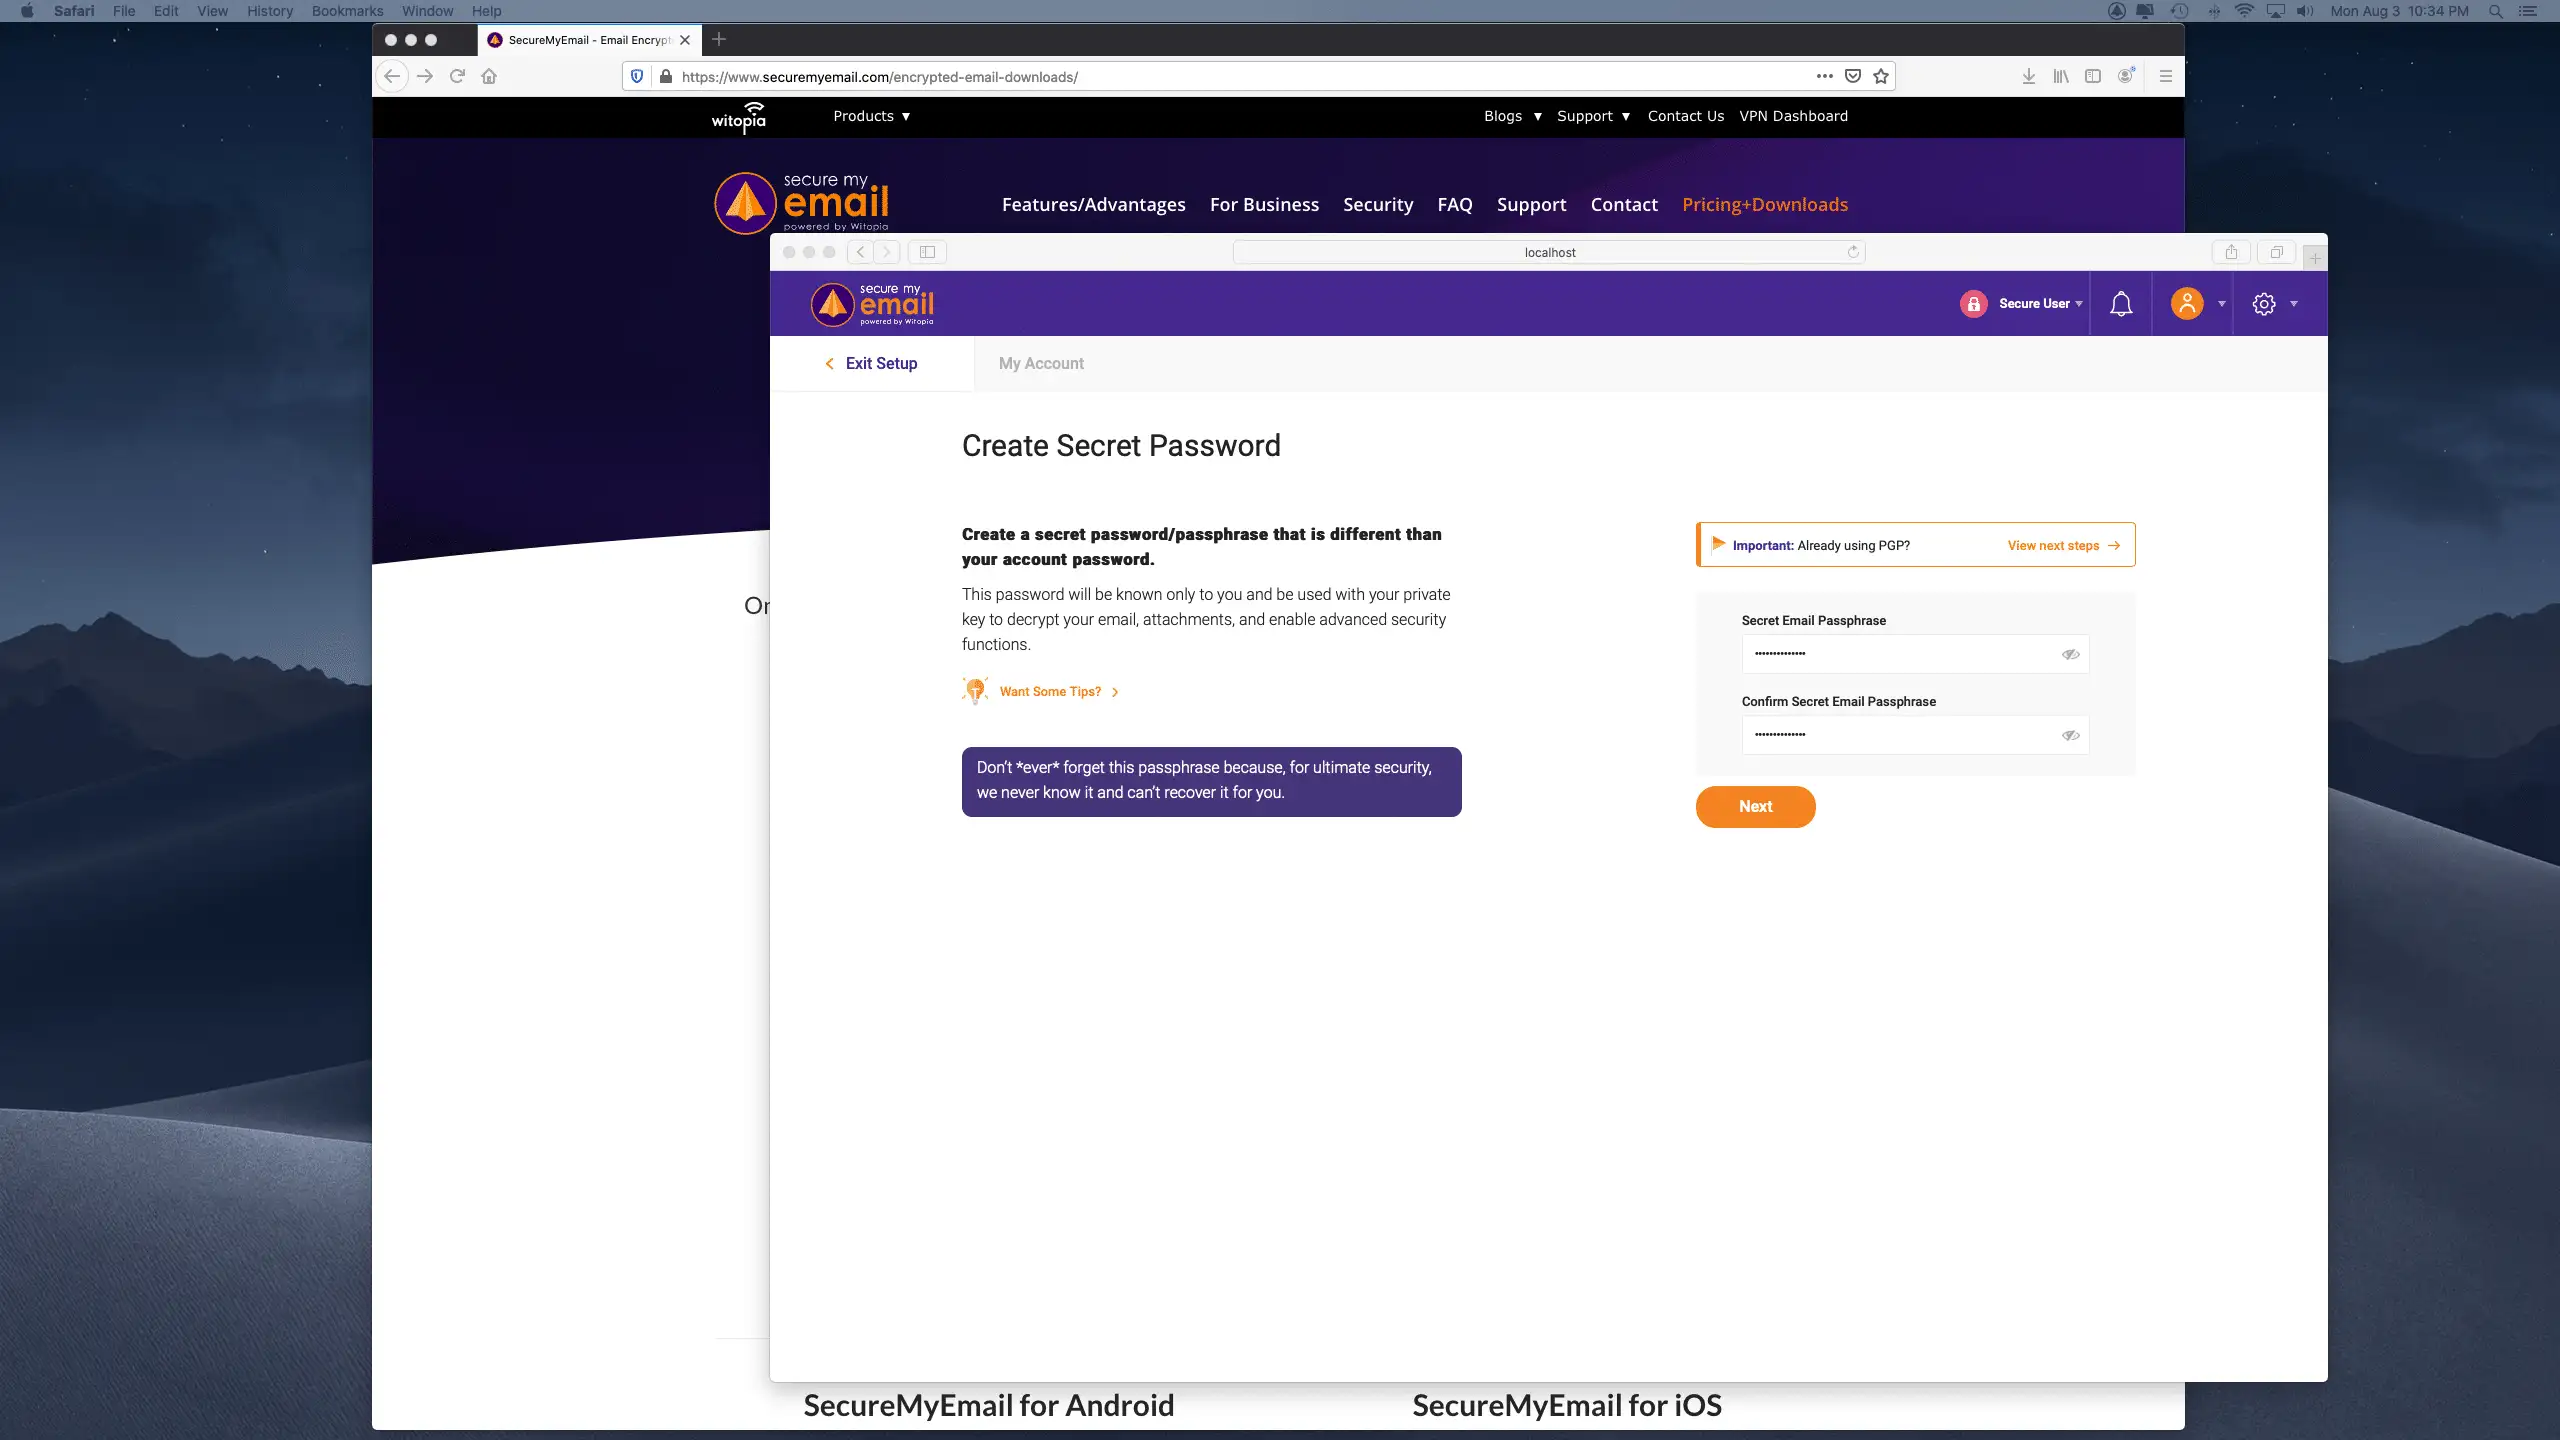
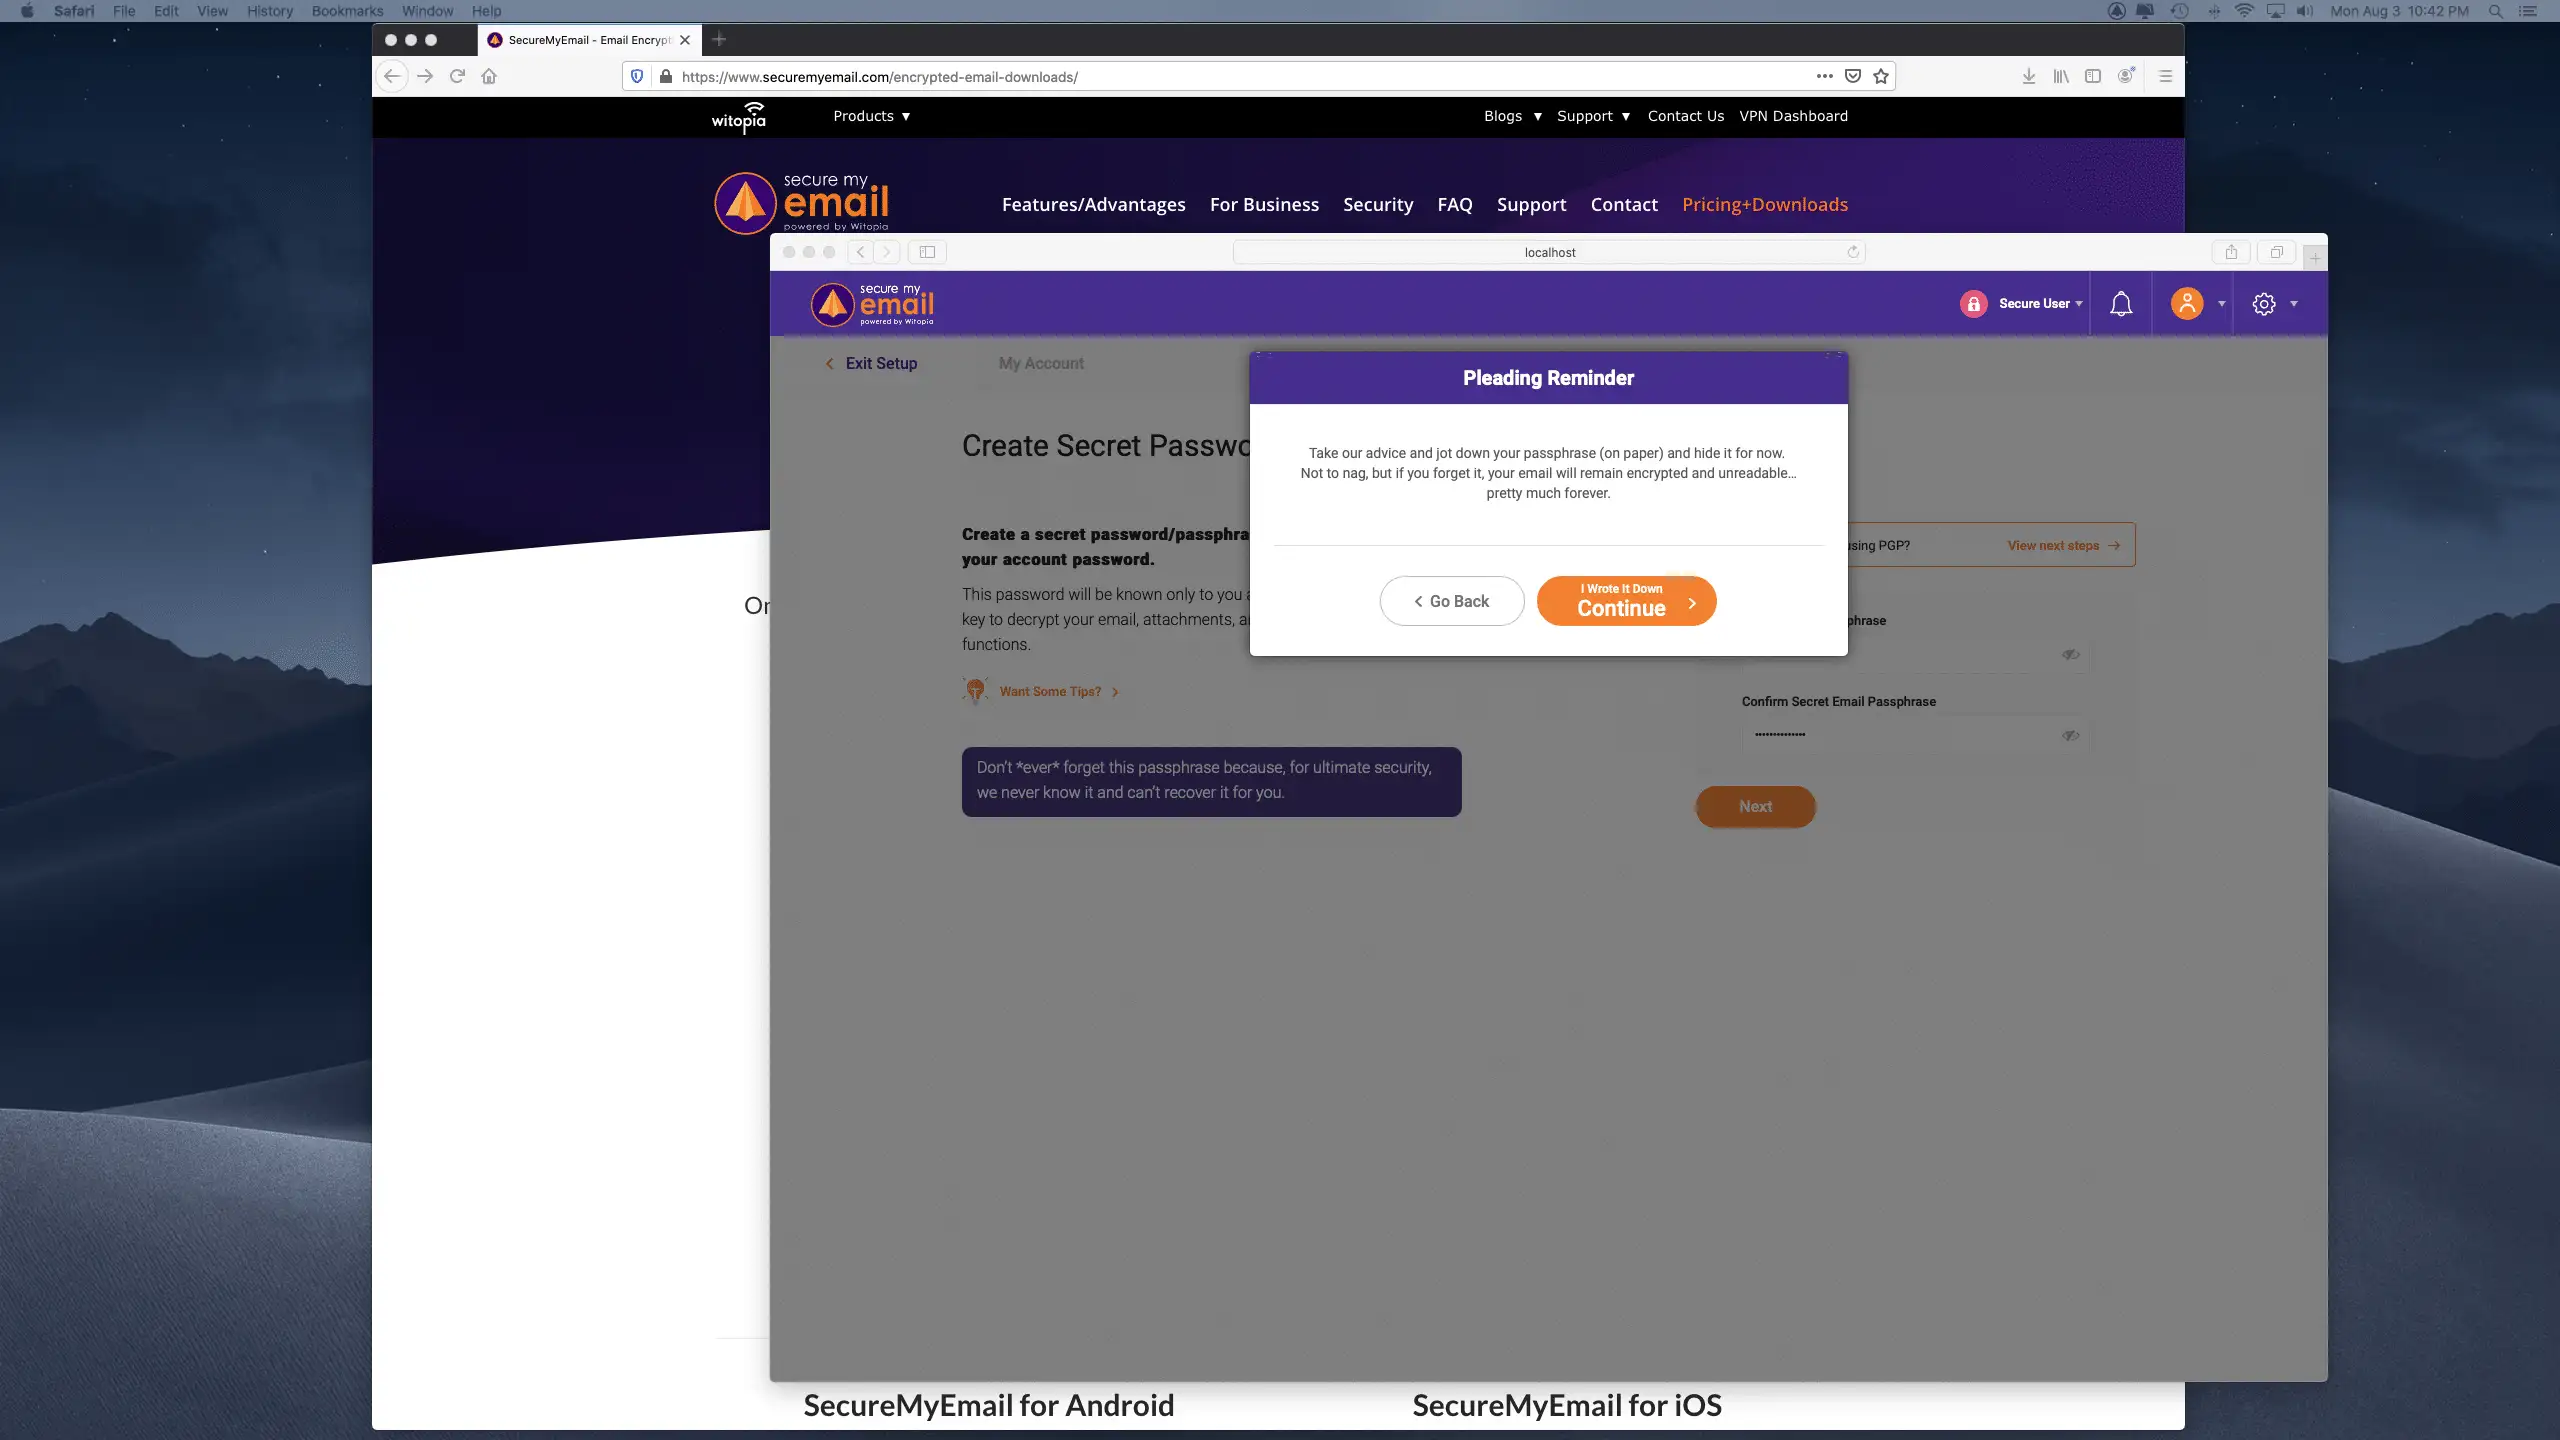
11. Write your secret password/passphrase down and keep it somewhere safe. Trust us, unless you’re one of those people that can remember that October 3rd was a Tuesday when you were 3-years-old, and it was raining, you will likely forget it. That will be upsetting. Then you’ll ask us and we’ll have to tell you that, for security, we really don’t have it, and can’t recover it. Then you’ll be mad at us too. Please, just write it down for now. On paper. Old school style.
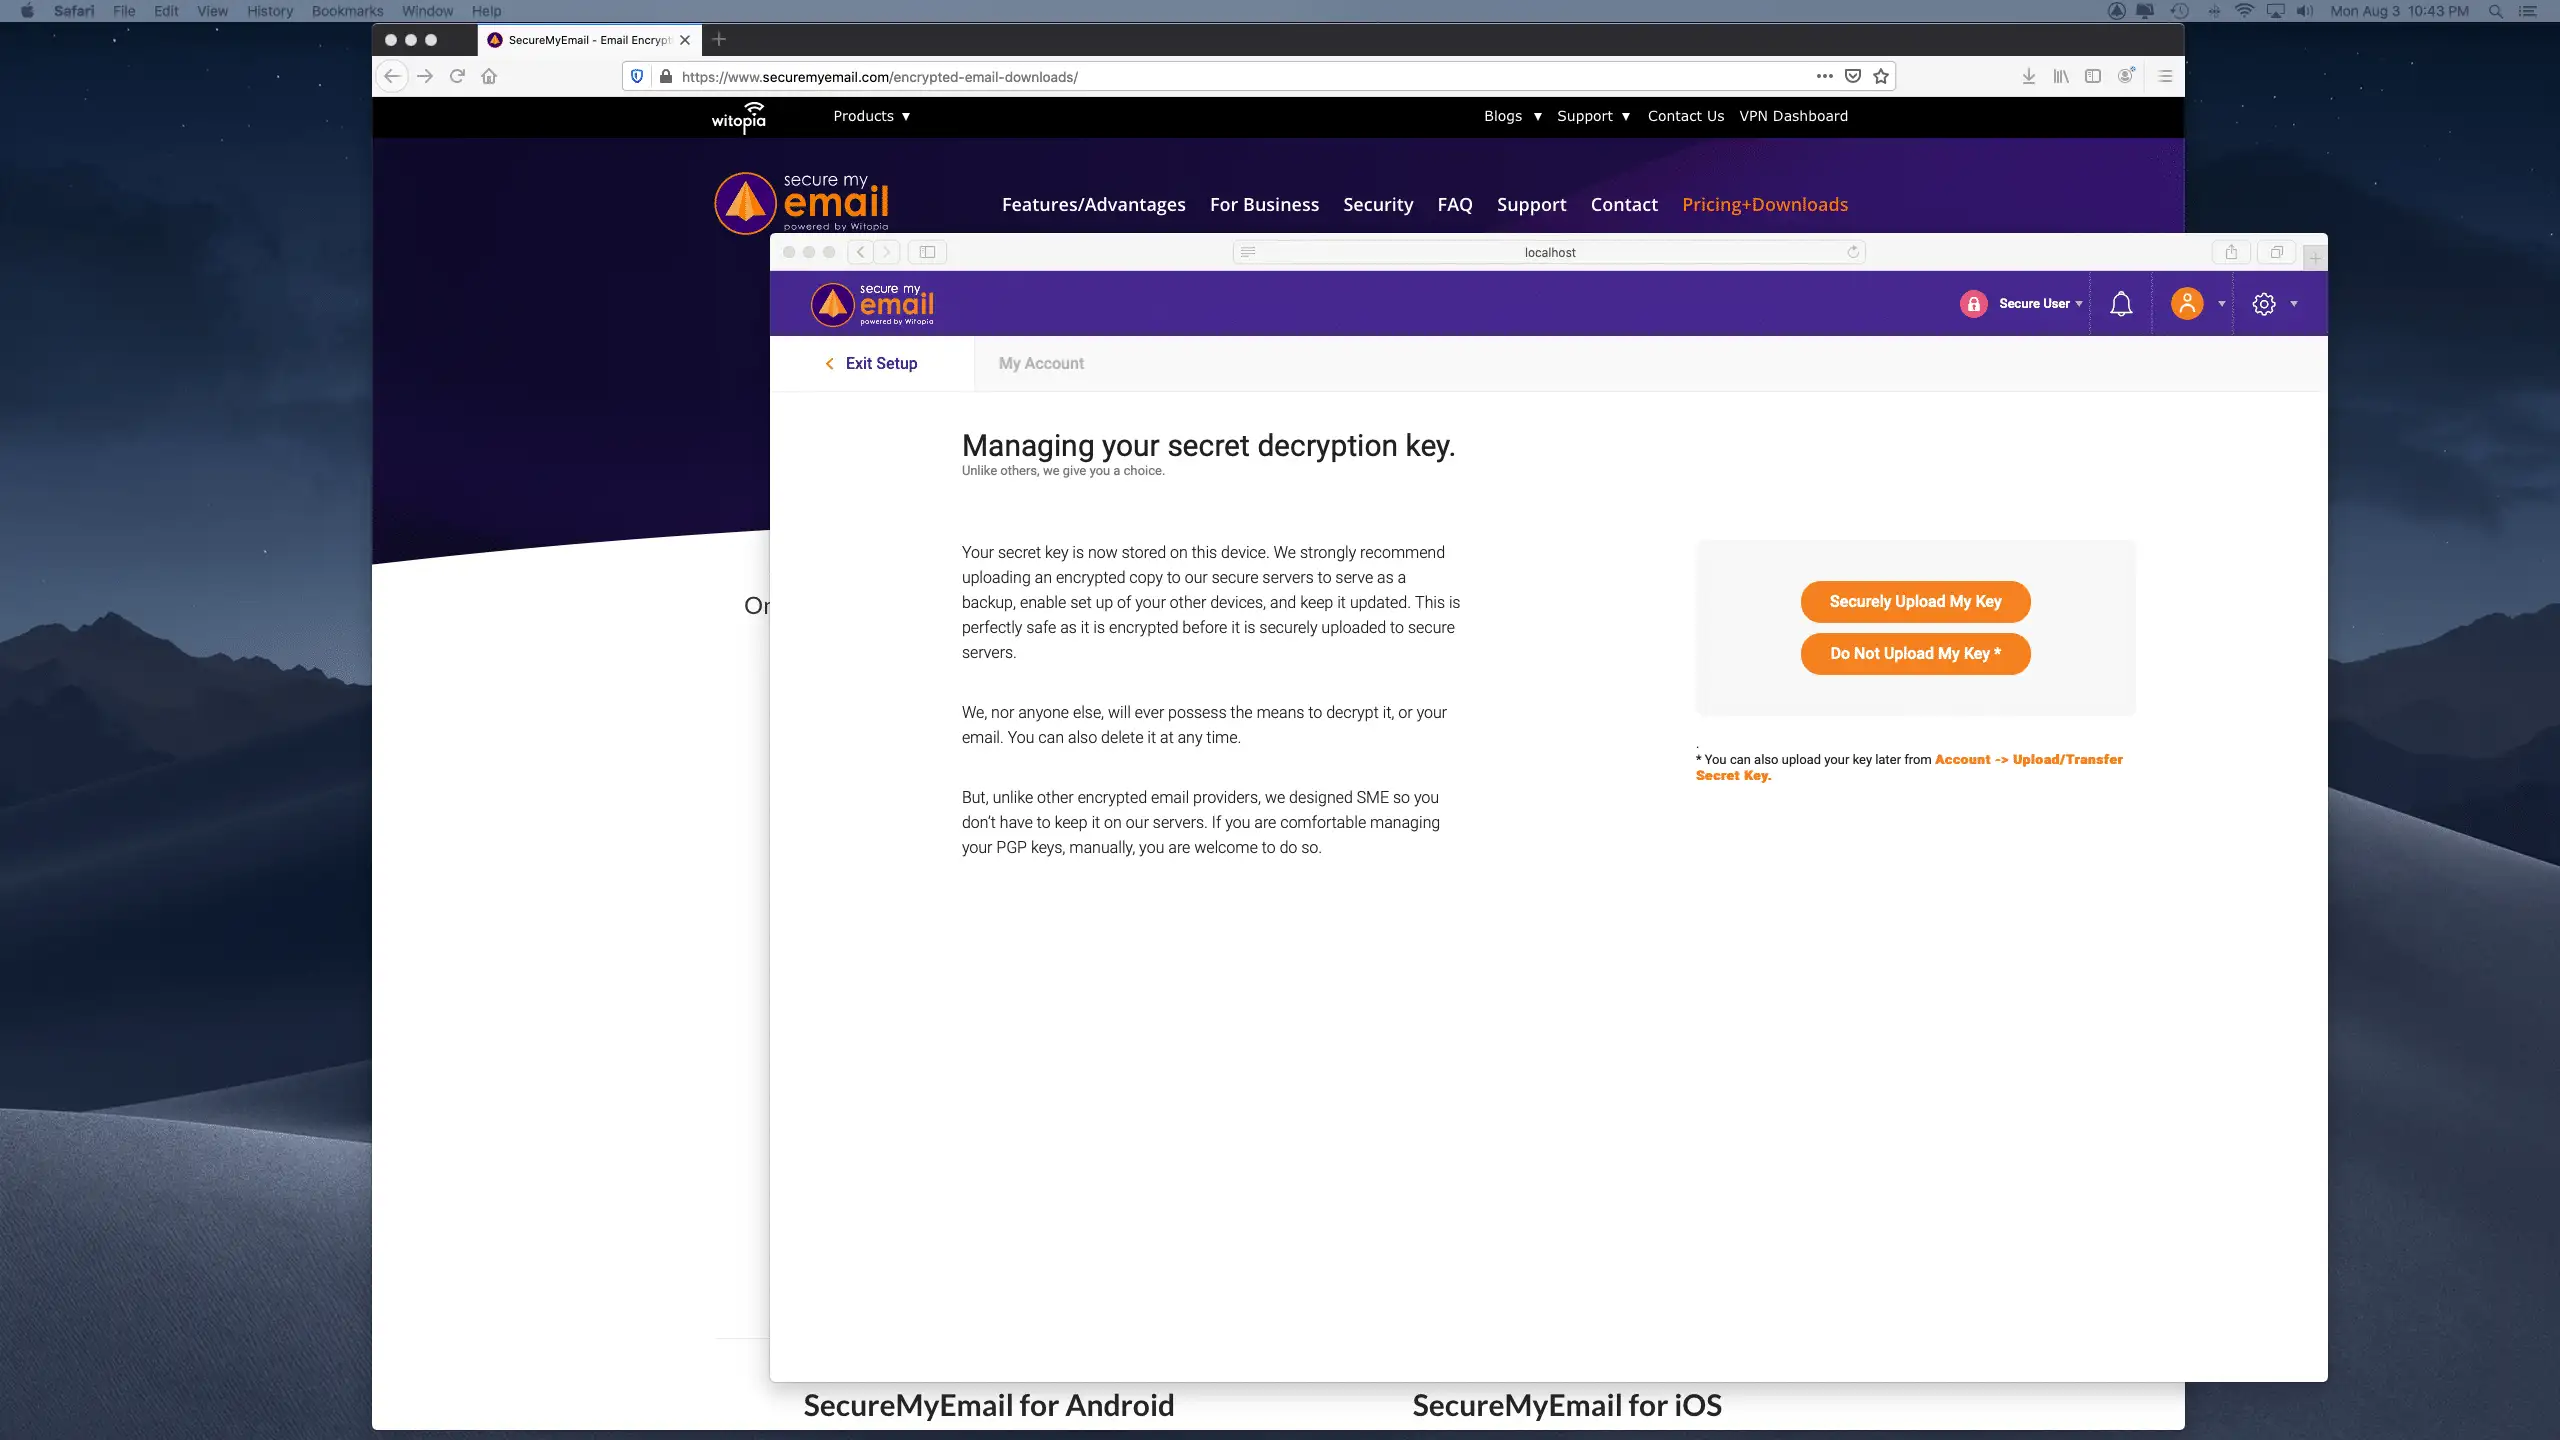
12. Securely upload your keys to our servers so you have a backup and to ease setting up other devices. Unless you’re a expert in backing up and managing cryptographic keys (some of you may be), we STRONGLY recommend you upload a copy to us.
It’s encrypted before it even leaves your computer, then travels through an encrypted tunnel to our secure servers in a secure data center in Switzerland. It’s completely safe. Even if someone got a hold of it, without your password/passphrase, it’s useless. Also, if you just want to upload it, sync up all your devices, and then delete it off our servers, you can do that too at Settings >> Advanced >> Delete Active Secret Key from SME Servers.
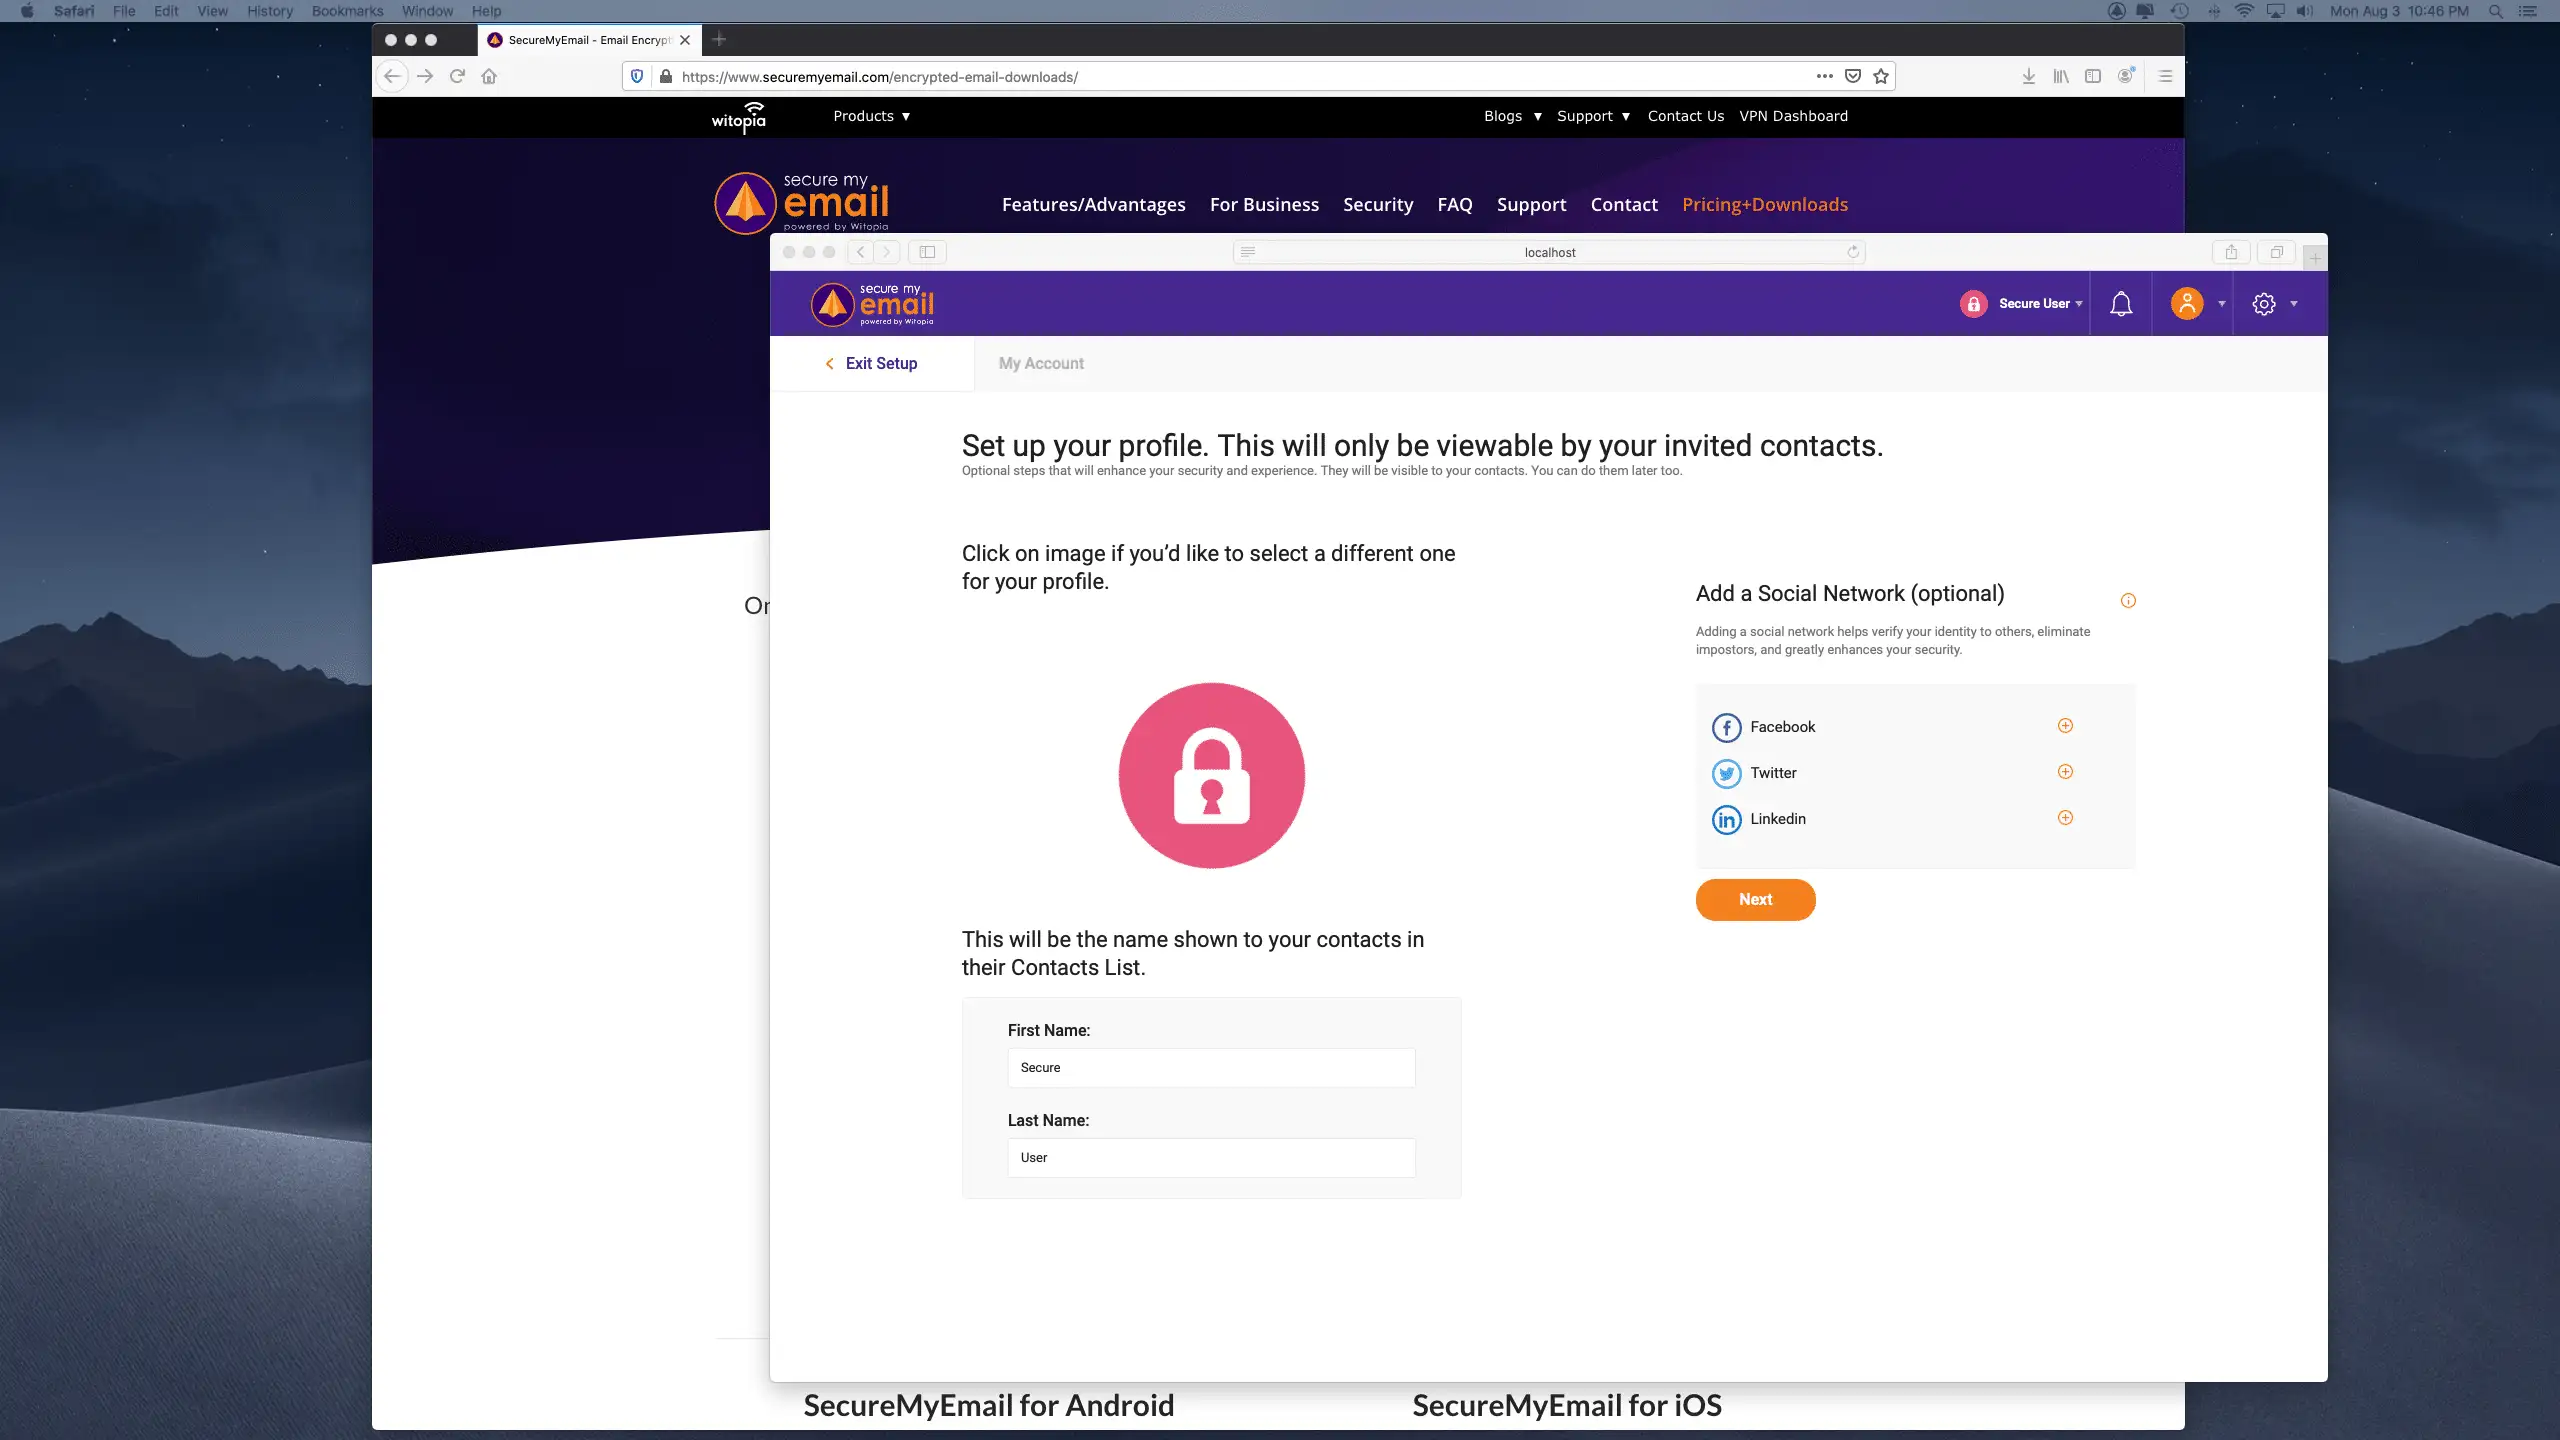
13. Next, is setting up your profile. This is all basically optional but nice if you plan to invite contacts and add them into SecureMyEmail. They’ll see your picture as well as see if you verified your identity with a social network. Probably overkill, but that’s how we roll.
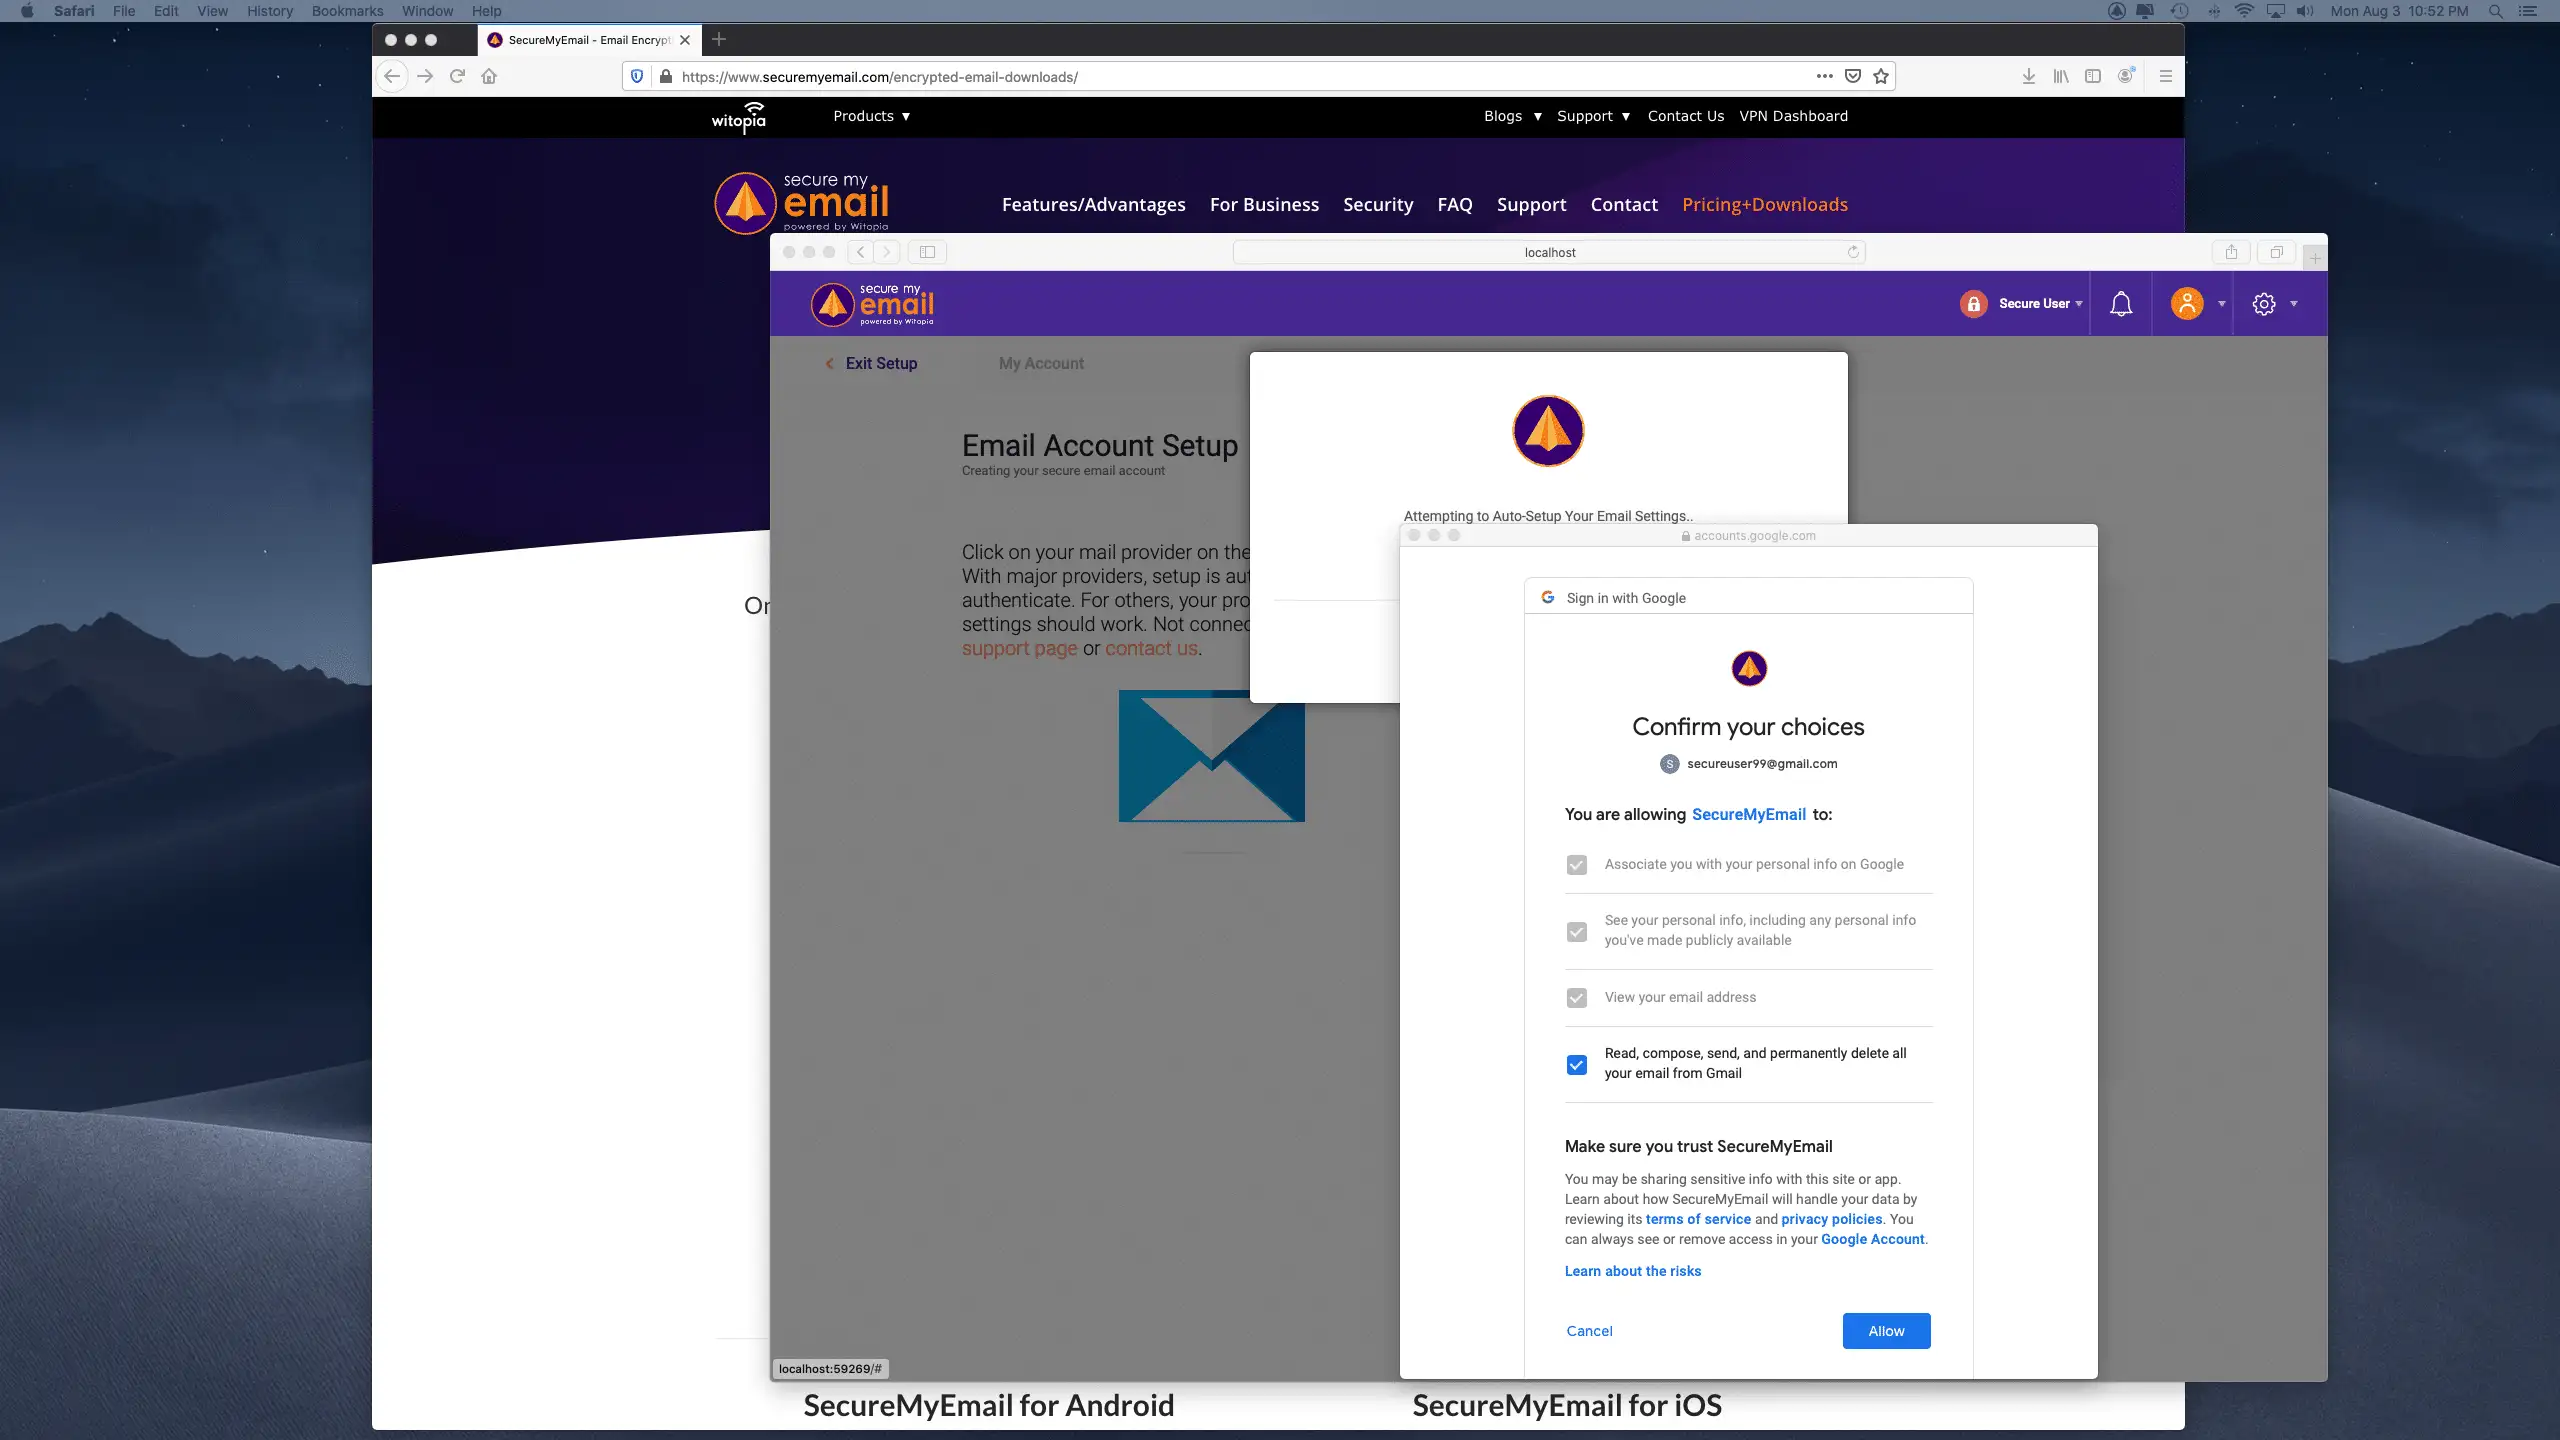
14. Choose your Email provider. In this case, we’re setting up a Gmail address to encrypt, so we’ll choose Google. Microsoft keeps changing things, but for Microsoft 365/Office 365, Exchange seems to be best button. If you have Hotmail or Outlook.com, try Outlook.com.
NOTE: To encrypt @iCloud.com, @mac.com, or @me.com email addresses, you choose “Other” but you will need an app-specific password from Apple that you will use in place of your regular mail password. Click here to get one.
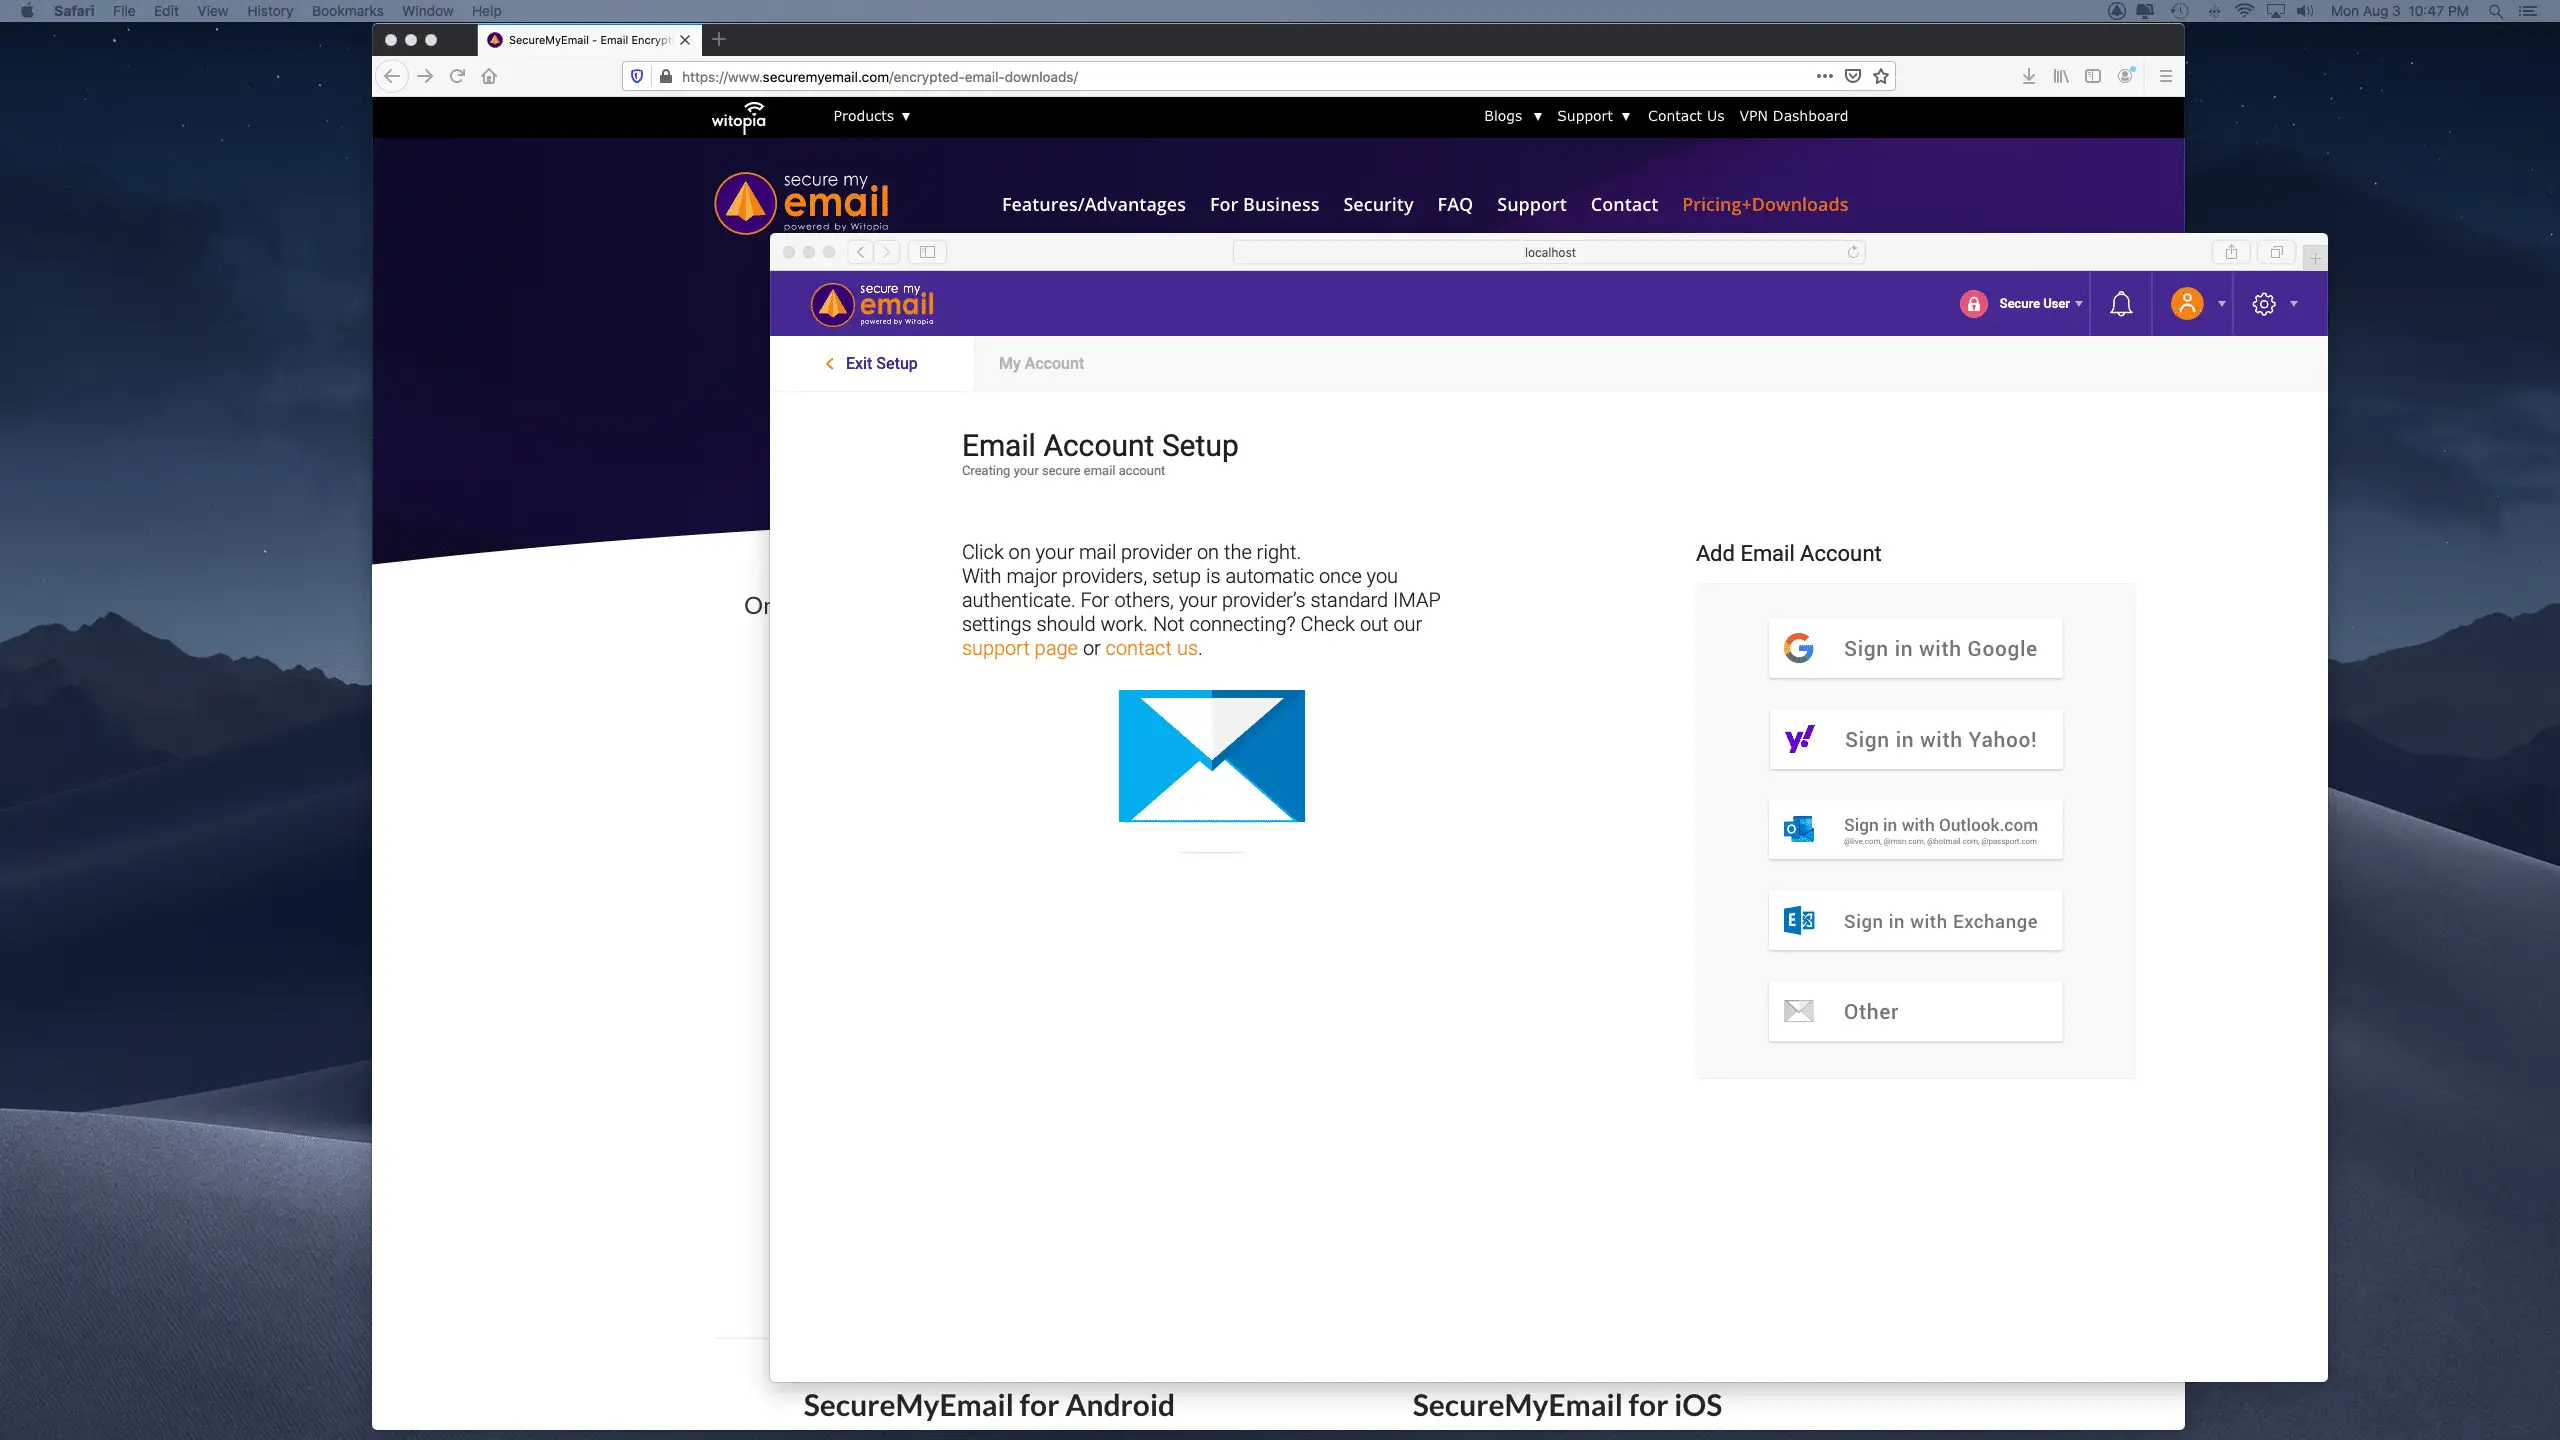
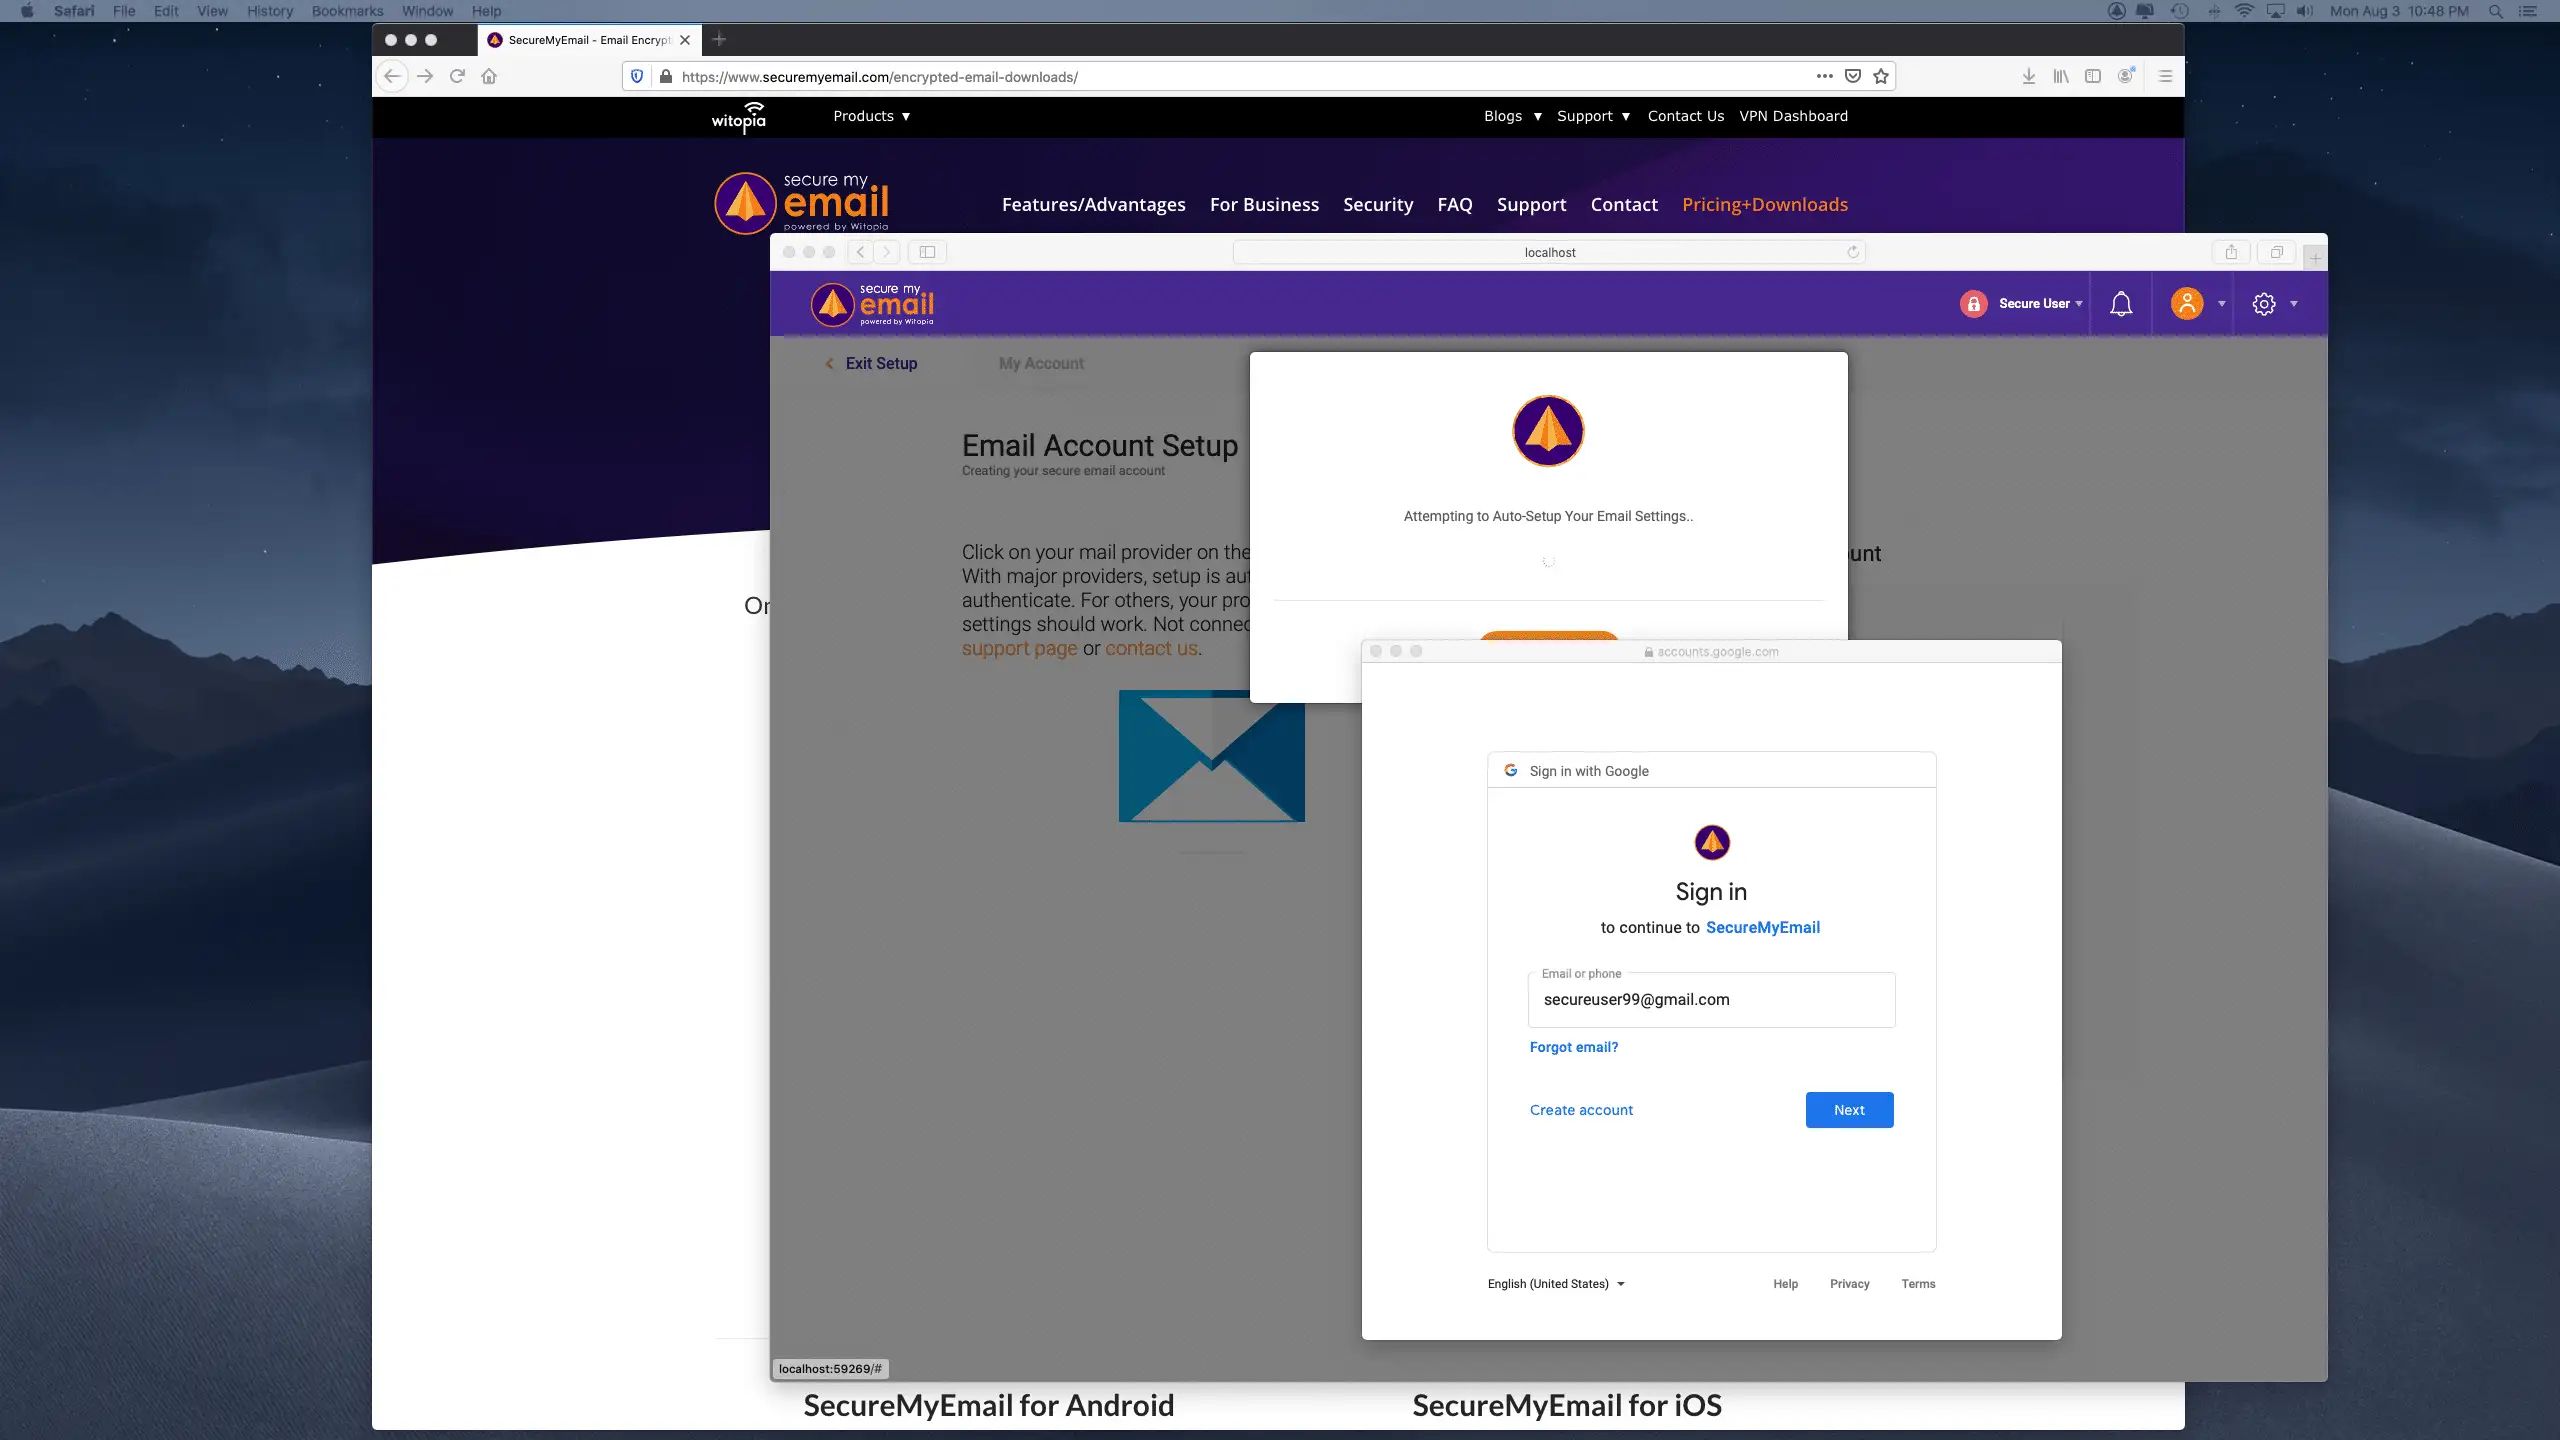
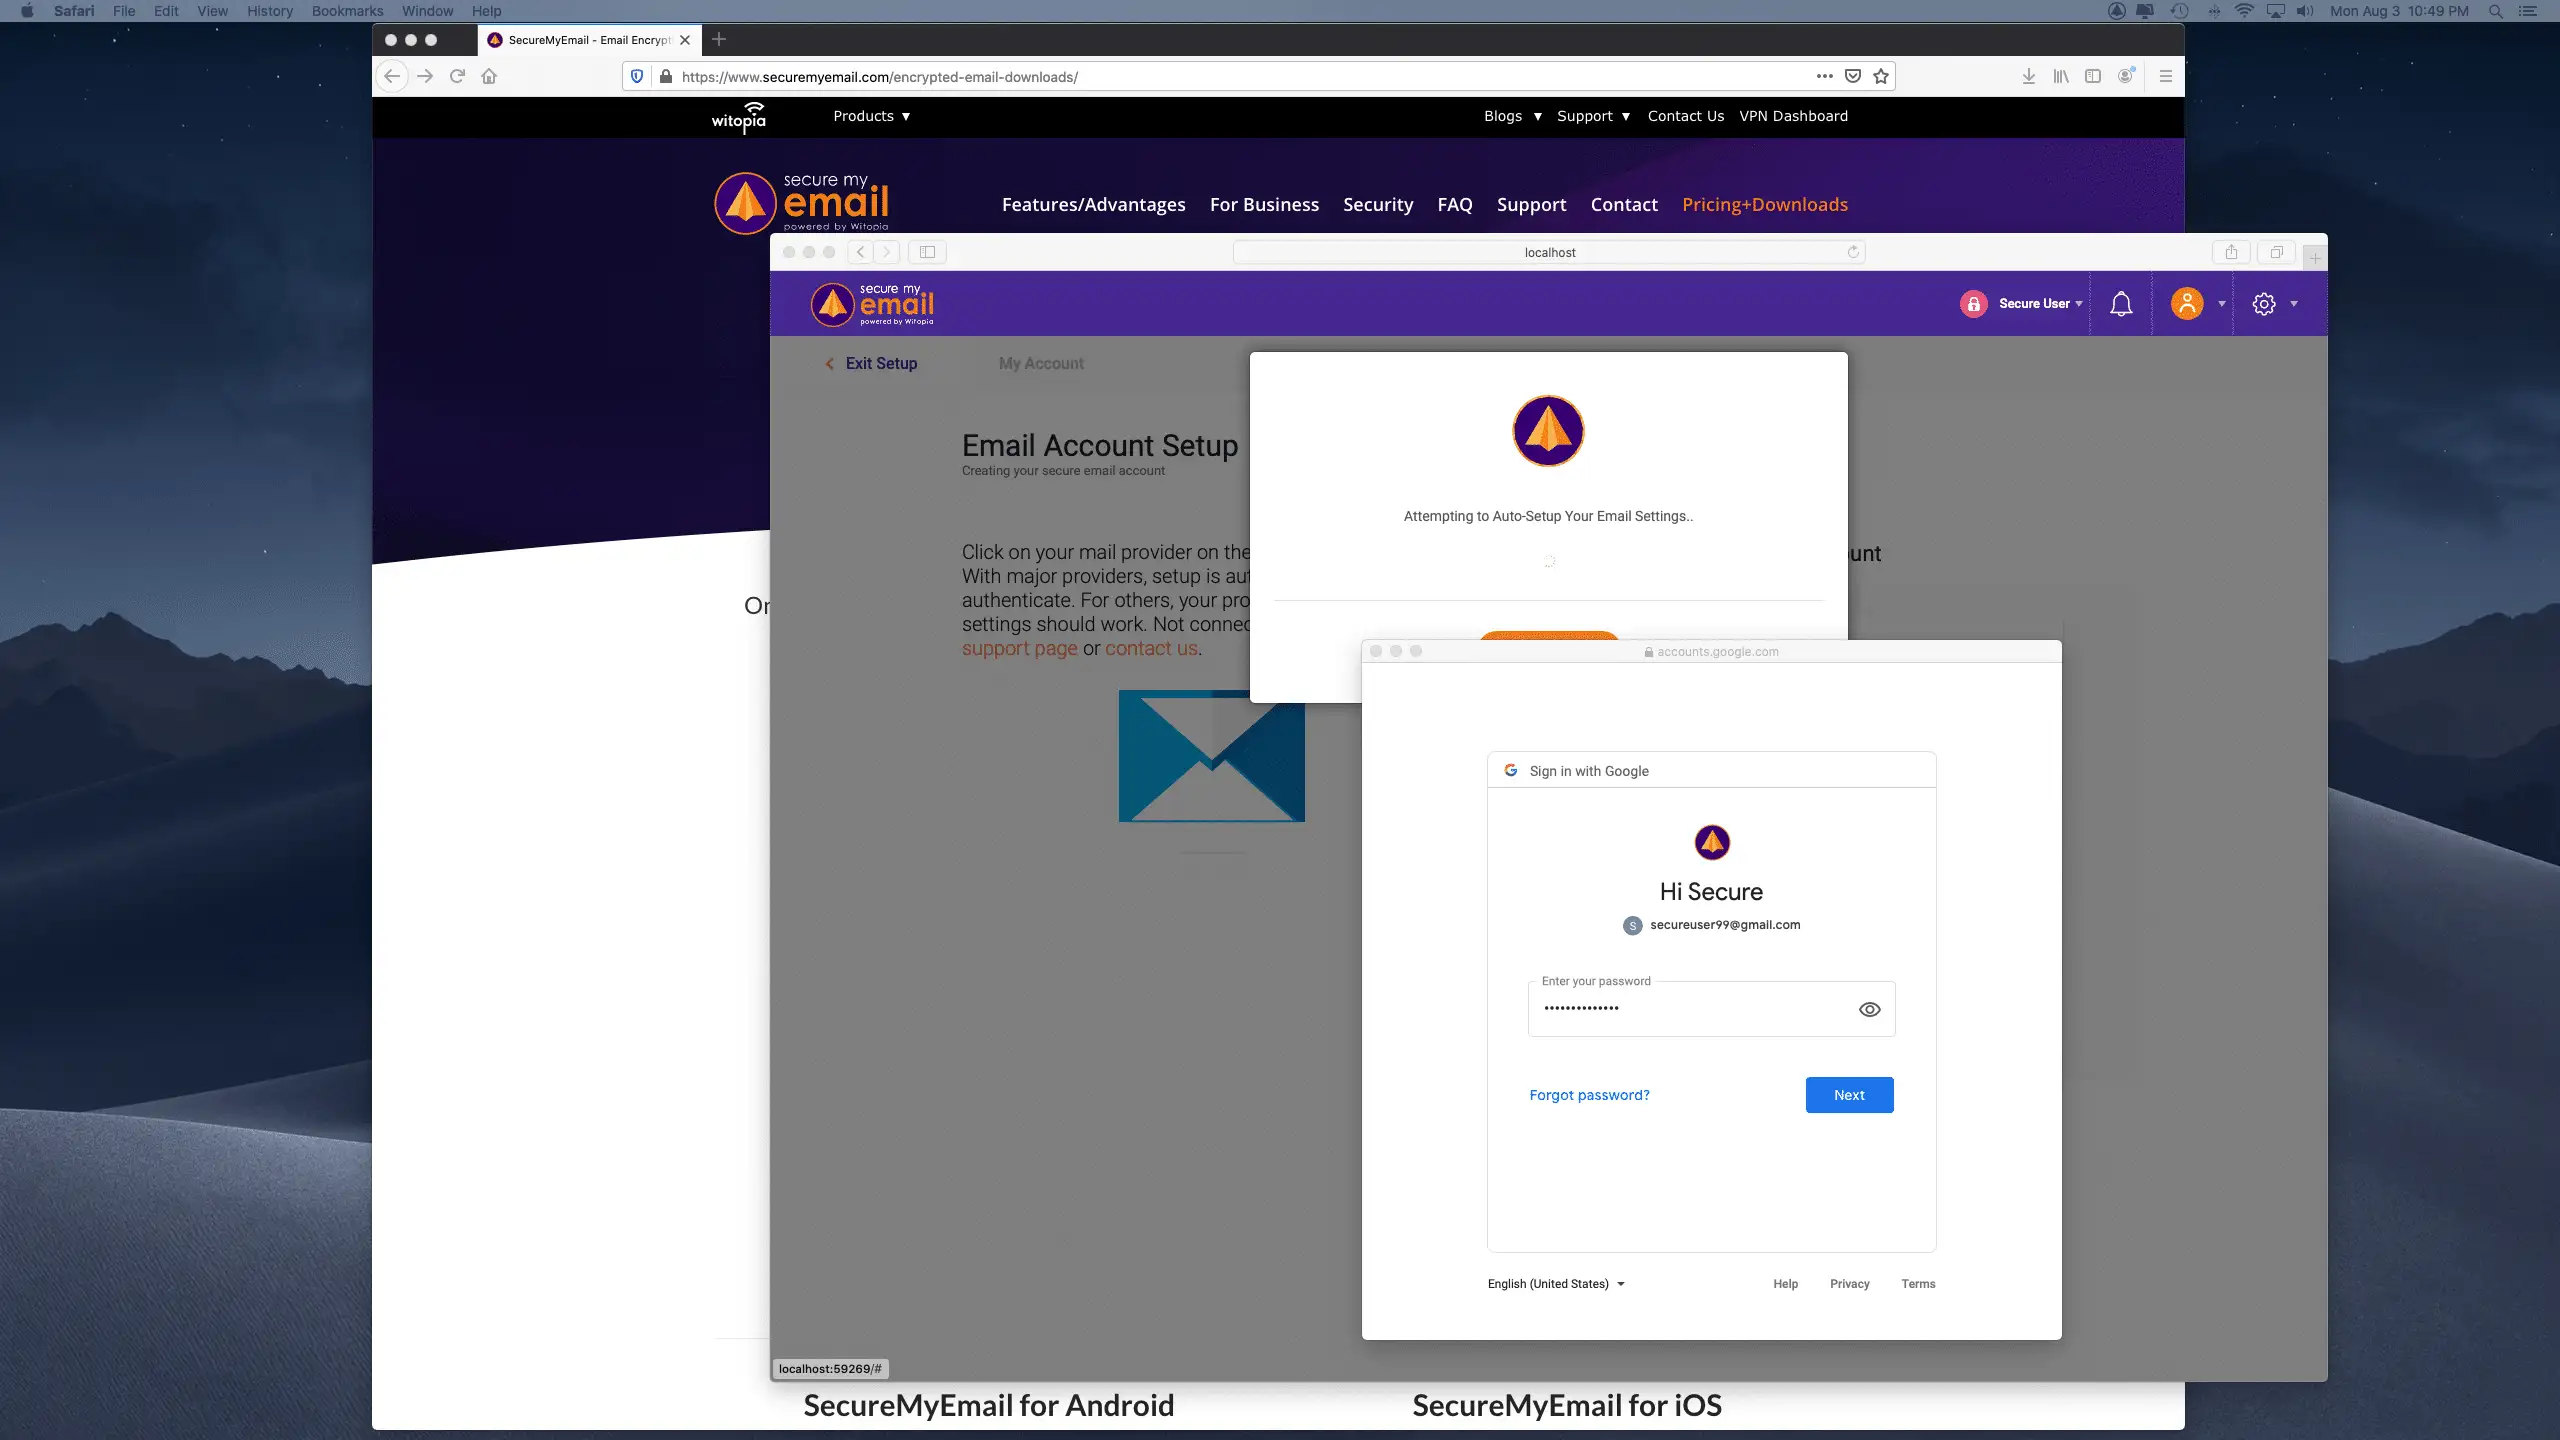
15. When you click Google, SecureMyEmail connects to Google so you can sign in and authorize the app to manage your email. Next few slides show how this looks with Google.With other providers it will look different or be manual input.
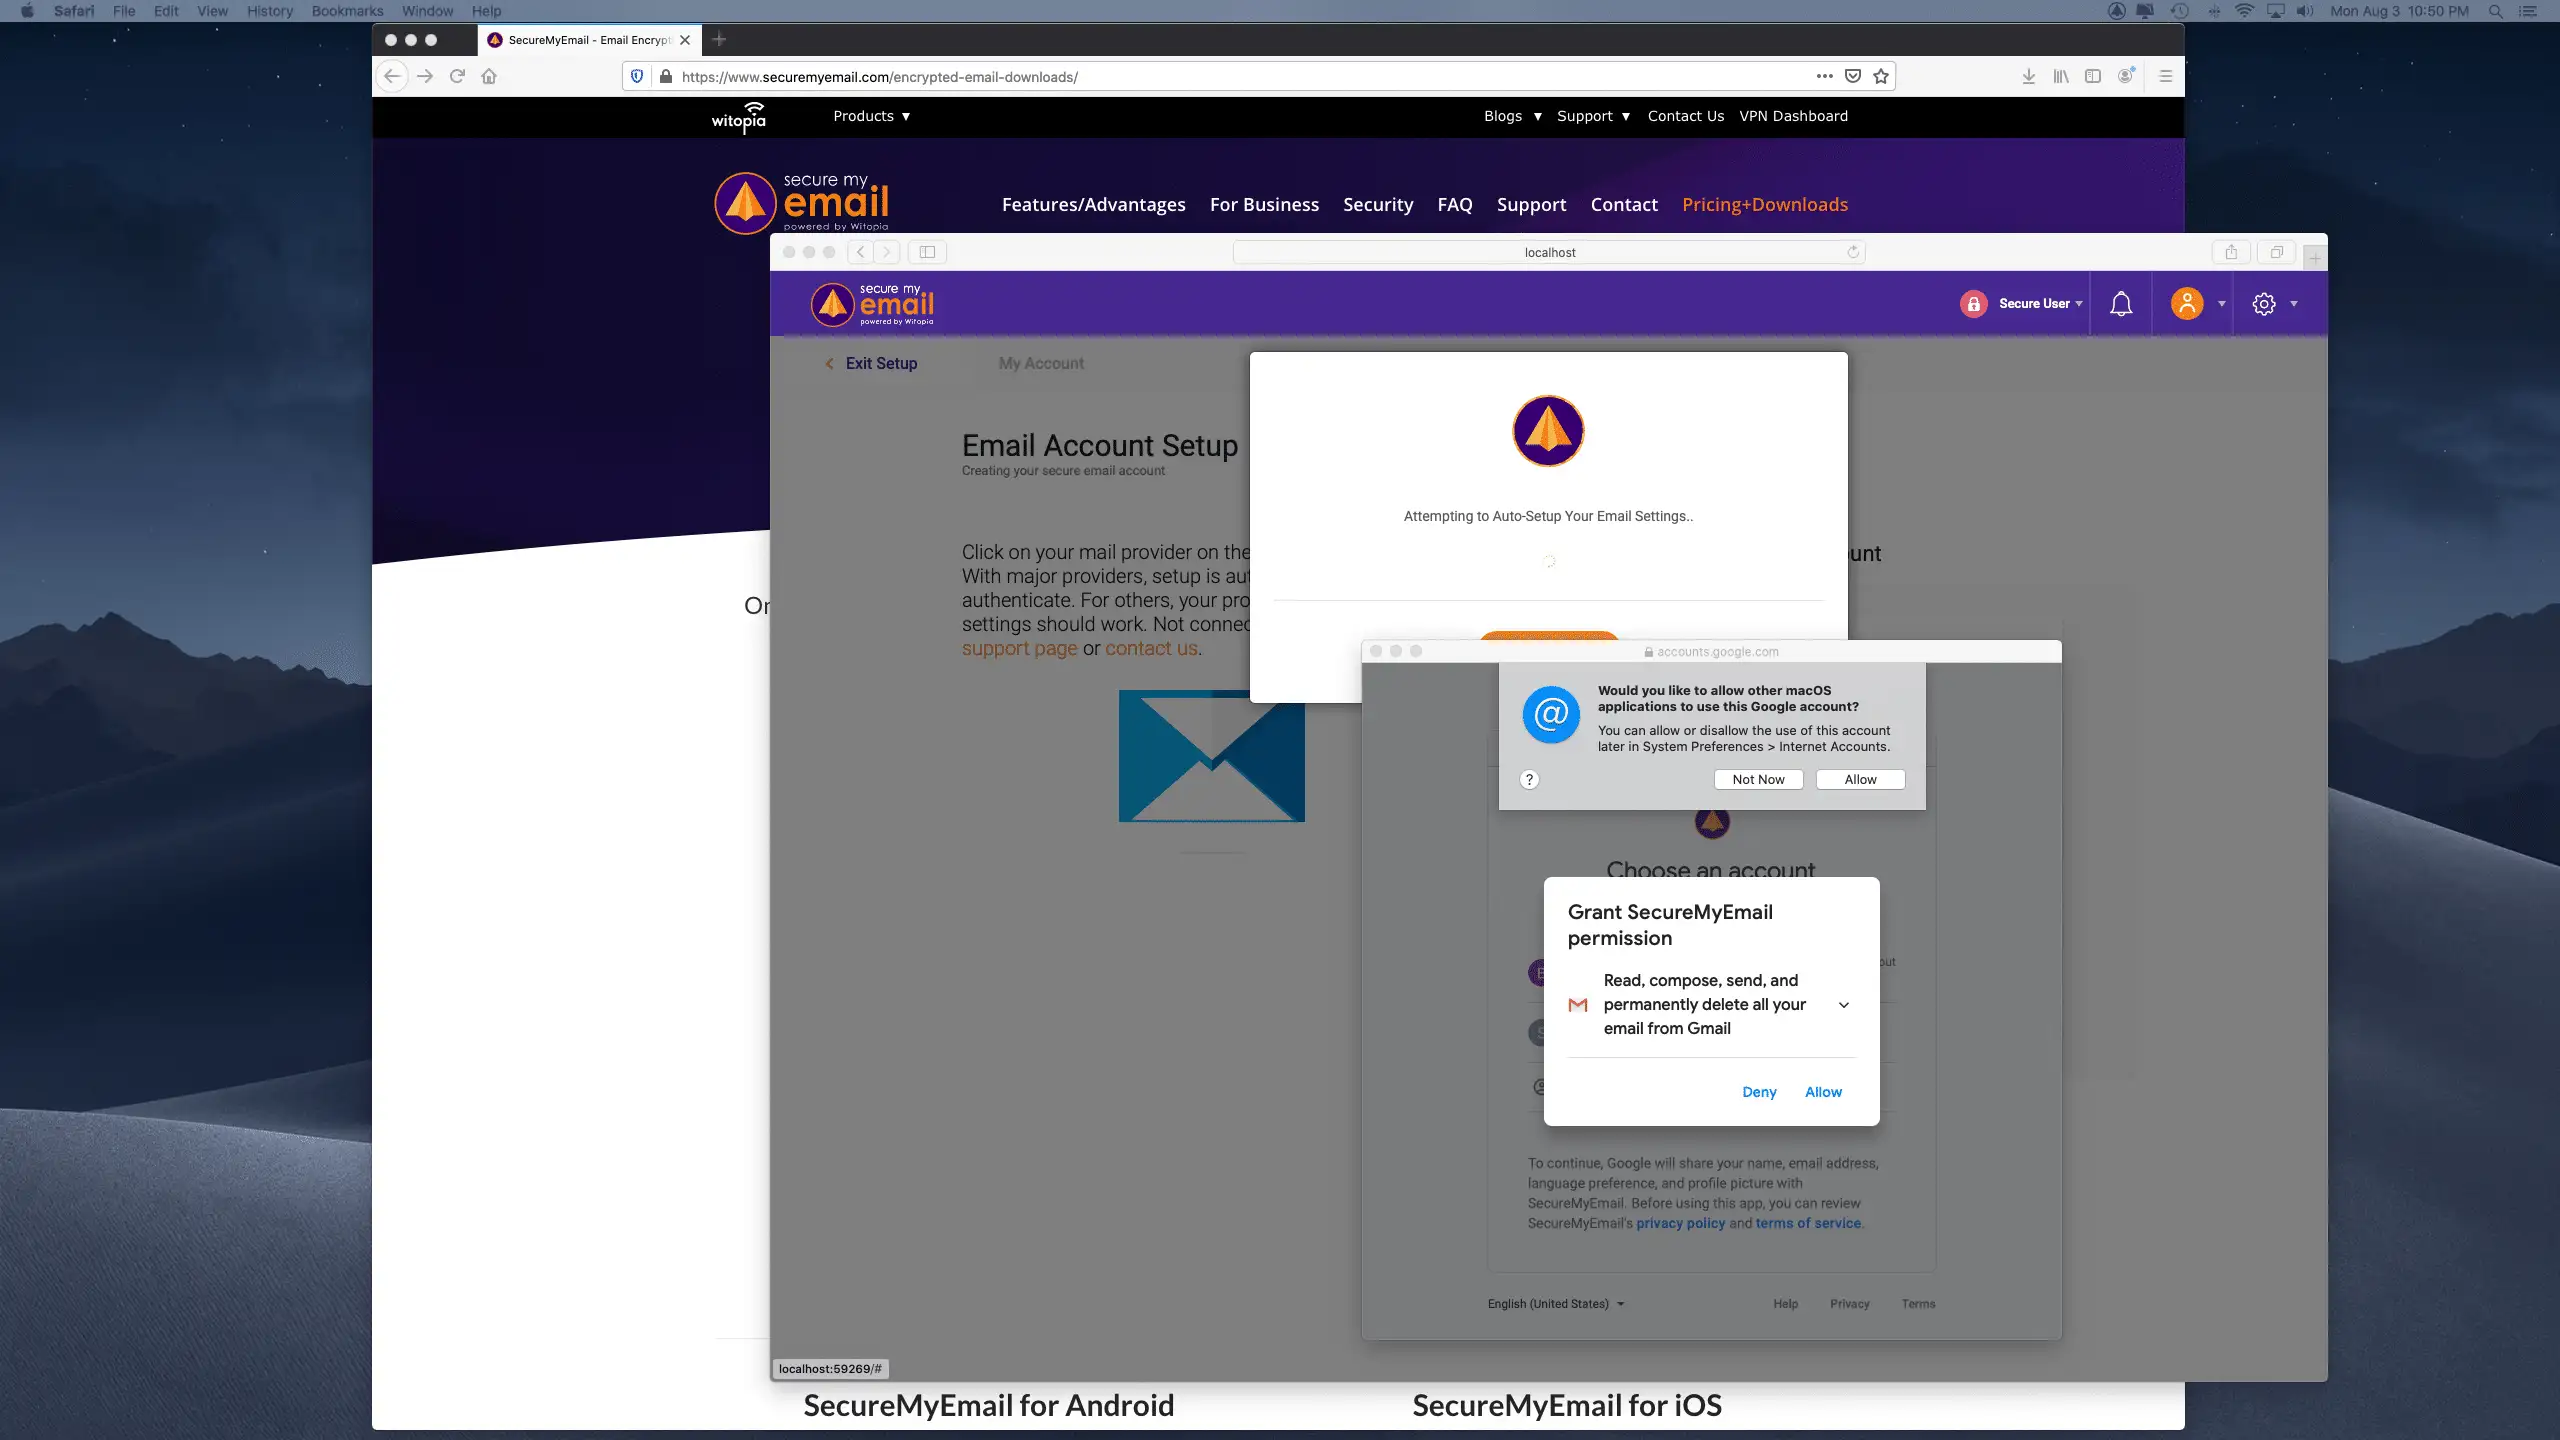
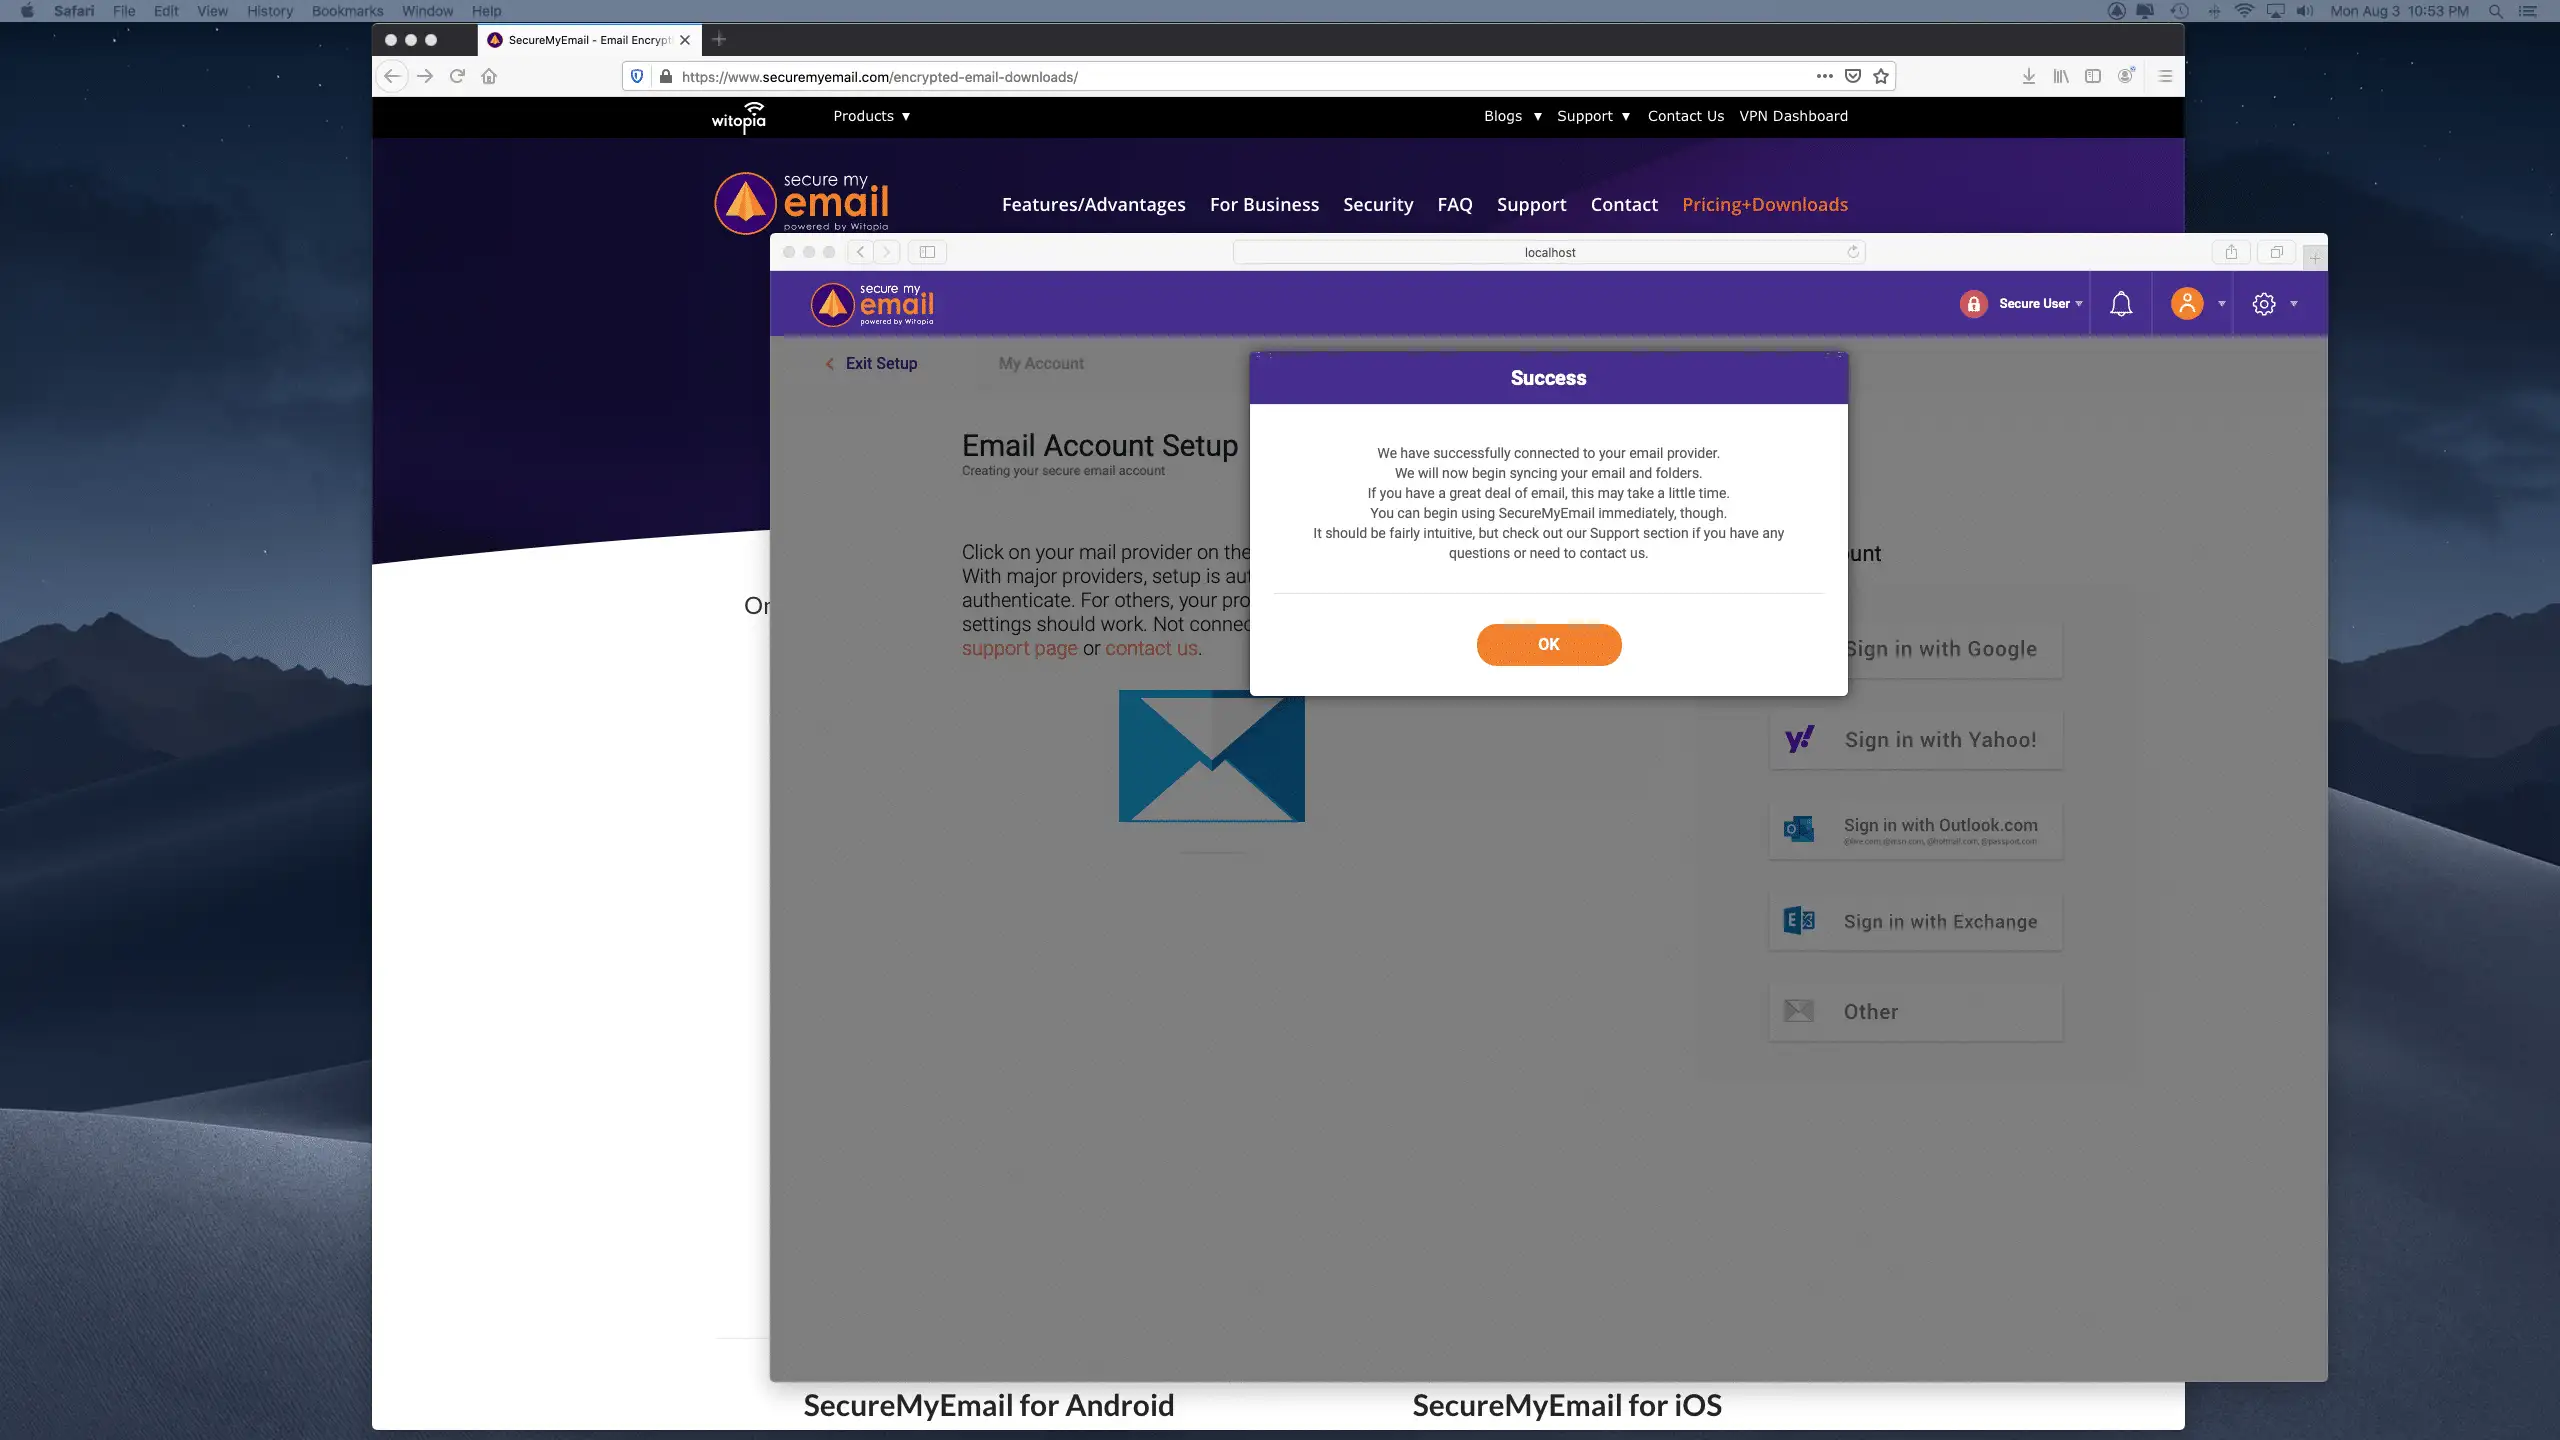
16. If all that goes okay, and we are able to connect to your provider, you’ll get a success message. If there is a problem, or you get an “unable to connect” message, double-check your settings and check out this article.
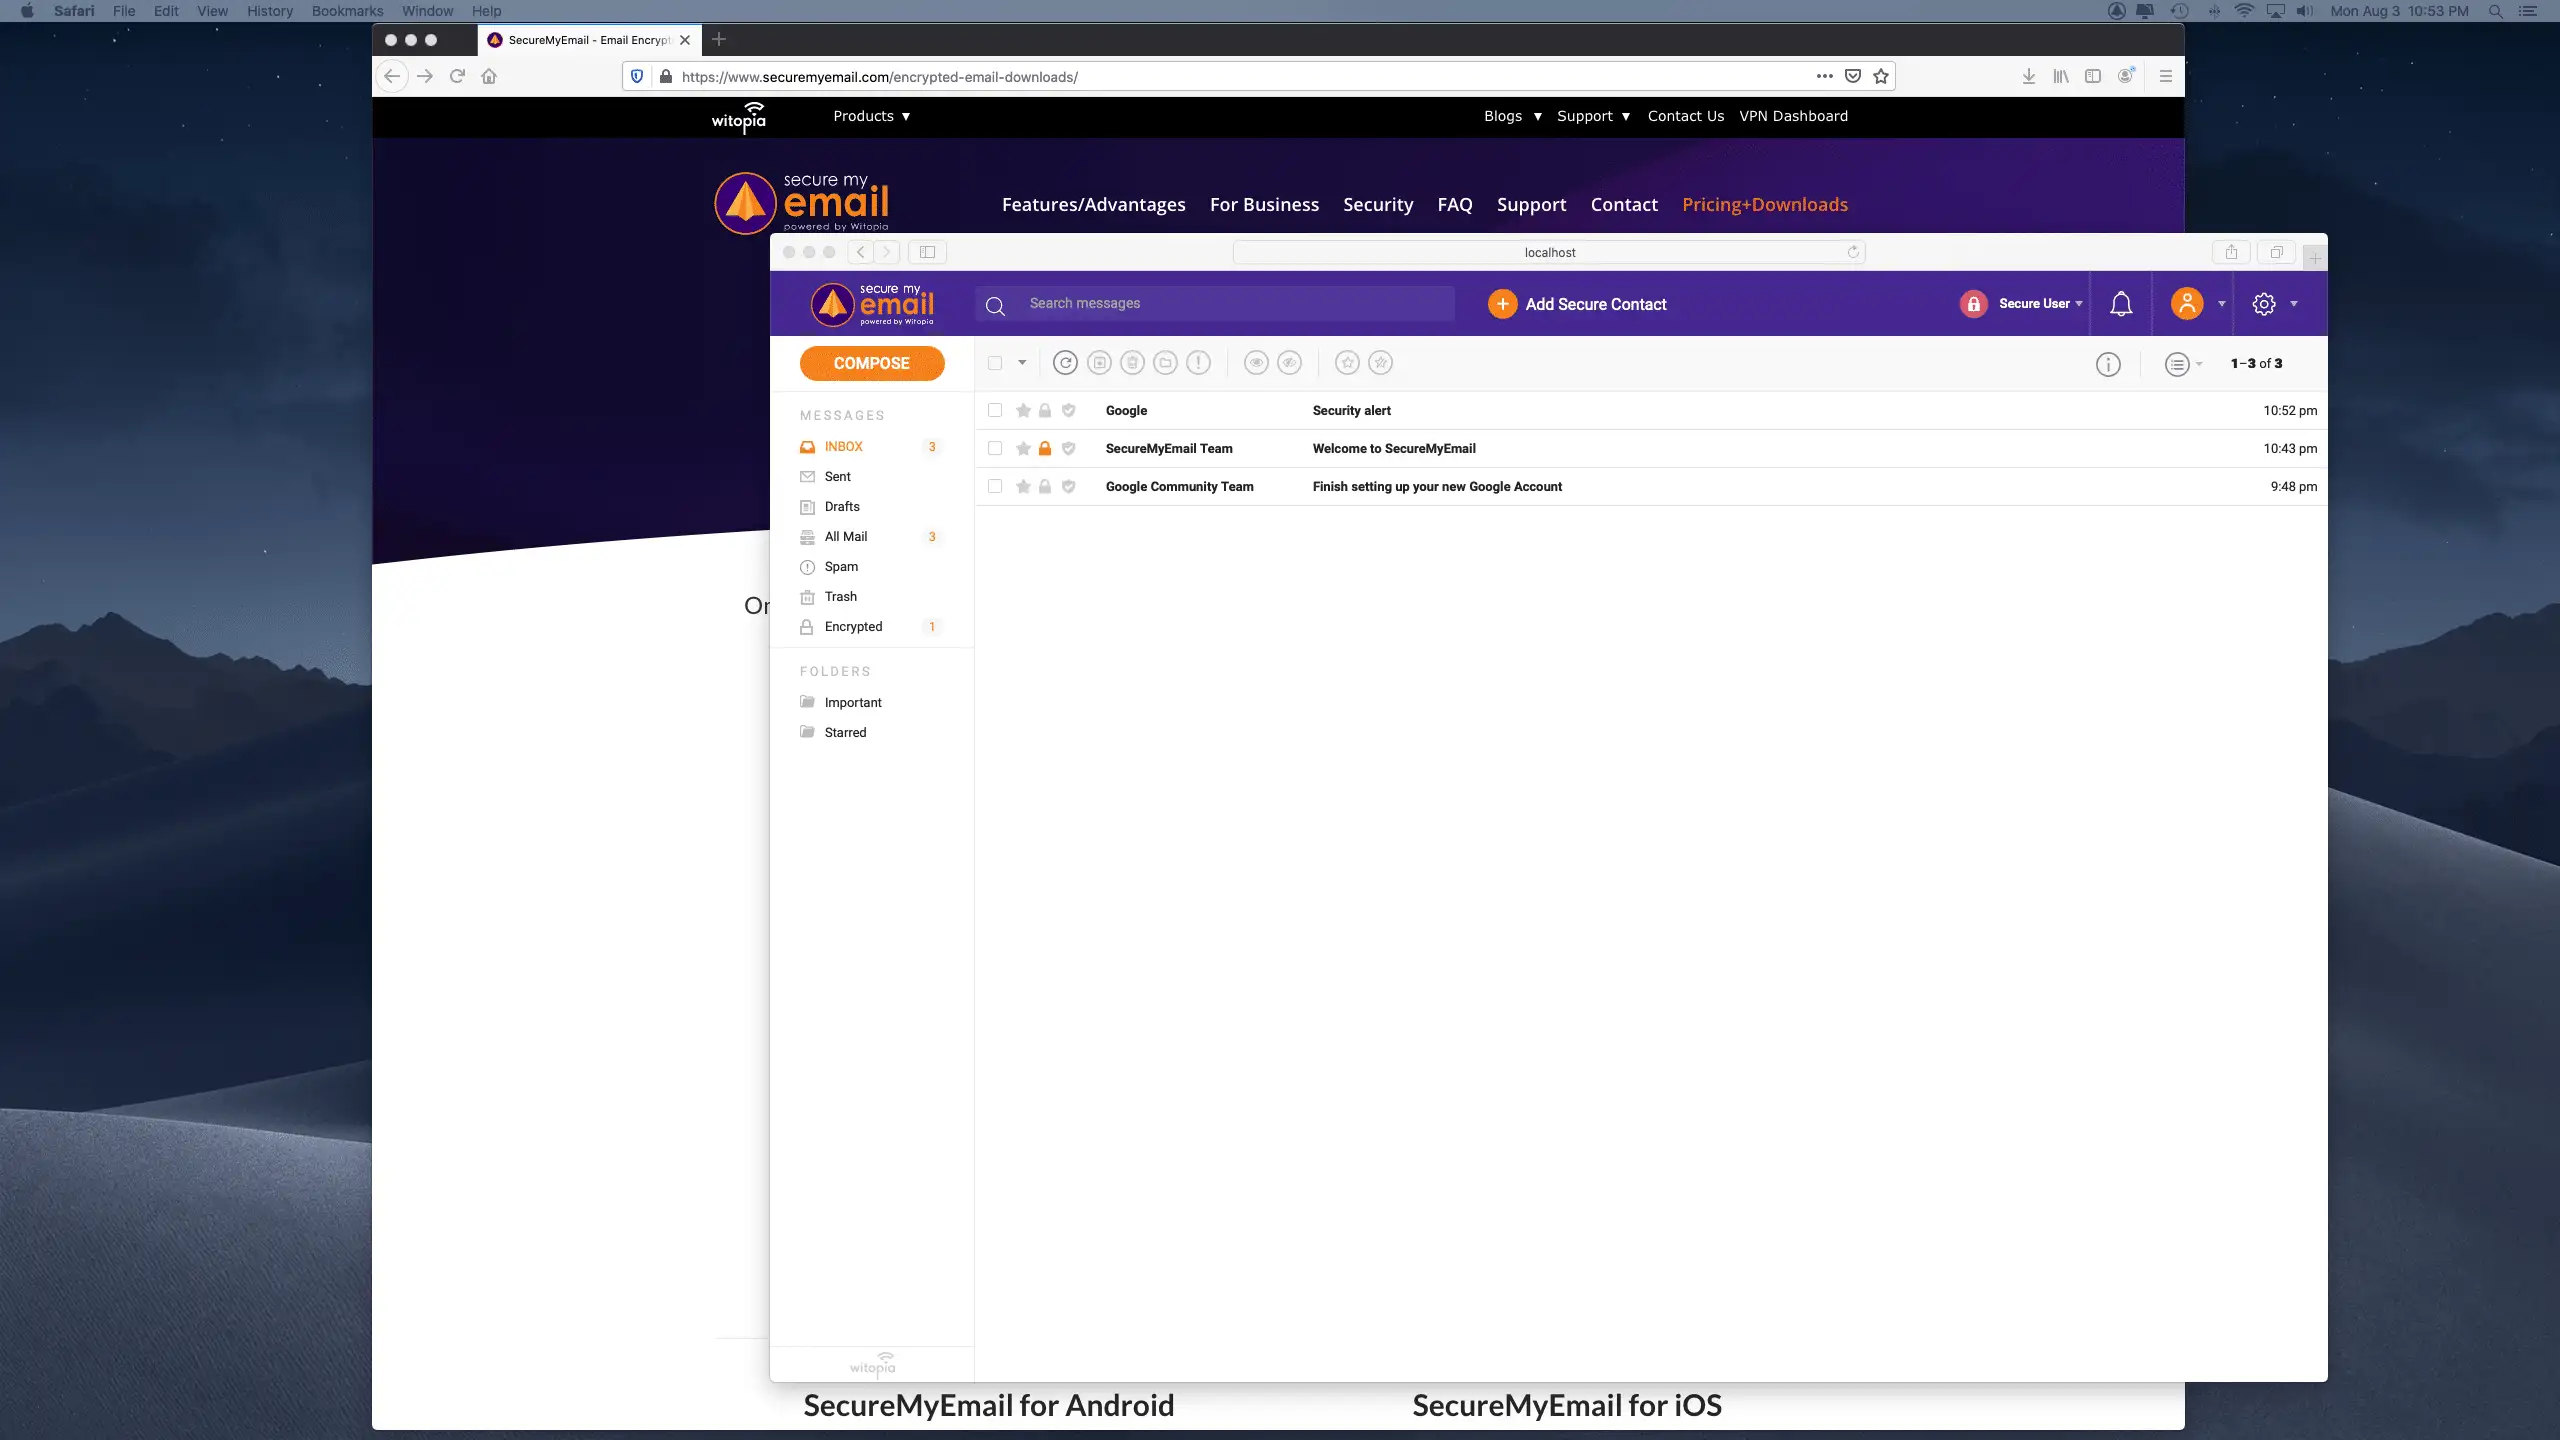
17. And….you’re done. You should be dropped in your INBOX and see your email start to load, including a Welcome Message from us. If your mail doesn’t load, maybe hit the reload icon, or maybe just wait a few. Why are you so impatient? What’s wrong?
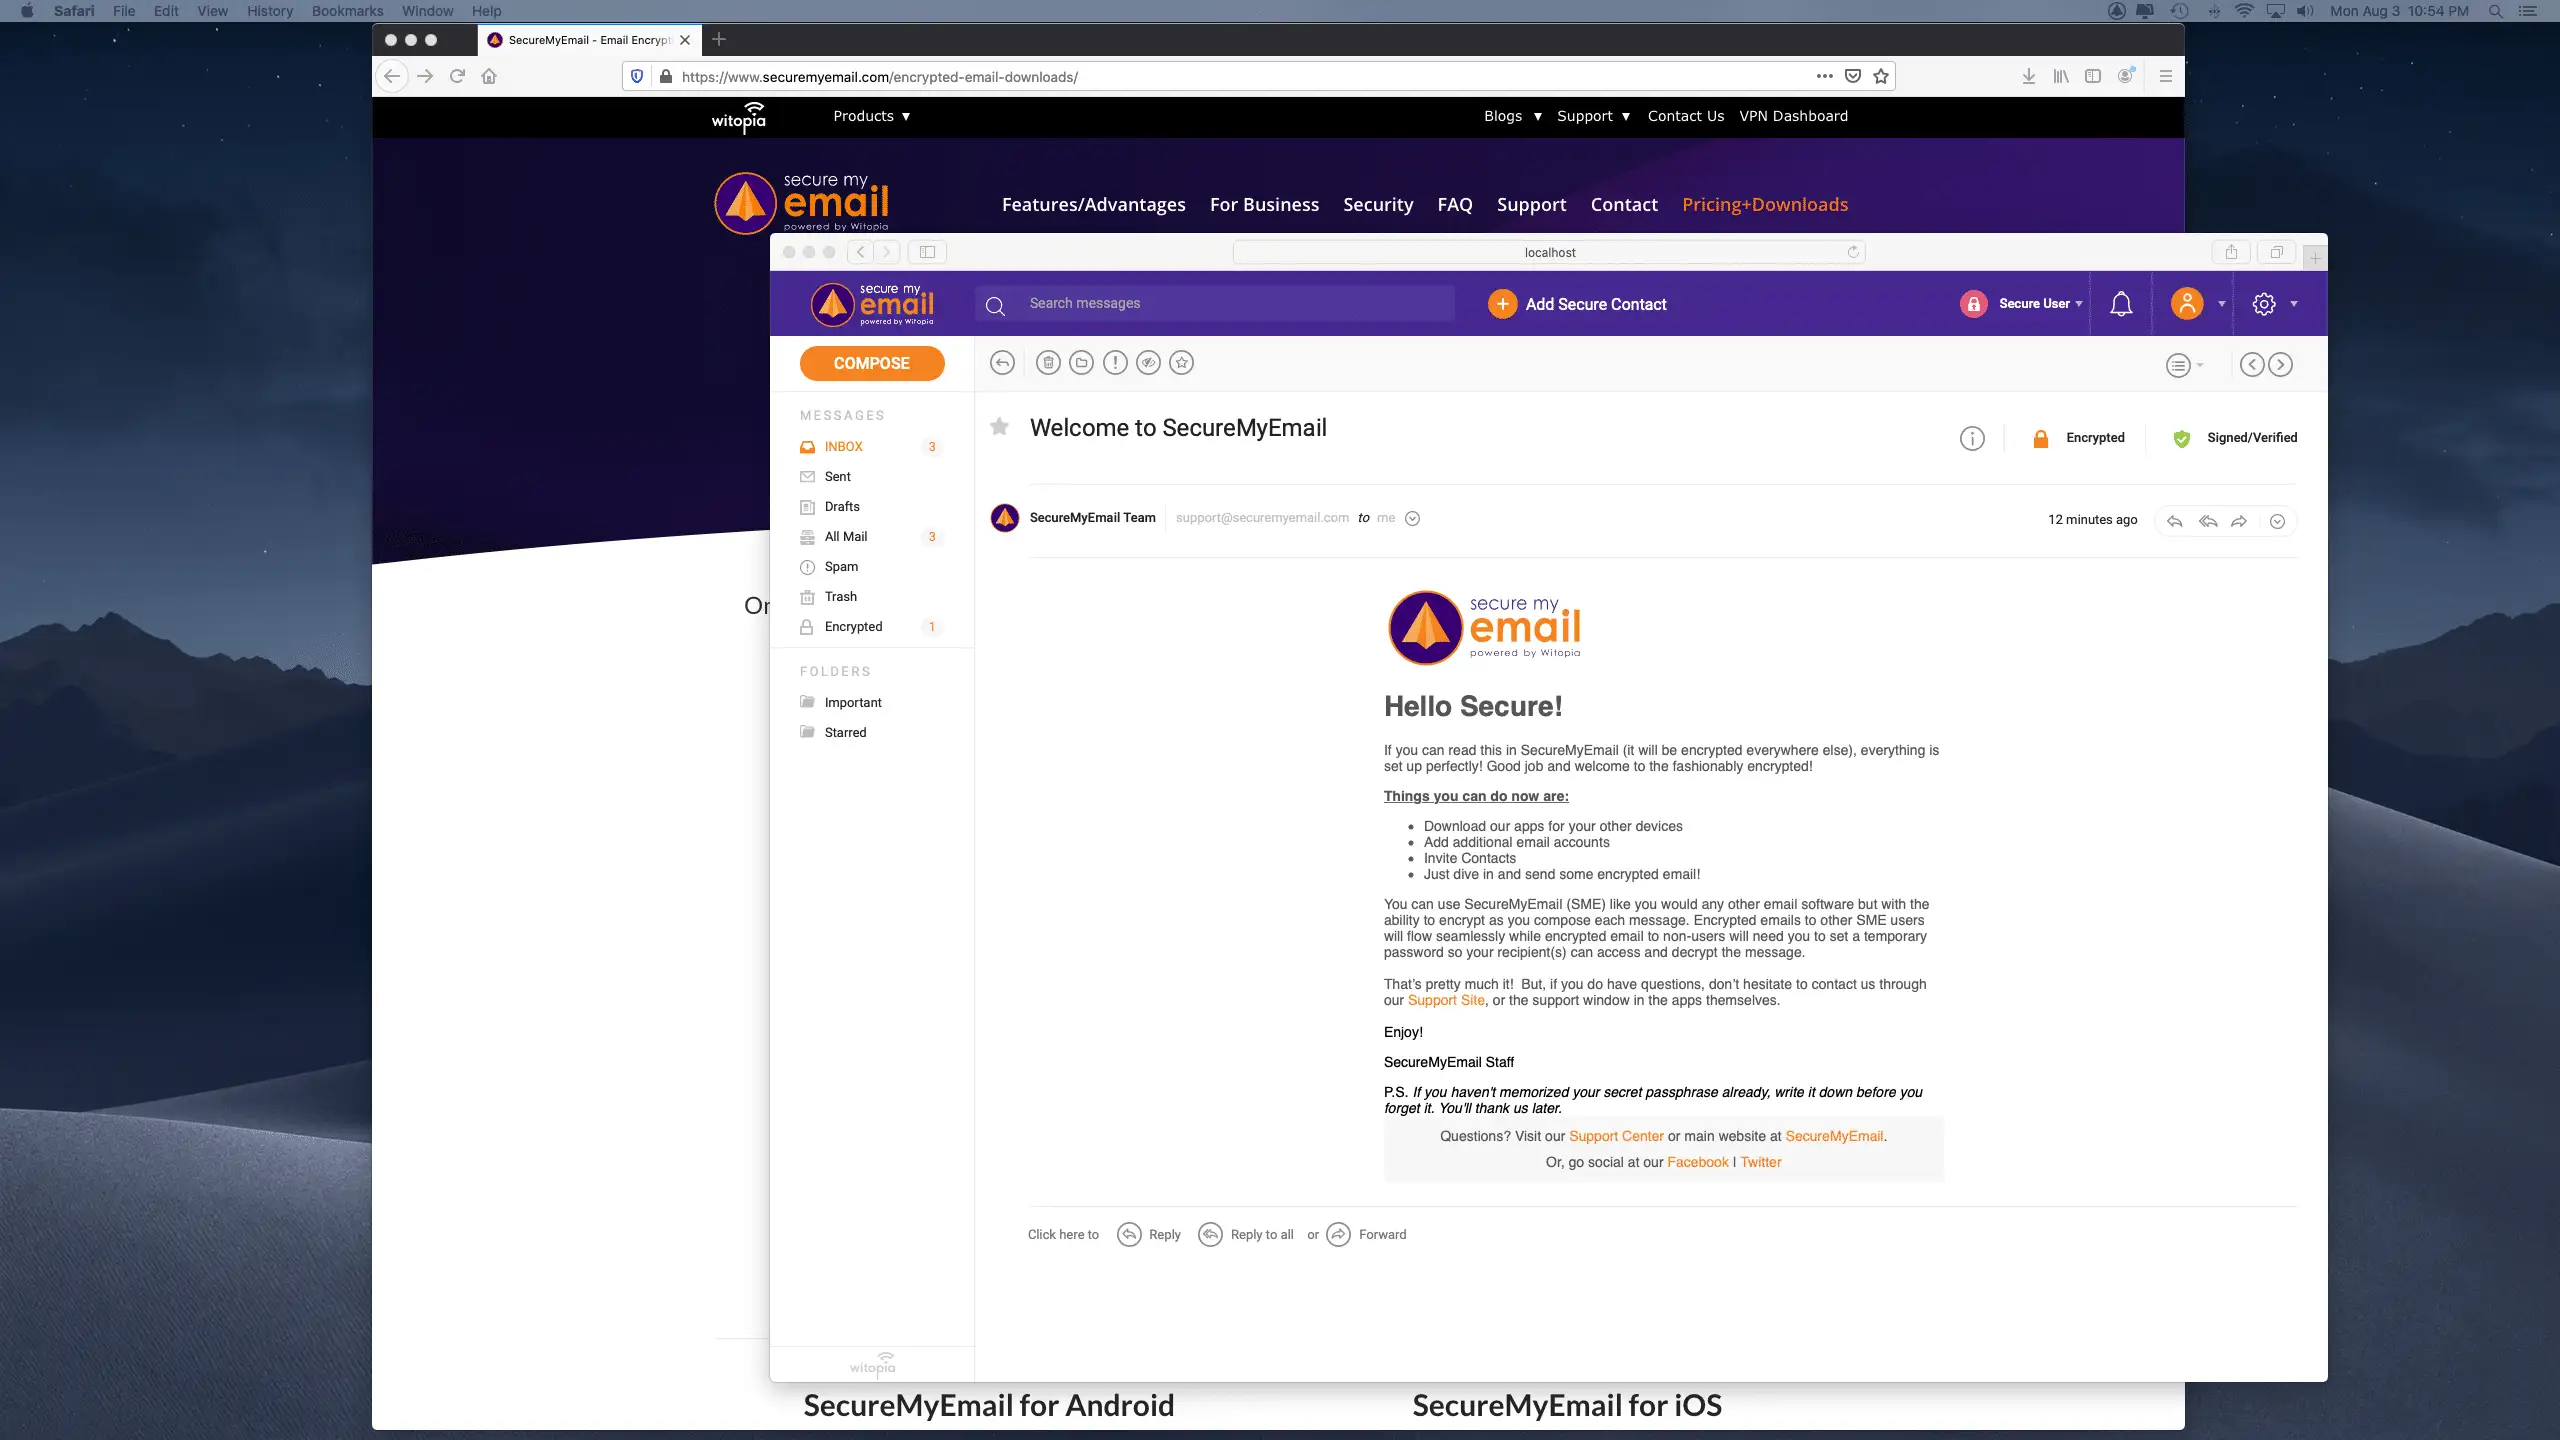
Ok. Now, feel free to take a look around. Again, we tried to make most features intuitive and have instructions built in. Or, maybe let’s send an encrypted email to someone?