Have a question?
Support Categories
- Account and Billing
- Email setup
- Security
- Settings menu & tips
- Troubleshooting
How to set up Encrypted Email on iOS and Android
We designed SecureMyEmail to be intuitive and built in many instructions. Still, we hope you find this guide helpful. As all the apps are virtually identical, we’ll just use screenshots of our iOS app to walk you through a typical setup.
IMPORTANT TROUBLESHOOTING NOTES: Here are some items that can cause issues that you may want to check beforehand, or continue install and see if there is an issue and correct:
You must have SMTP and/or IMAP enabled with your email provider. Usually this is no issue, especially if you are already using email with a non-webmail email client. We typically only see this with outlook.com accounts (especially if purchased through GoDaddy), but if you have issues with your email loading, this could be the issue.
Certain VPNs (ours, and many others, work just fine, but those that filter or interfere with your traffic can cause issues), Antivirus, Ad Blockers, Firewalls, or other security software such as Windows Defender, may cause issues with setup or connecting. Usually we only see this on Windows PCs and it is easily remedied by "allowing" SecureMyEmail.
Create your Account
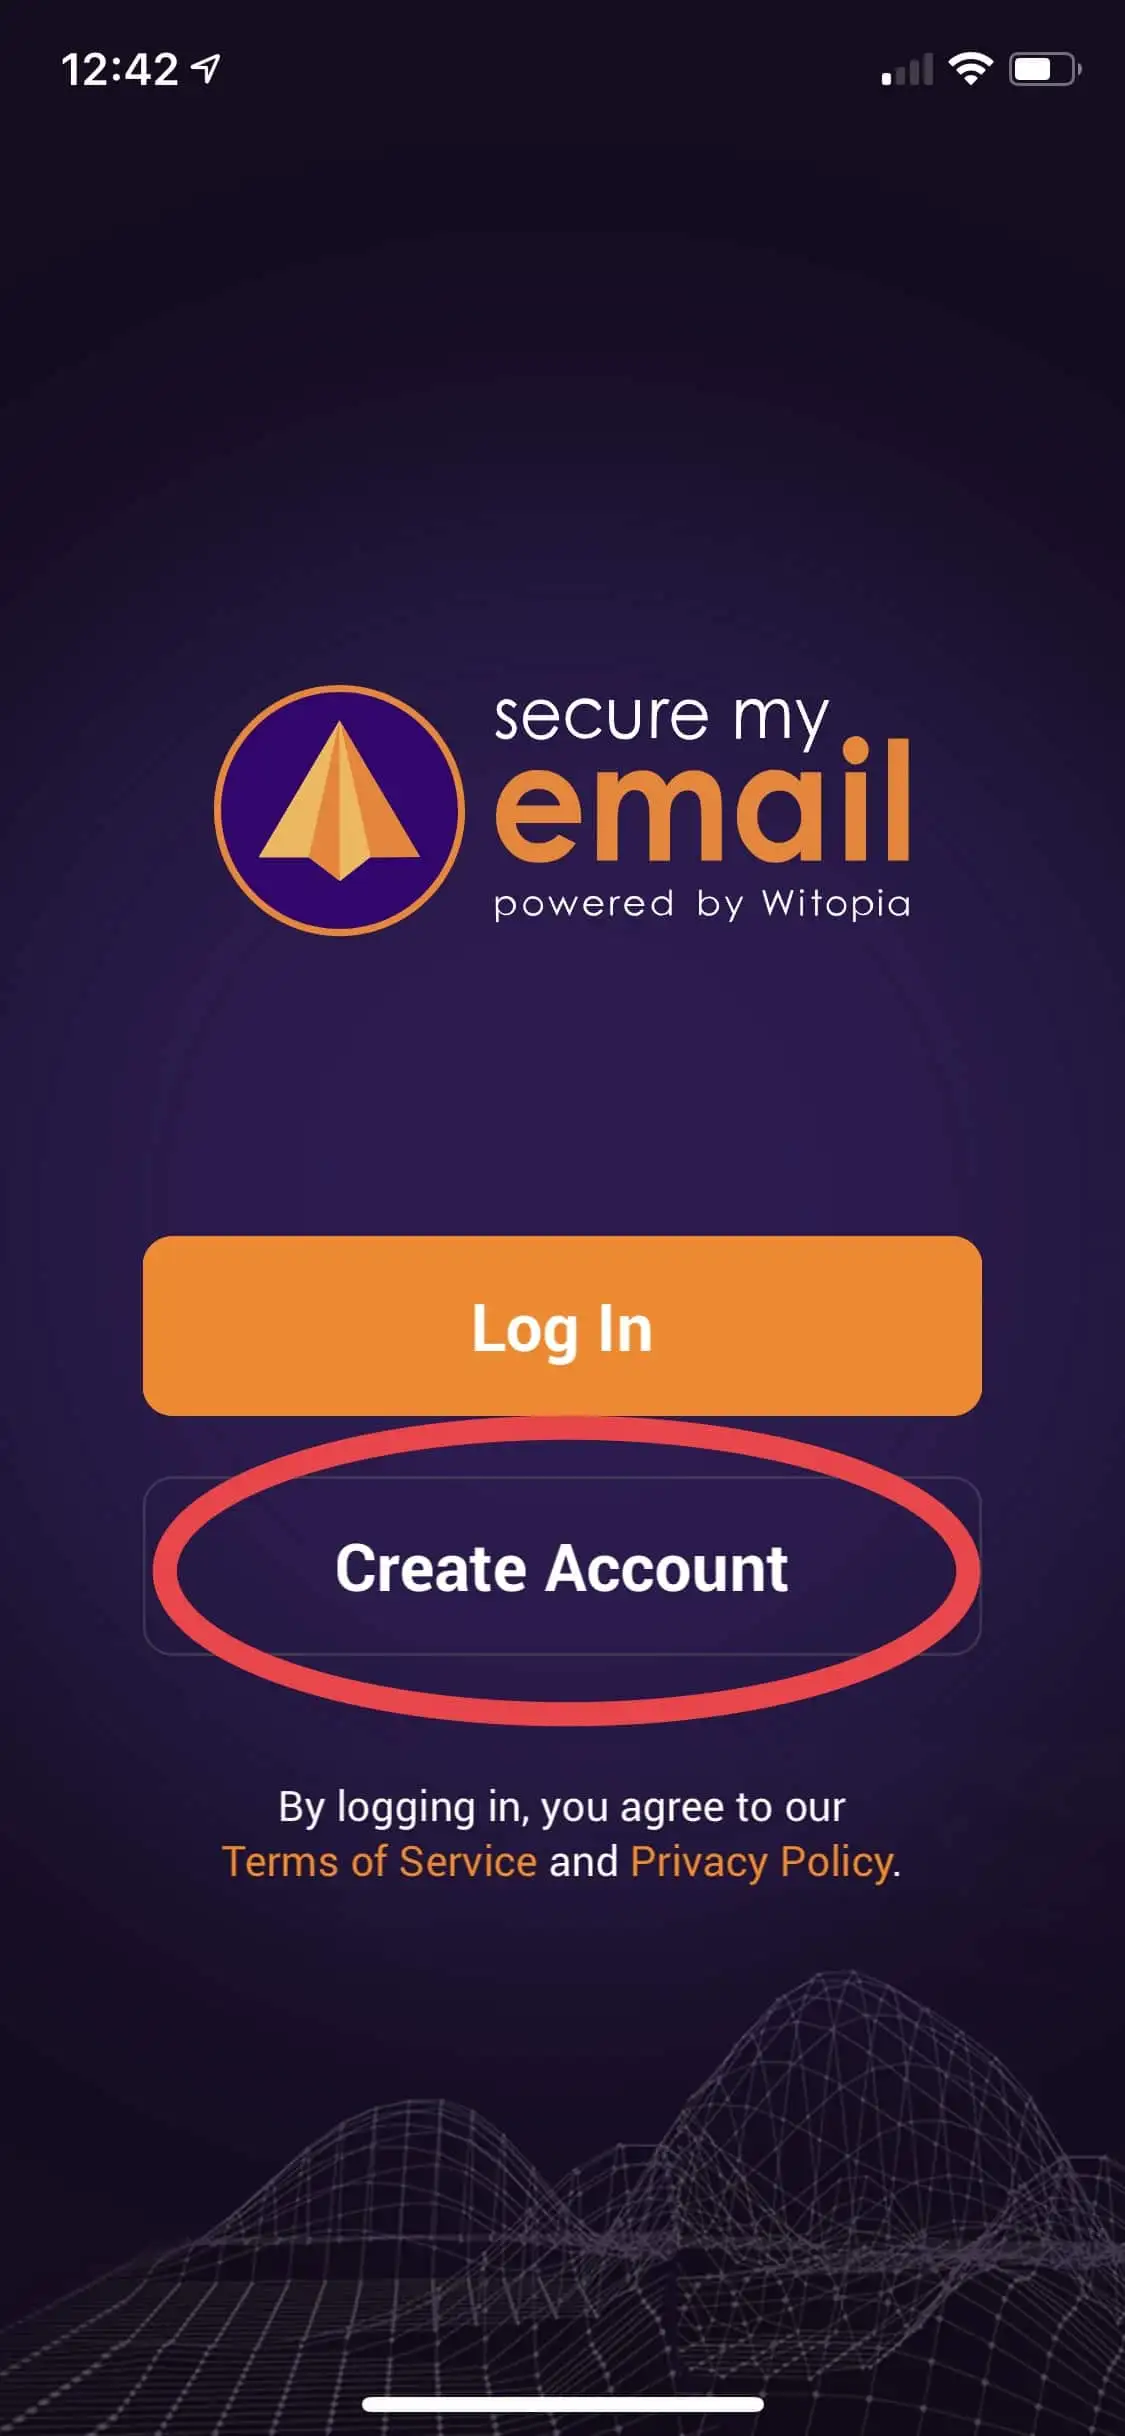
After installing software, choose “Create Account.”
Enter your information
 NOTE FOR CURRENT PGP USERS: If you wish to use your current PGP keys with SecureMyEmail, you will need to start with our Mac or Windows software. During setup, you will be able to import your existing keys. You can also import them later from Settings>>Advanced >>Import PGP Key.
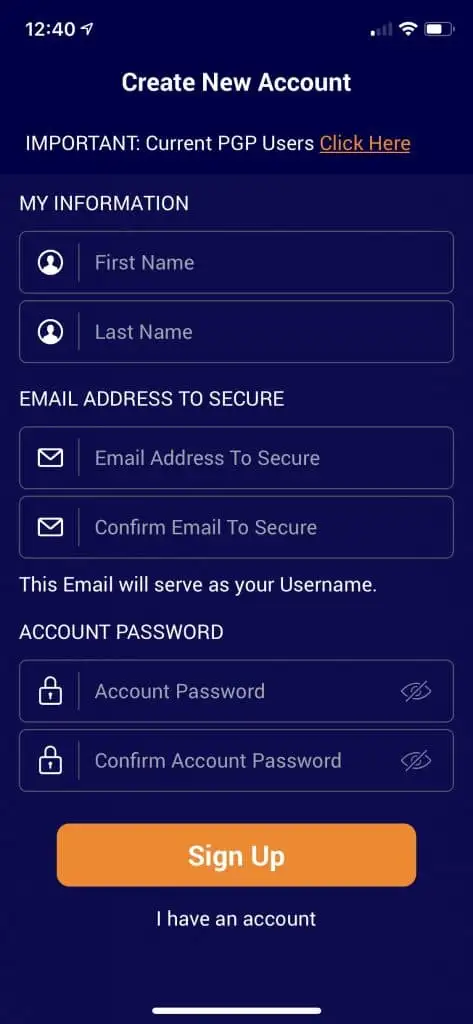
First Name /Last Name – This will be your account name. Your email display names will be what you already have for each specific email address already.
Email Address To Secure – This should be the first email address you wish to provide encryption for and will serve as your Primary Email account and Account Username. It can be changed later in Email Settings once you add additional email addresses.
Account Password – This will be your overall SecureMyEmail account password, but NOT the same as your individual email account passwords, or your secret encryption passphrase.
Click “Sign Up”
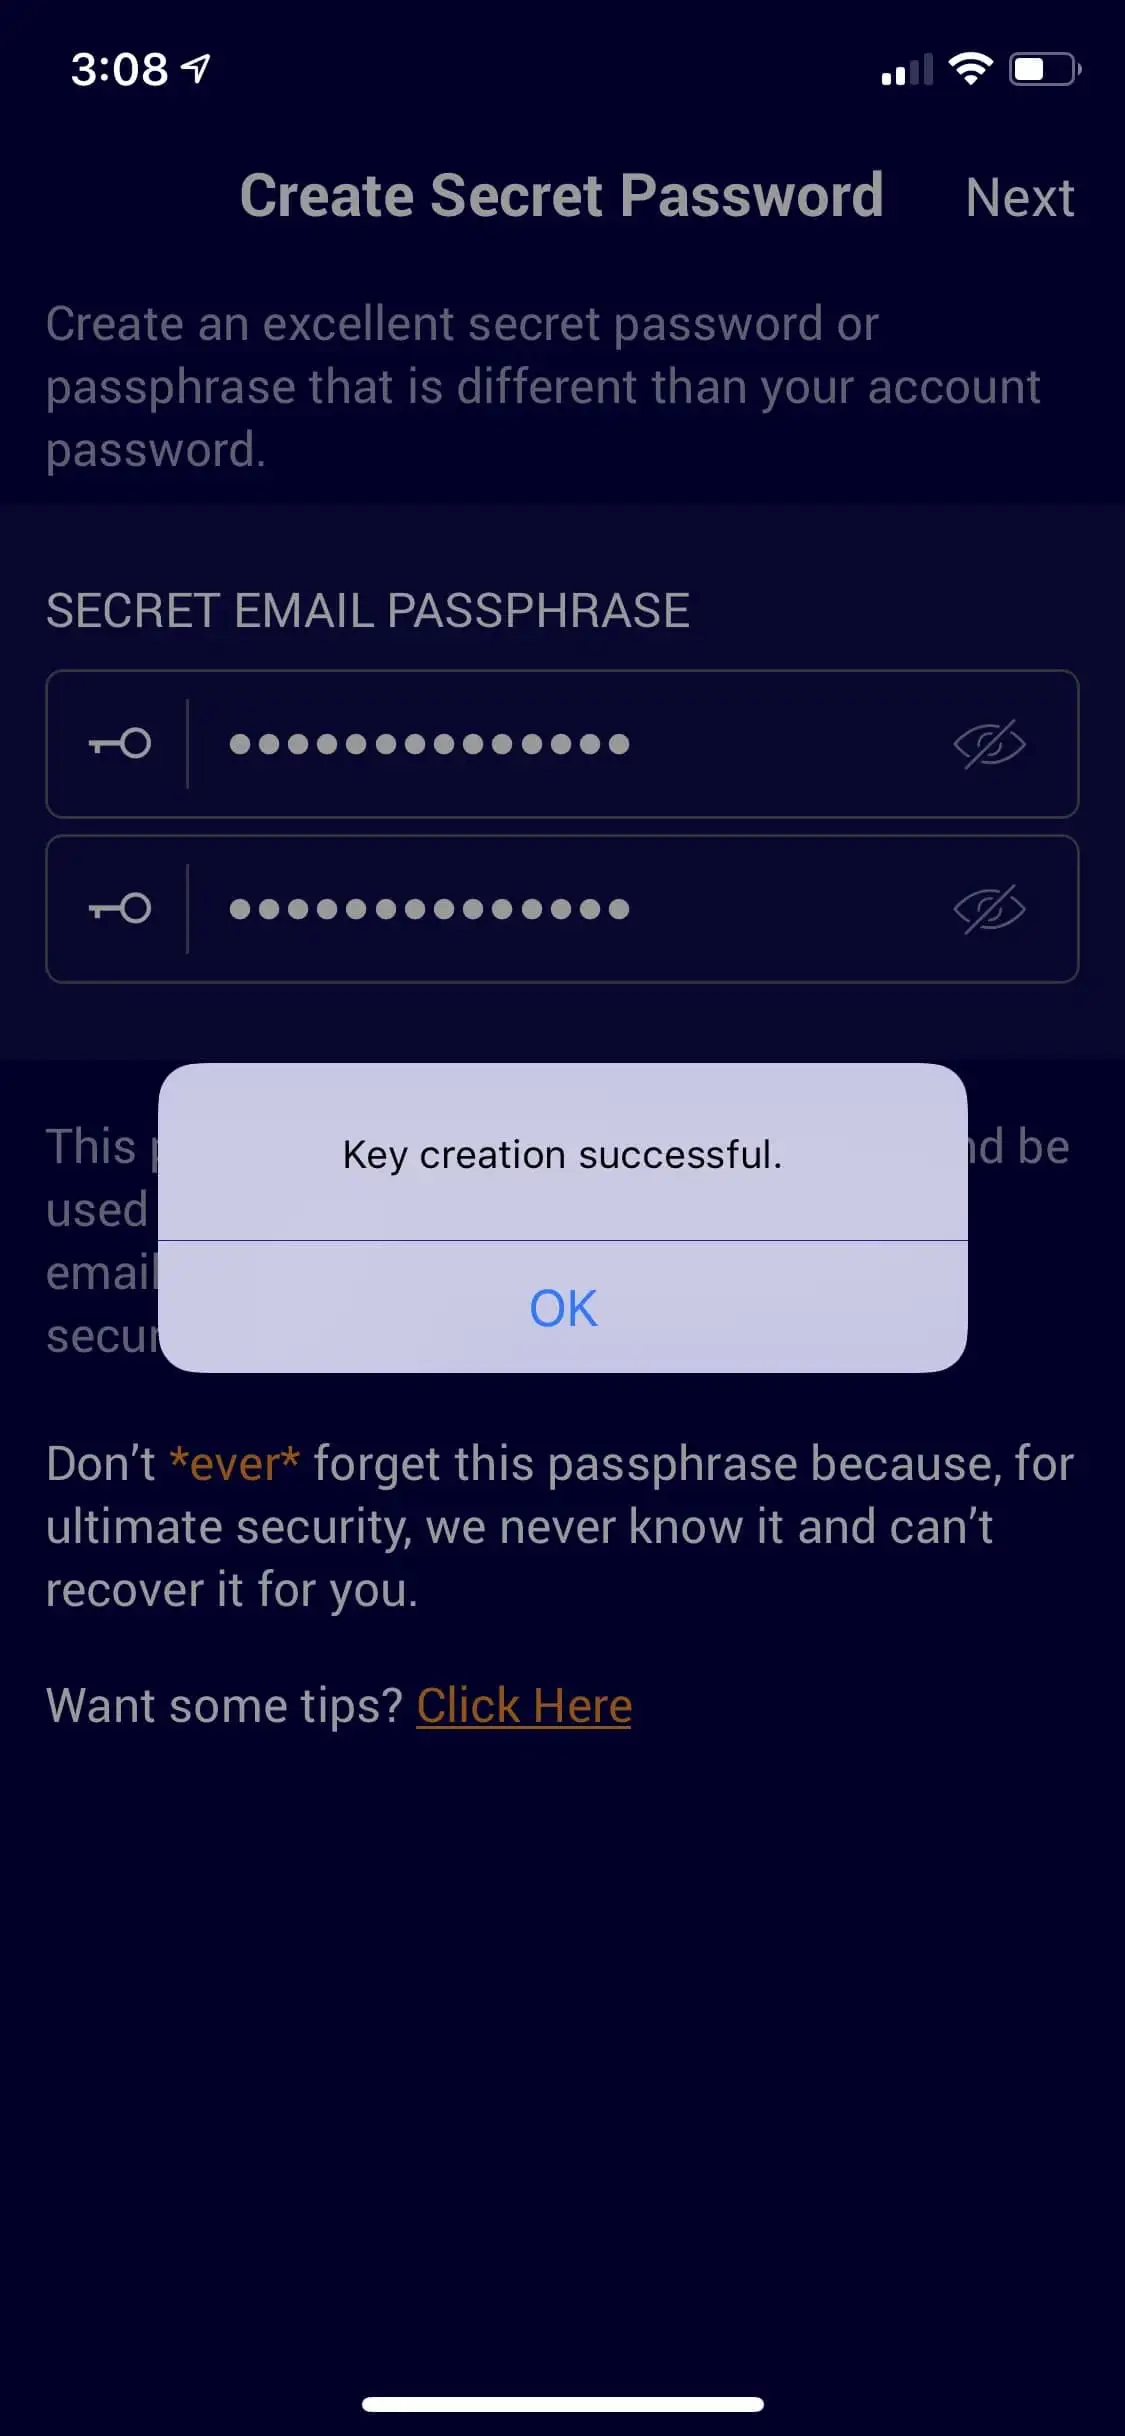
Create Secret Password/Passphrase
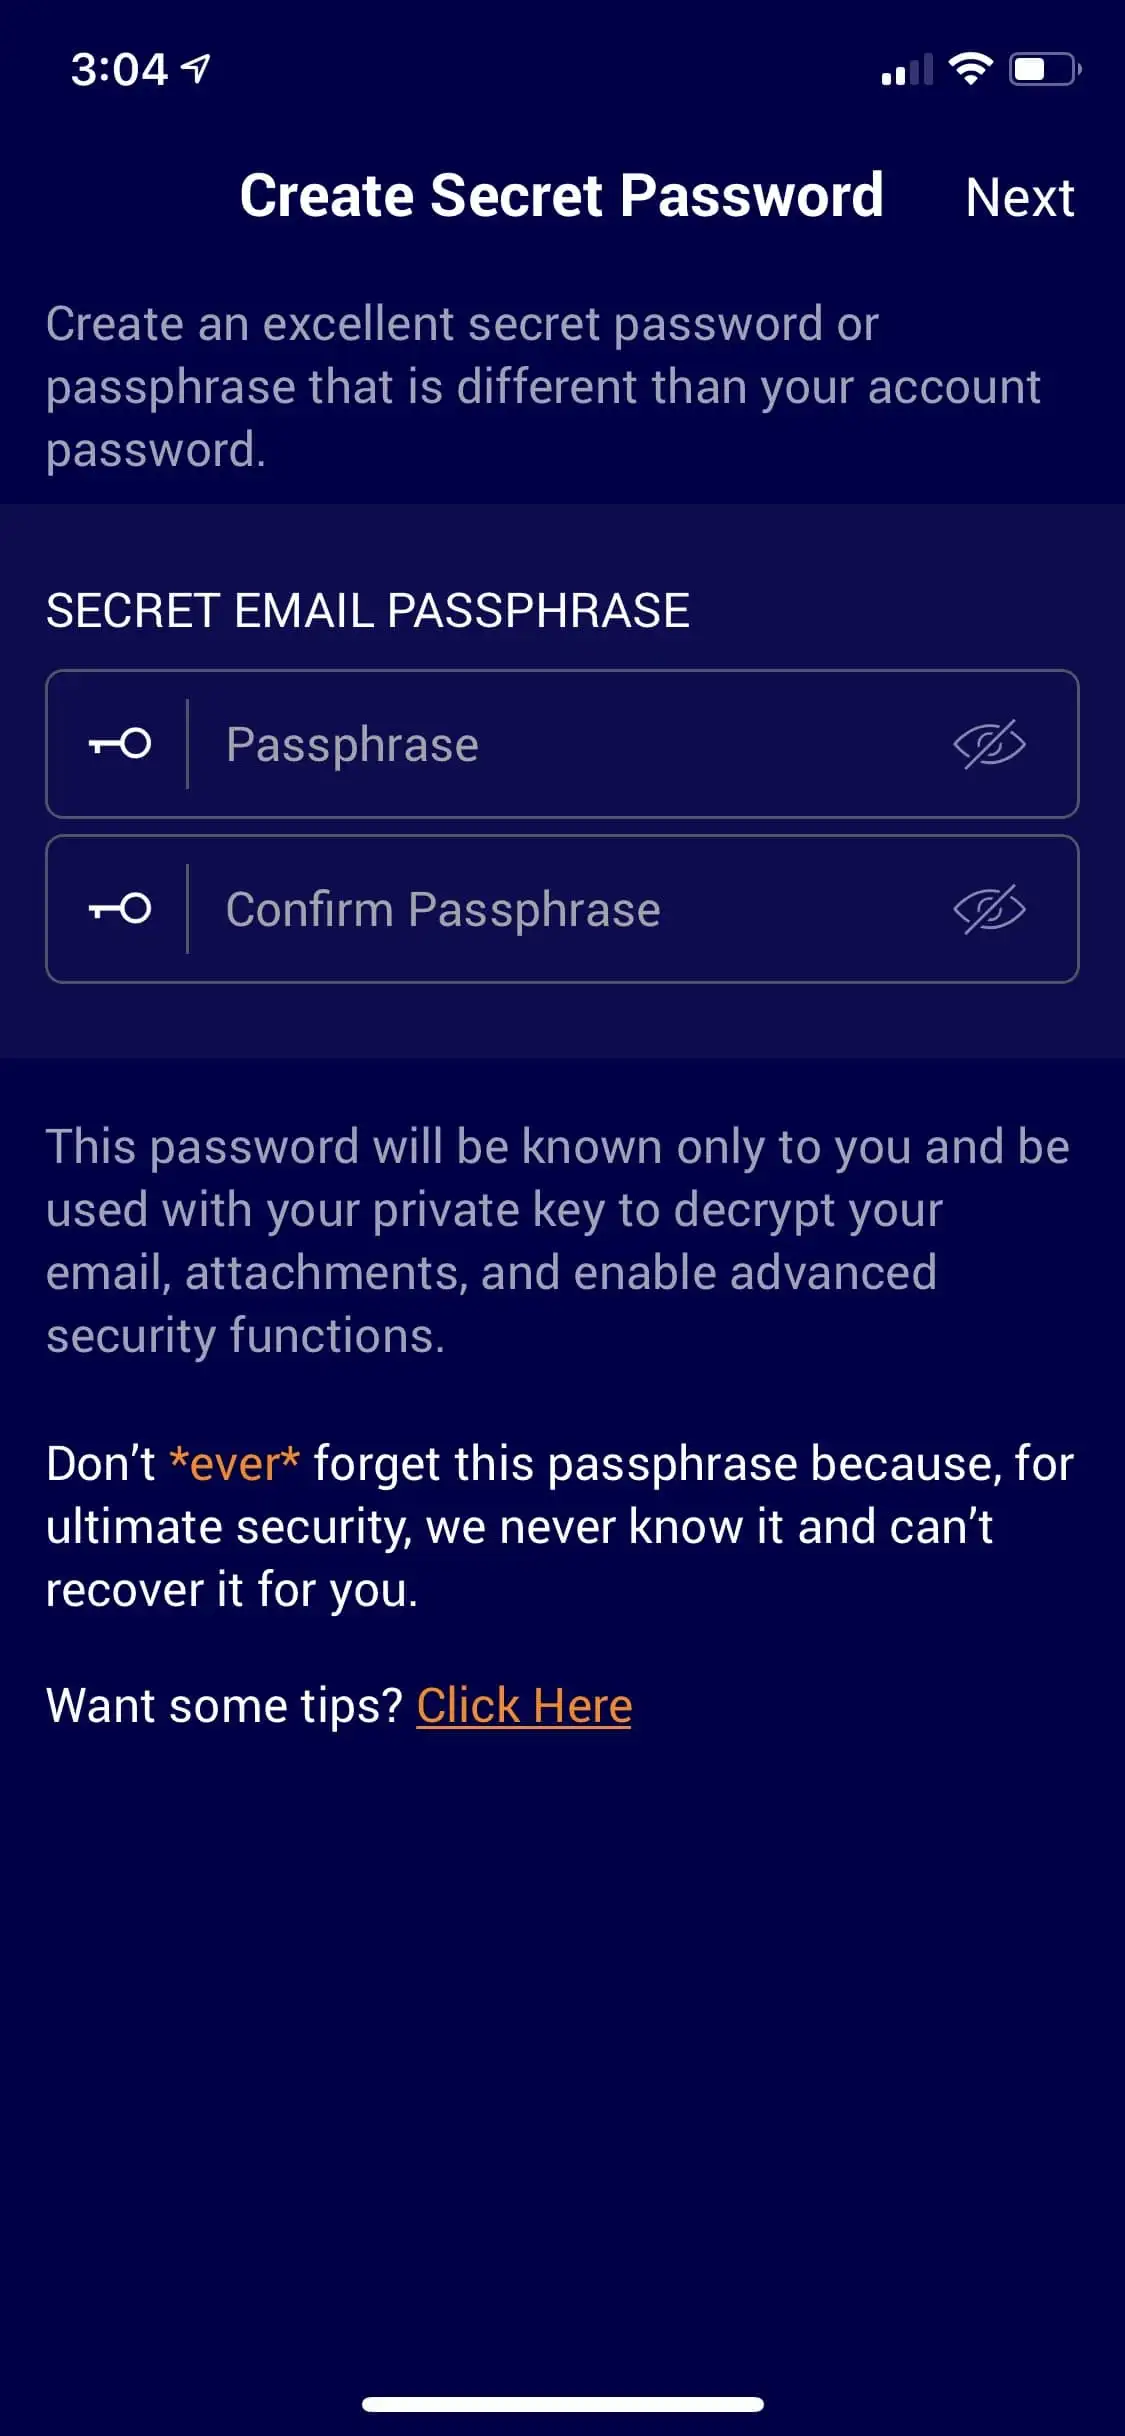 This is the most critical step. You should create a very good password or passphrase that you will commit to memory and/or keep in a safe place. Only you will know this password. It will be paired with a military grade 4096-bit decryption key we will create for you.
Passphrases or sentences are superior to passwords as they are harder for computers to guess if done well. Do not choose a song lyric or sentence from a book. It should be unique. Misspell a word or two for even better security. That drives computerz nuutzz. Just make certain it’s something you can remember!
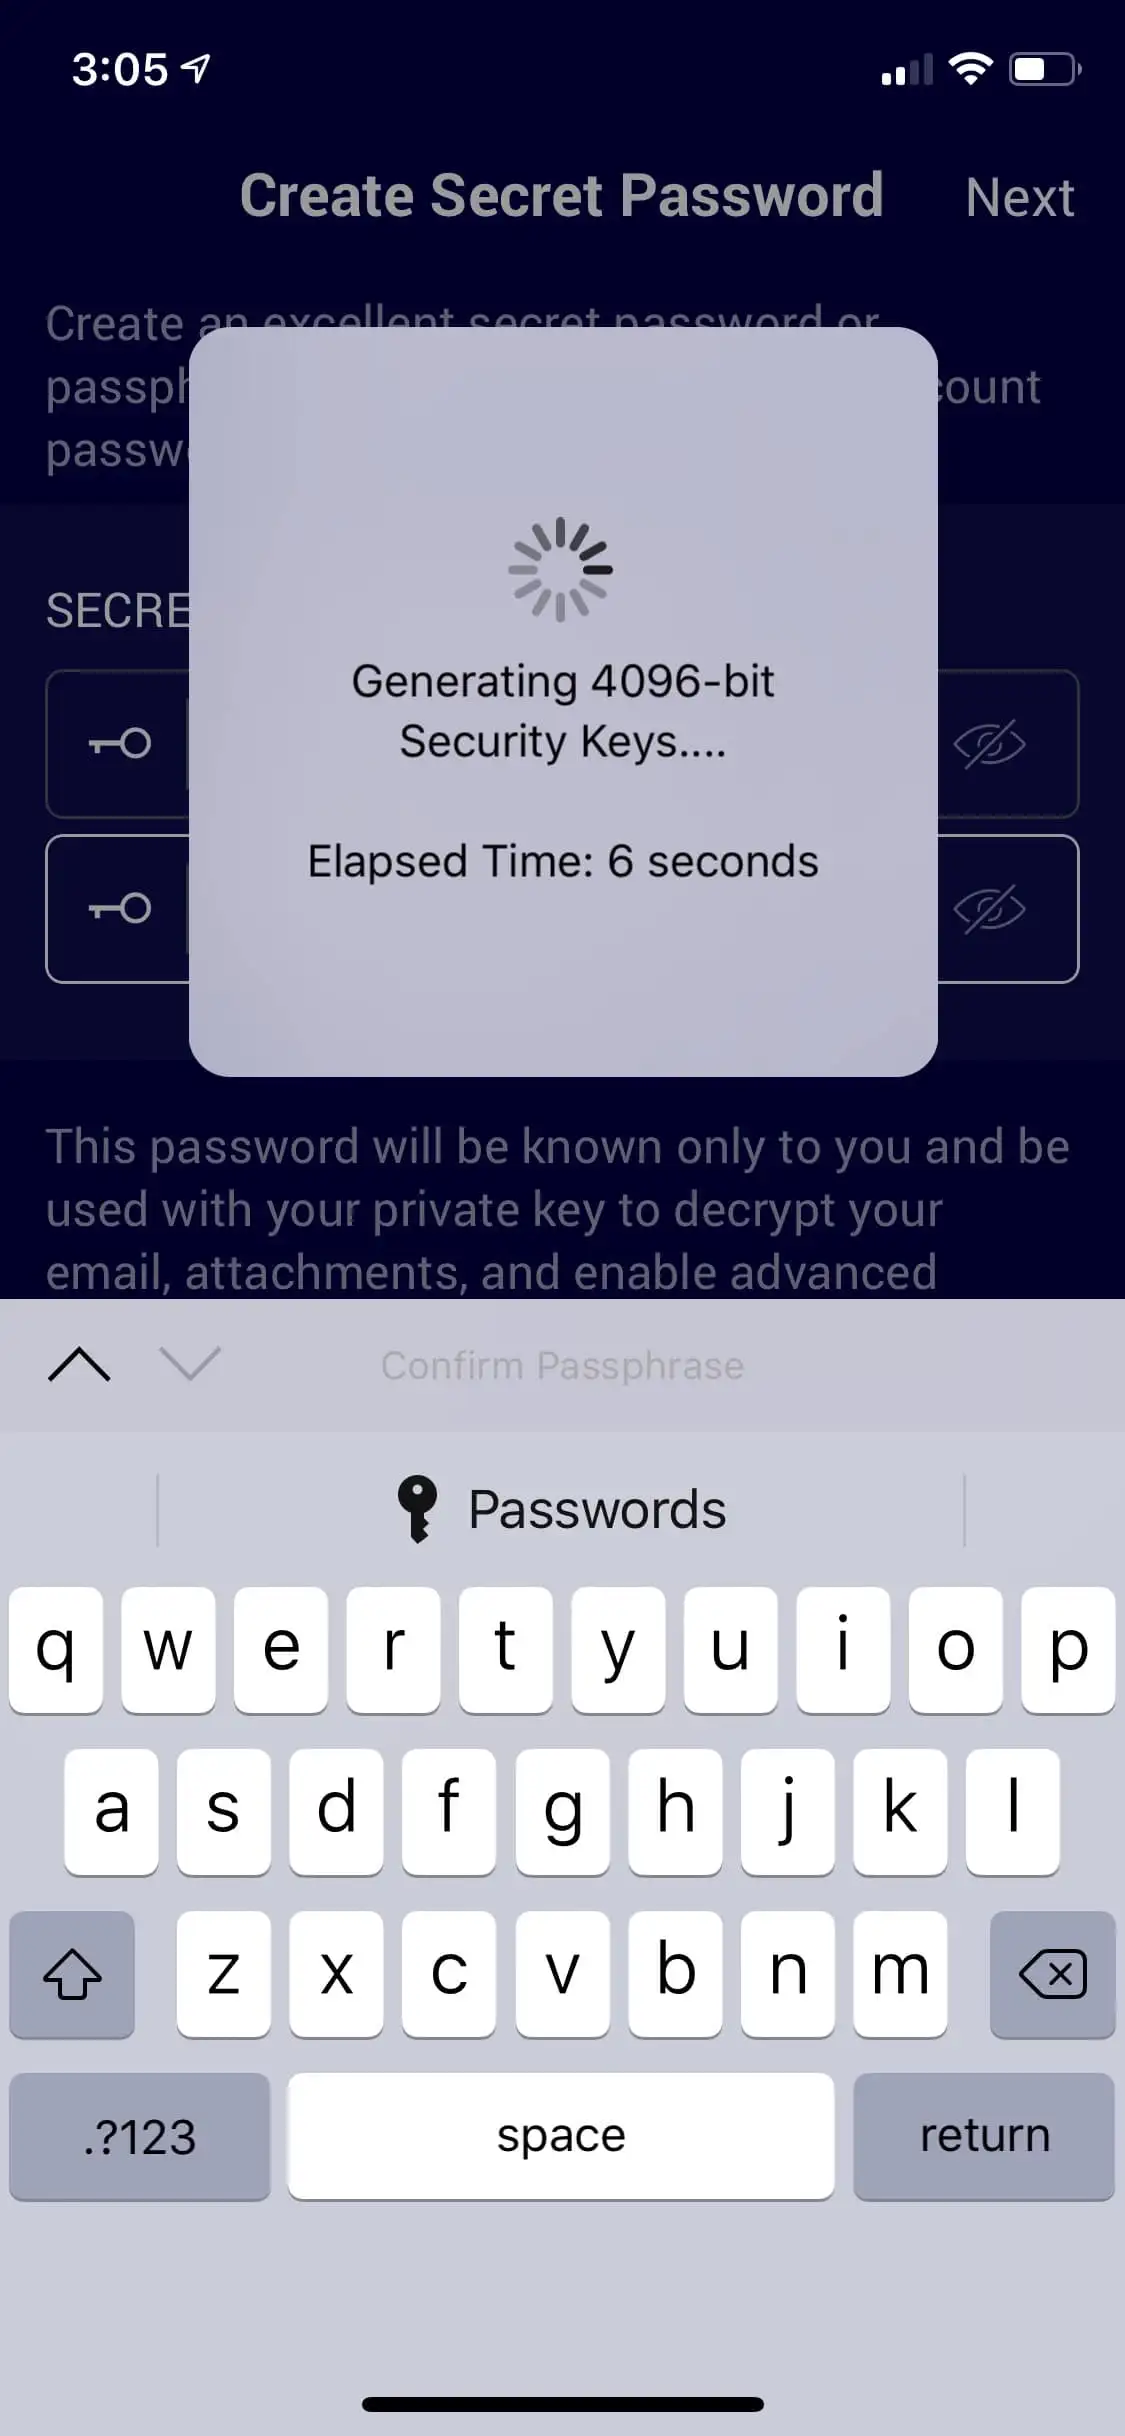
Once you fill in the fields with your new password/passphrase, click “Next” and we’ll create your keys.
Only someone that possesses your private key and your secret password/passphrase can decrypt your email and attachments. Again, the idea here is that even if someone stole your device, hacked into it, then hacked into your email, and then even somehow retrieved the private key, they would still be unable to decrypt your email and attachments unless they also have this secret passphrase.
It is the ultimate in security but PLEASE write your secret passphrase down on paper and keep it somewhere safe until you are certain you will never forget it. Because, if you do forget it, you too will be unable to decrypt your email. 🙂
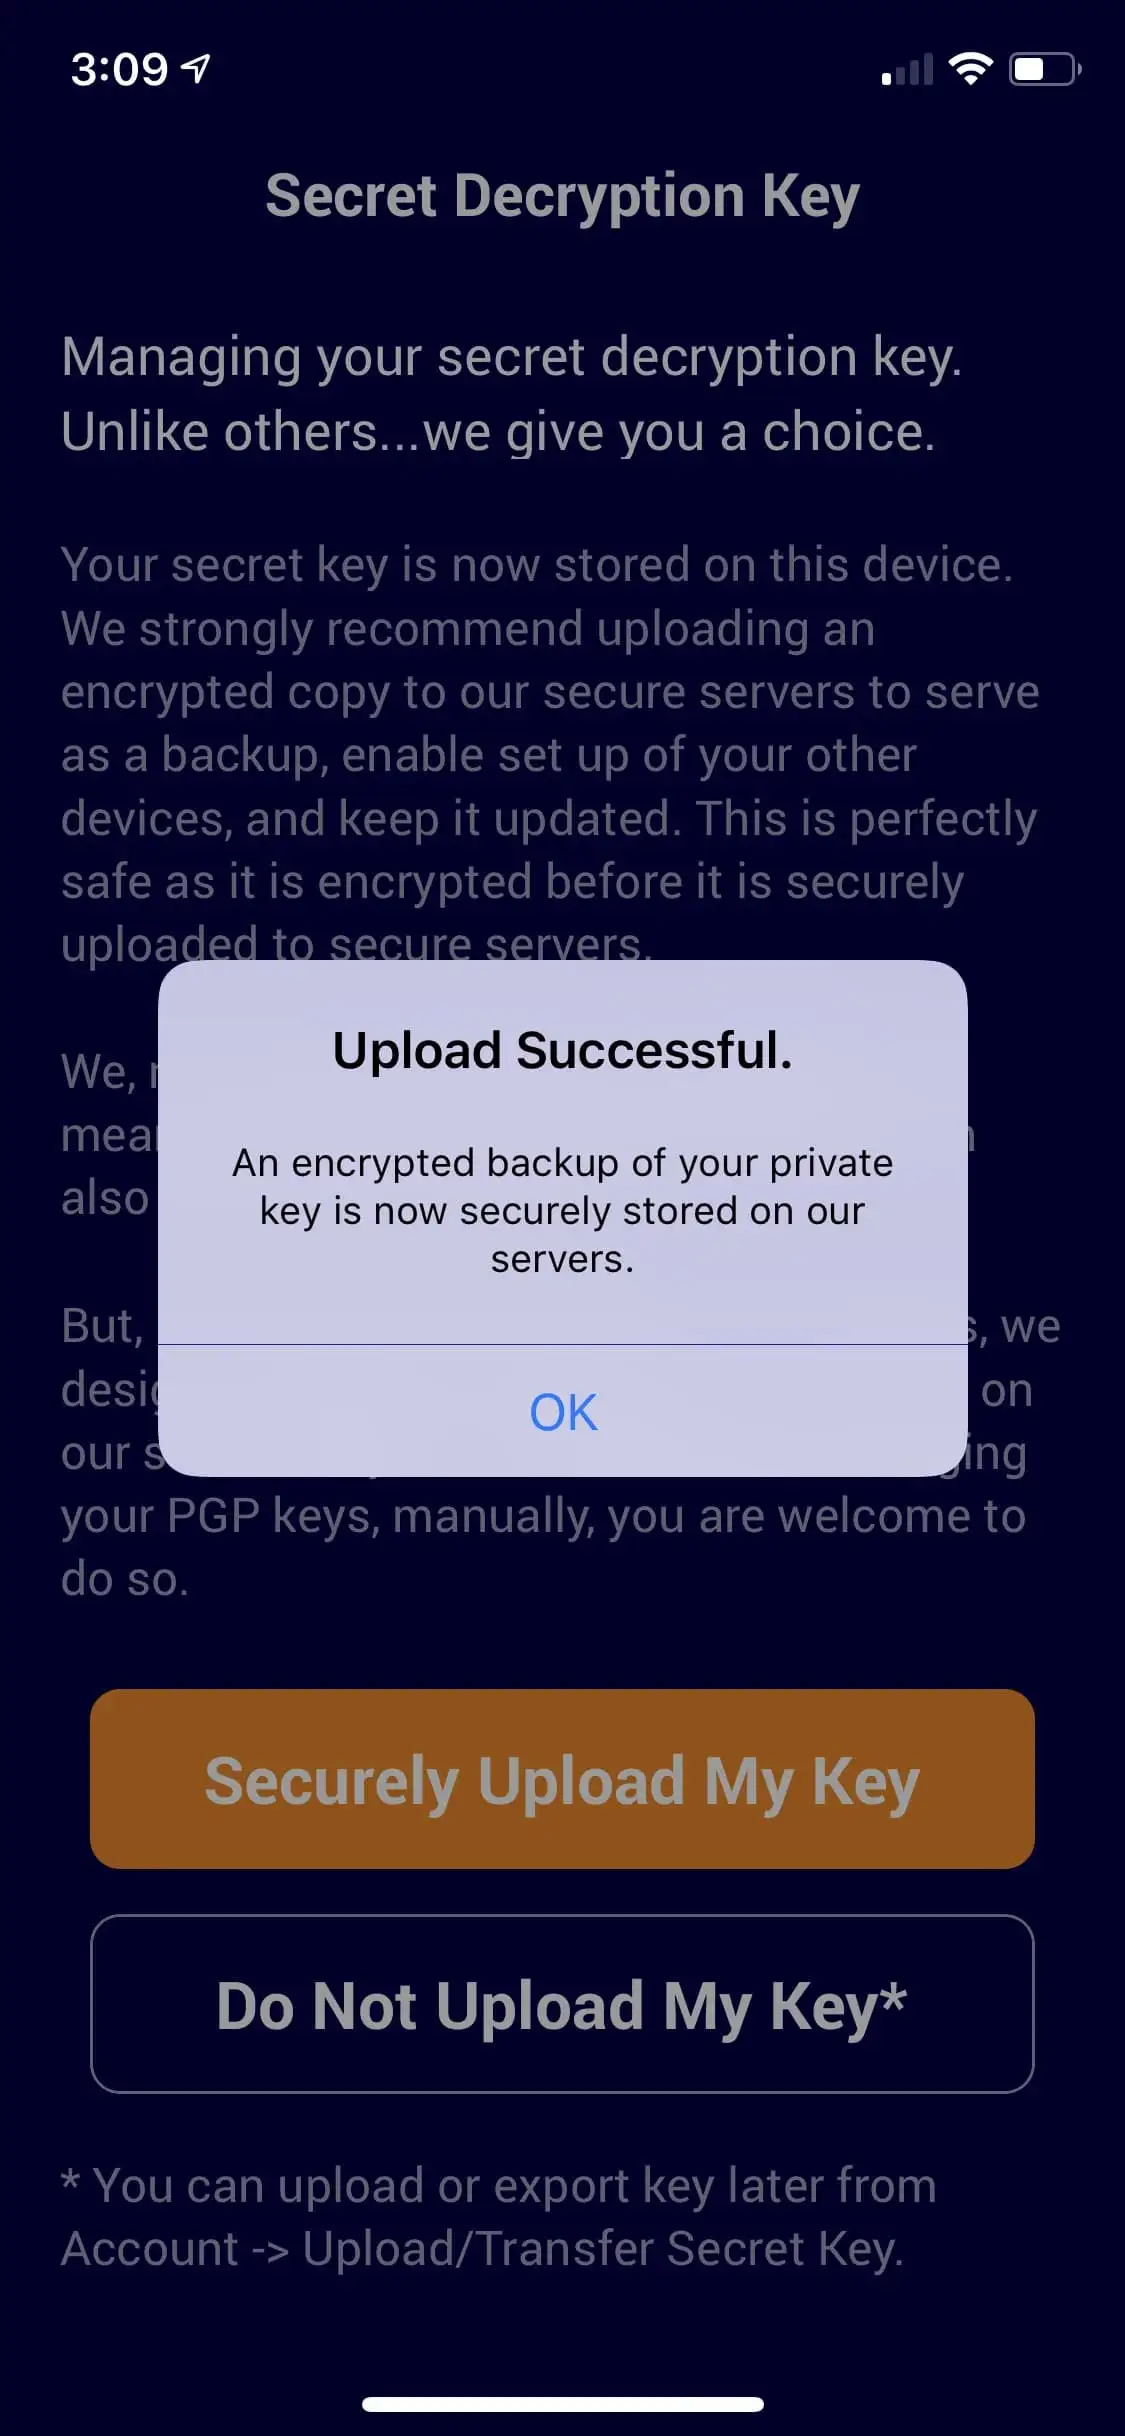
Uploading Secret Decryption Key
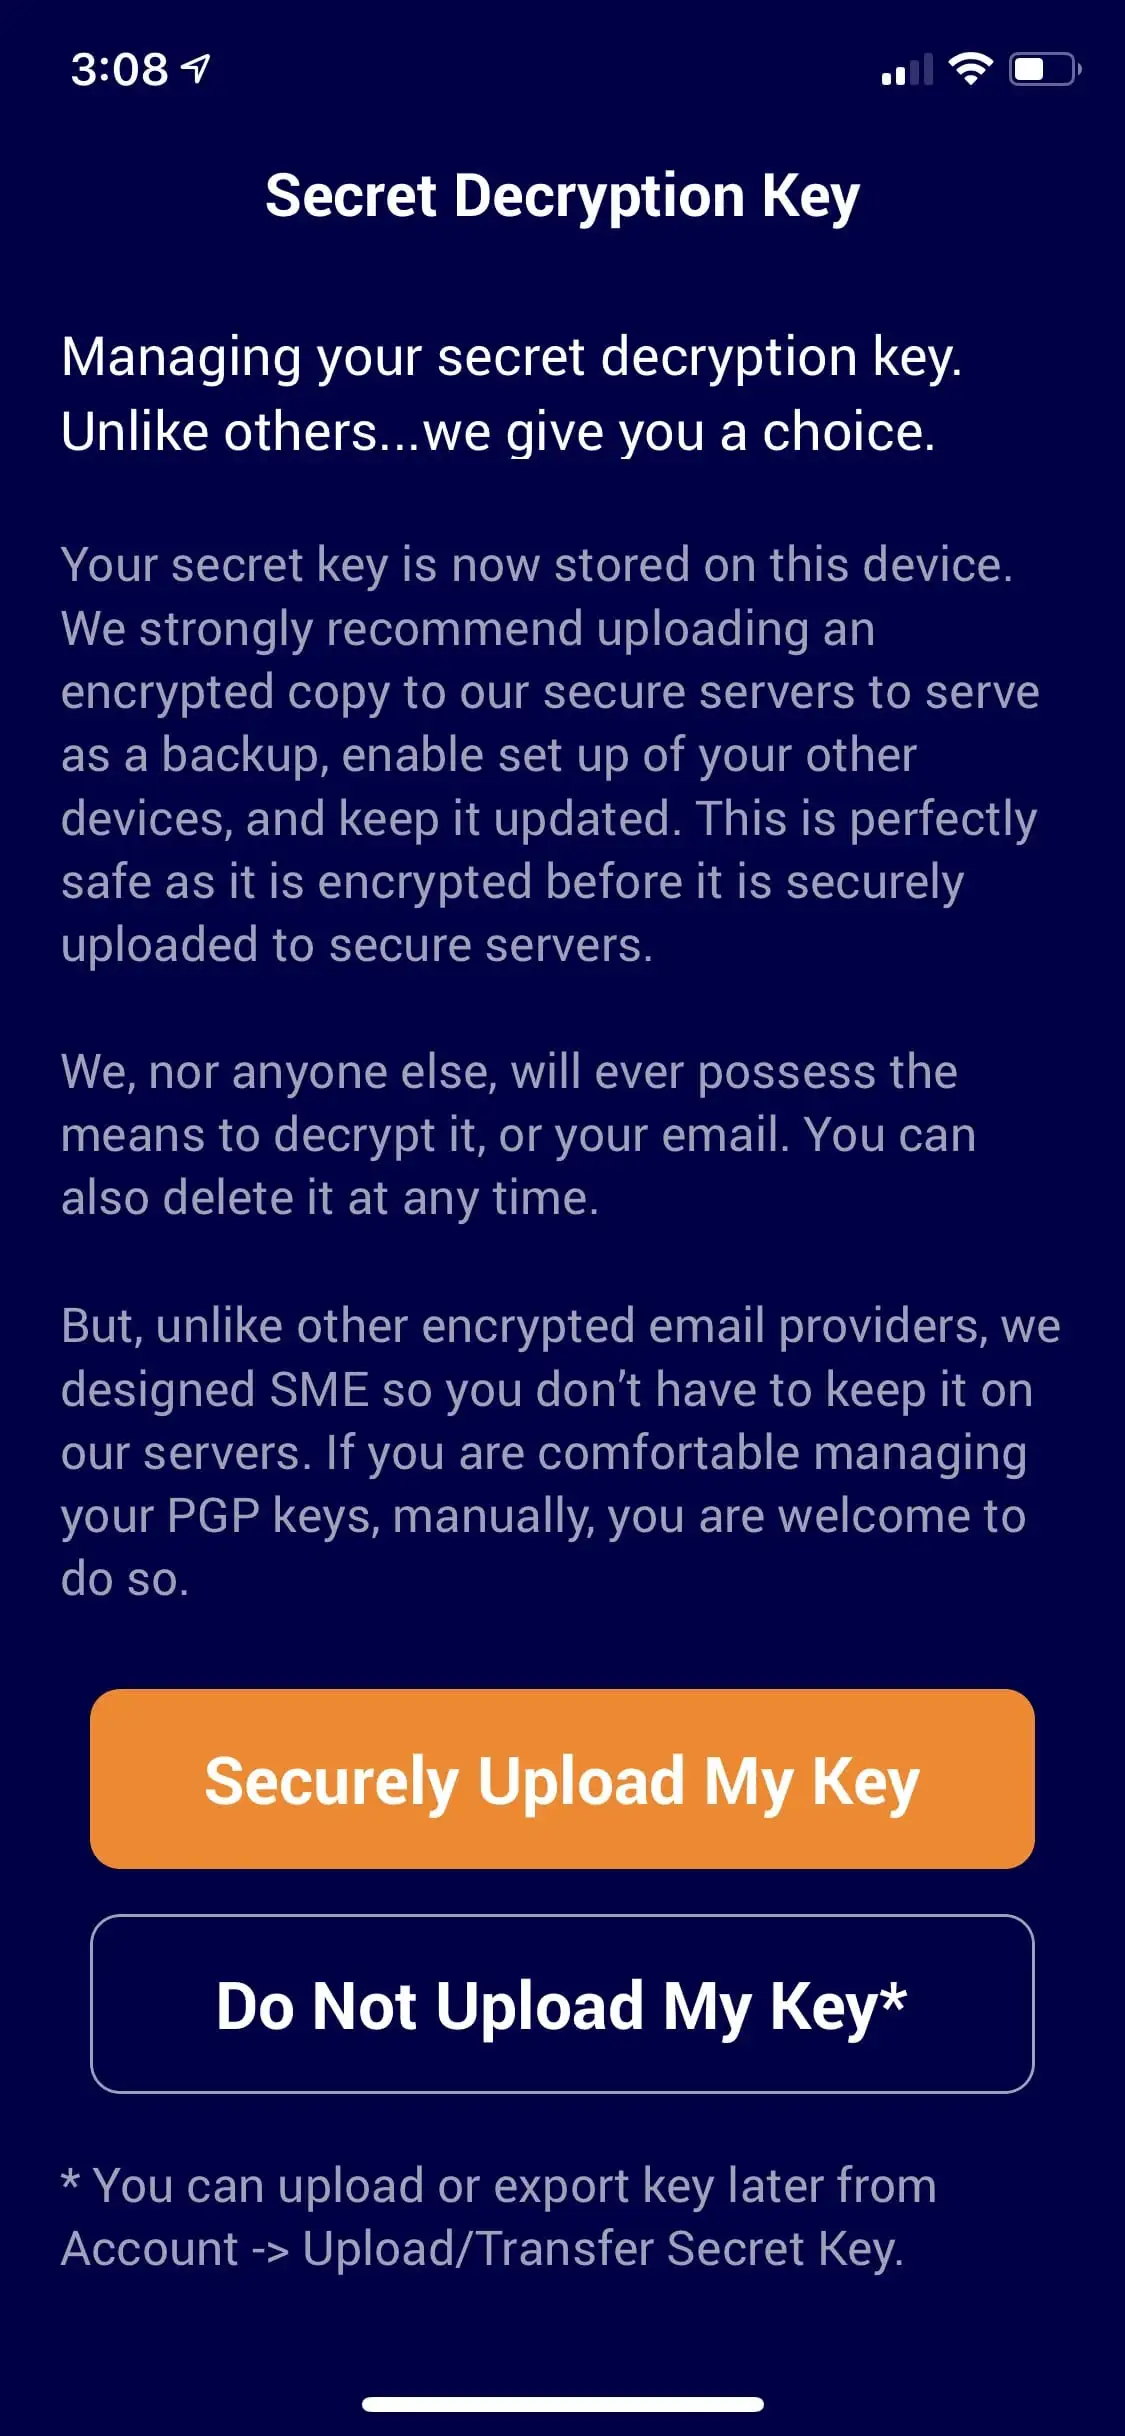
We strongly recommend you upload your decryption key. It is encrypted with your secret passphrase before it leaves your device, uploaded through an encrypted tunnel, and remains encrypted on our secure servers in Switzerland. Again, without the secret passphrase, which only you know, no one can ever decrypt it. Uploading it will serve as a backup of your key in case something happens to your device(s) and will also make setting up additional devices SO much easier. But, with us, you don’t have to.
Set up Your Profile
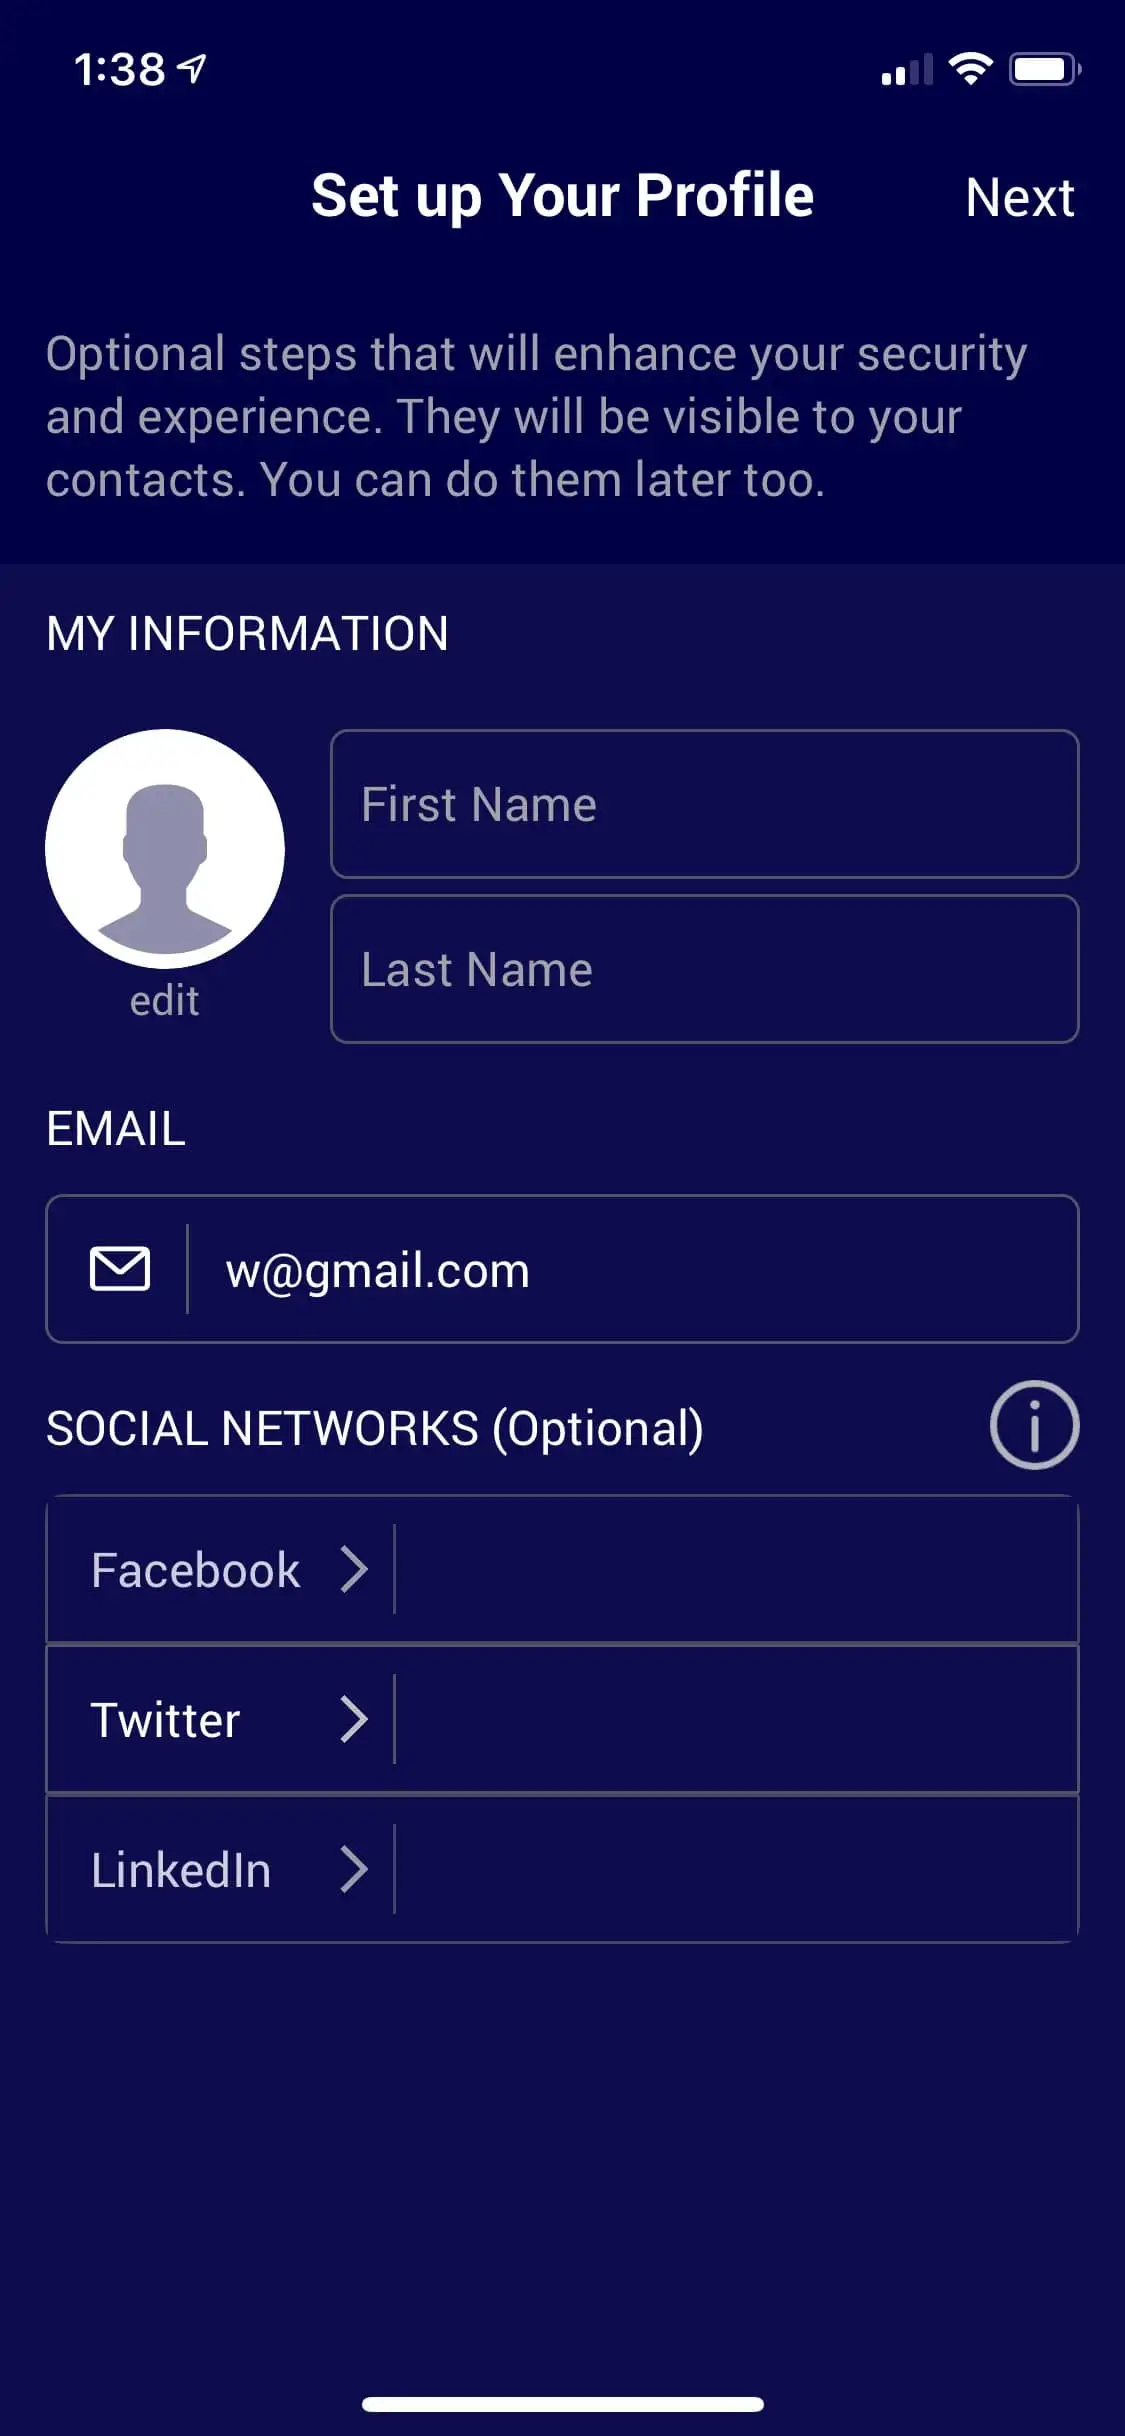
These steps are optional. You can upload a photo as well as link to your social media accounts. Why would you want to link to your social media accounts? To prevent someone from impersonating you. We call it Social Authentication.
As an example, if you authenticate to your Facebook account, and later invite a contact, the invited contact will see a Facebook badge on your SecureMyEmail profile that they can click on. When they click on the badge, it will take them to your Facebook profile page so they can verify that it is, indeed you, and not an impostor. The idea is that an impostor would not be able to authenticate to your Facebook page so they cannot earn the badge/link. Perhaps a bit overkill, but a nice feature in today’s world filled with phishing attempts and other impersonation fraud.
Just click “Next” when you’re done.
Email Account Setup
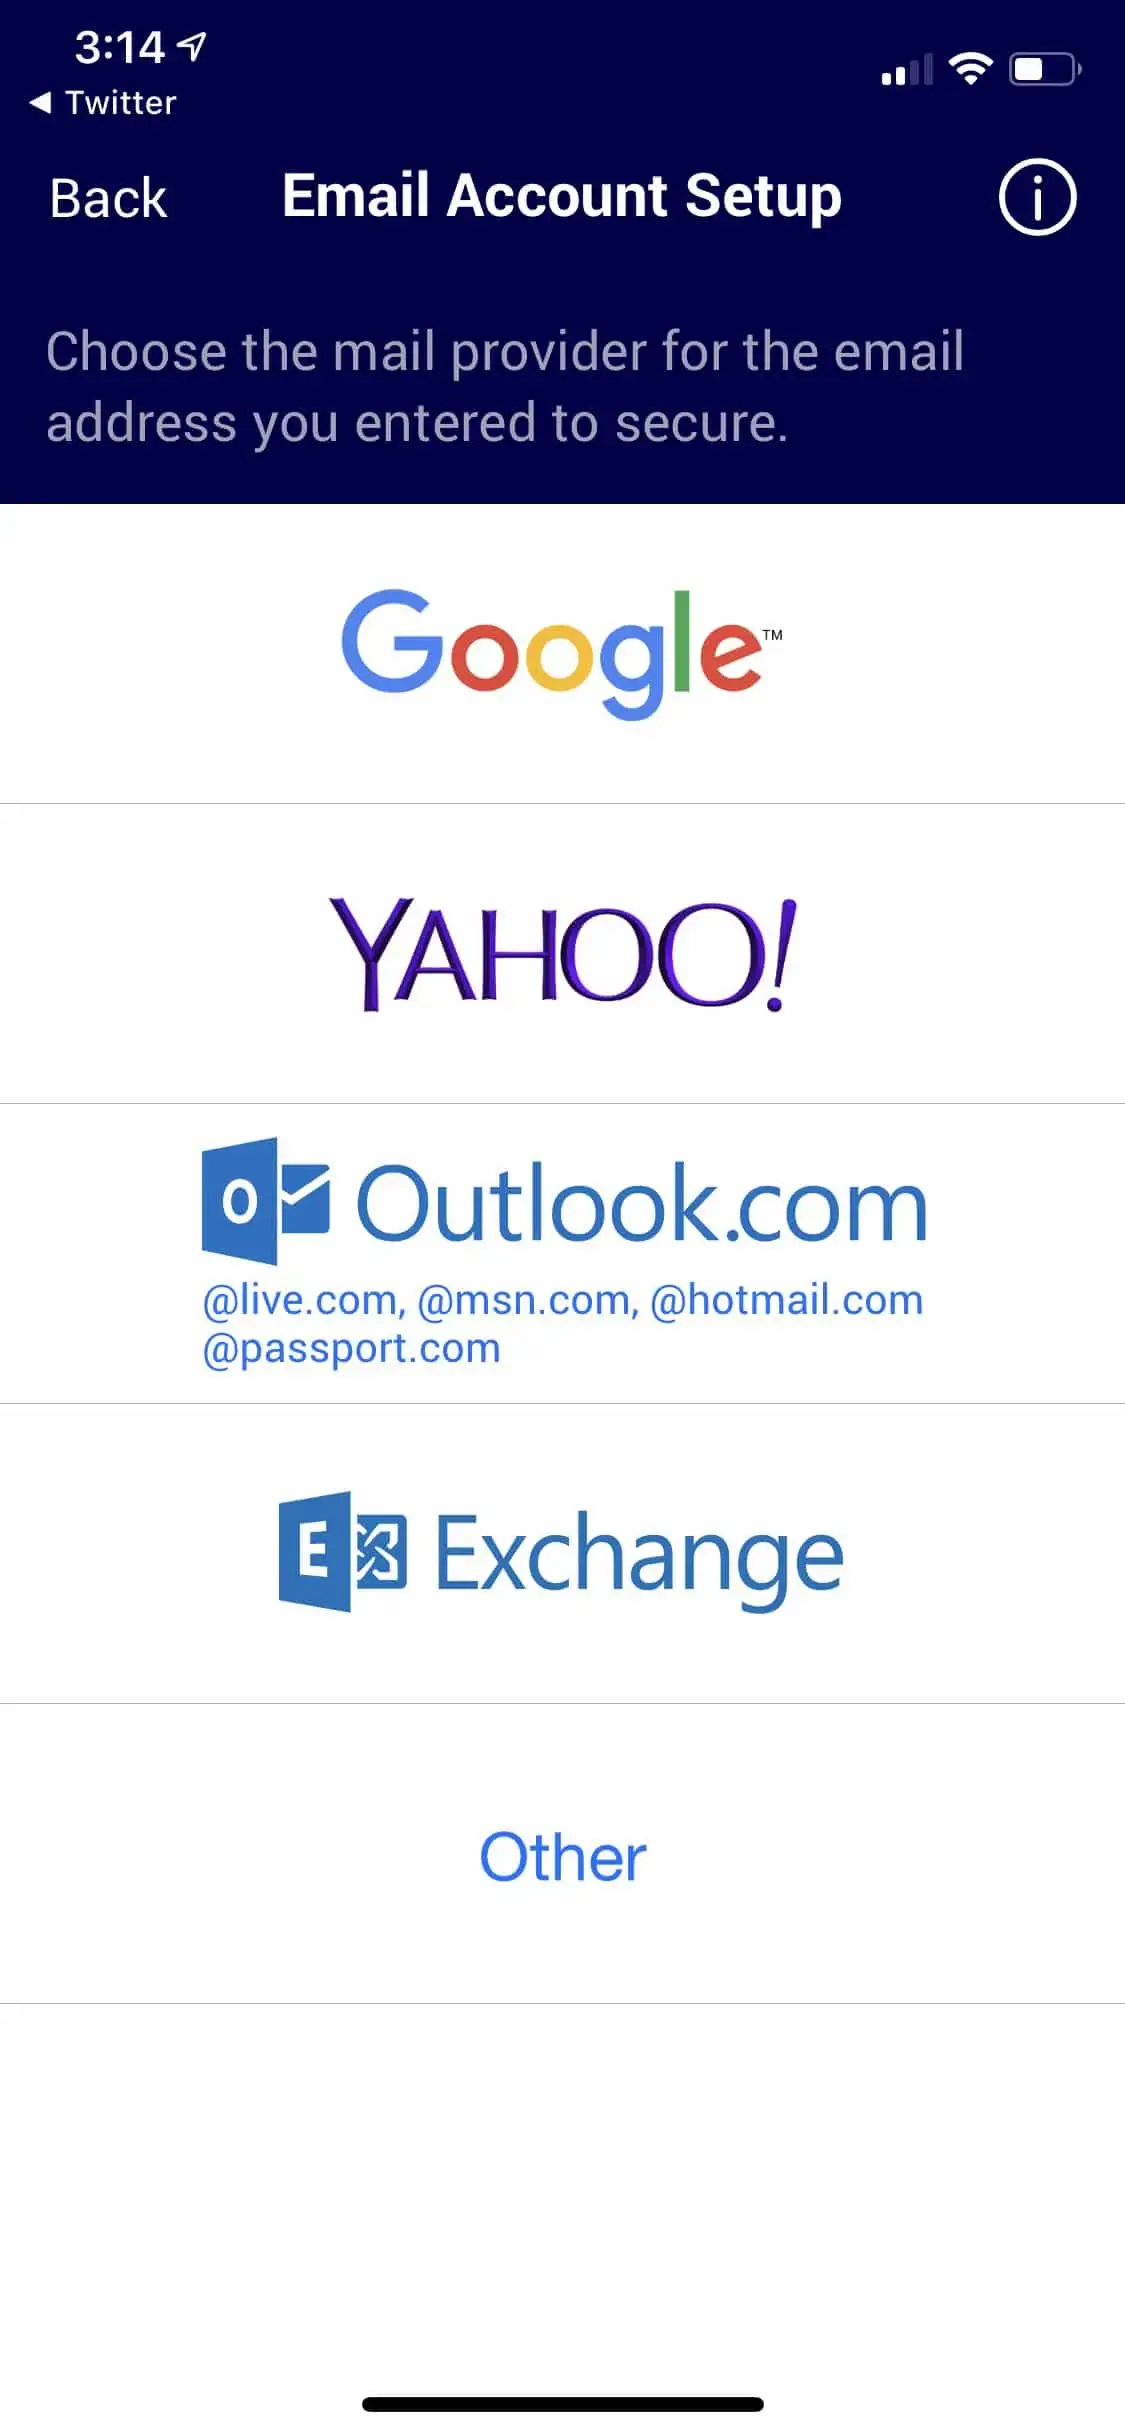
For Google/Gmail/G Suite, Yahoo Mail, and Outlook.com (including all email domains that are owned by Microsoft such as Hotmail), we are linked directly into their “Oauth” authentication systems, so set up should be easy and fairly instantaneous once you authenticate.
For MS Exchange, click on exchange icon, and then you just enter your email address and password and it should set up very easily.
If the email you entered when you set up is issued by one of the providers shown, click on the logo. If not, click “Other.”
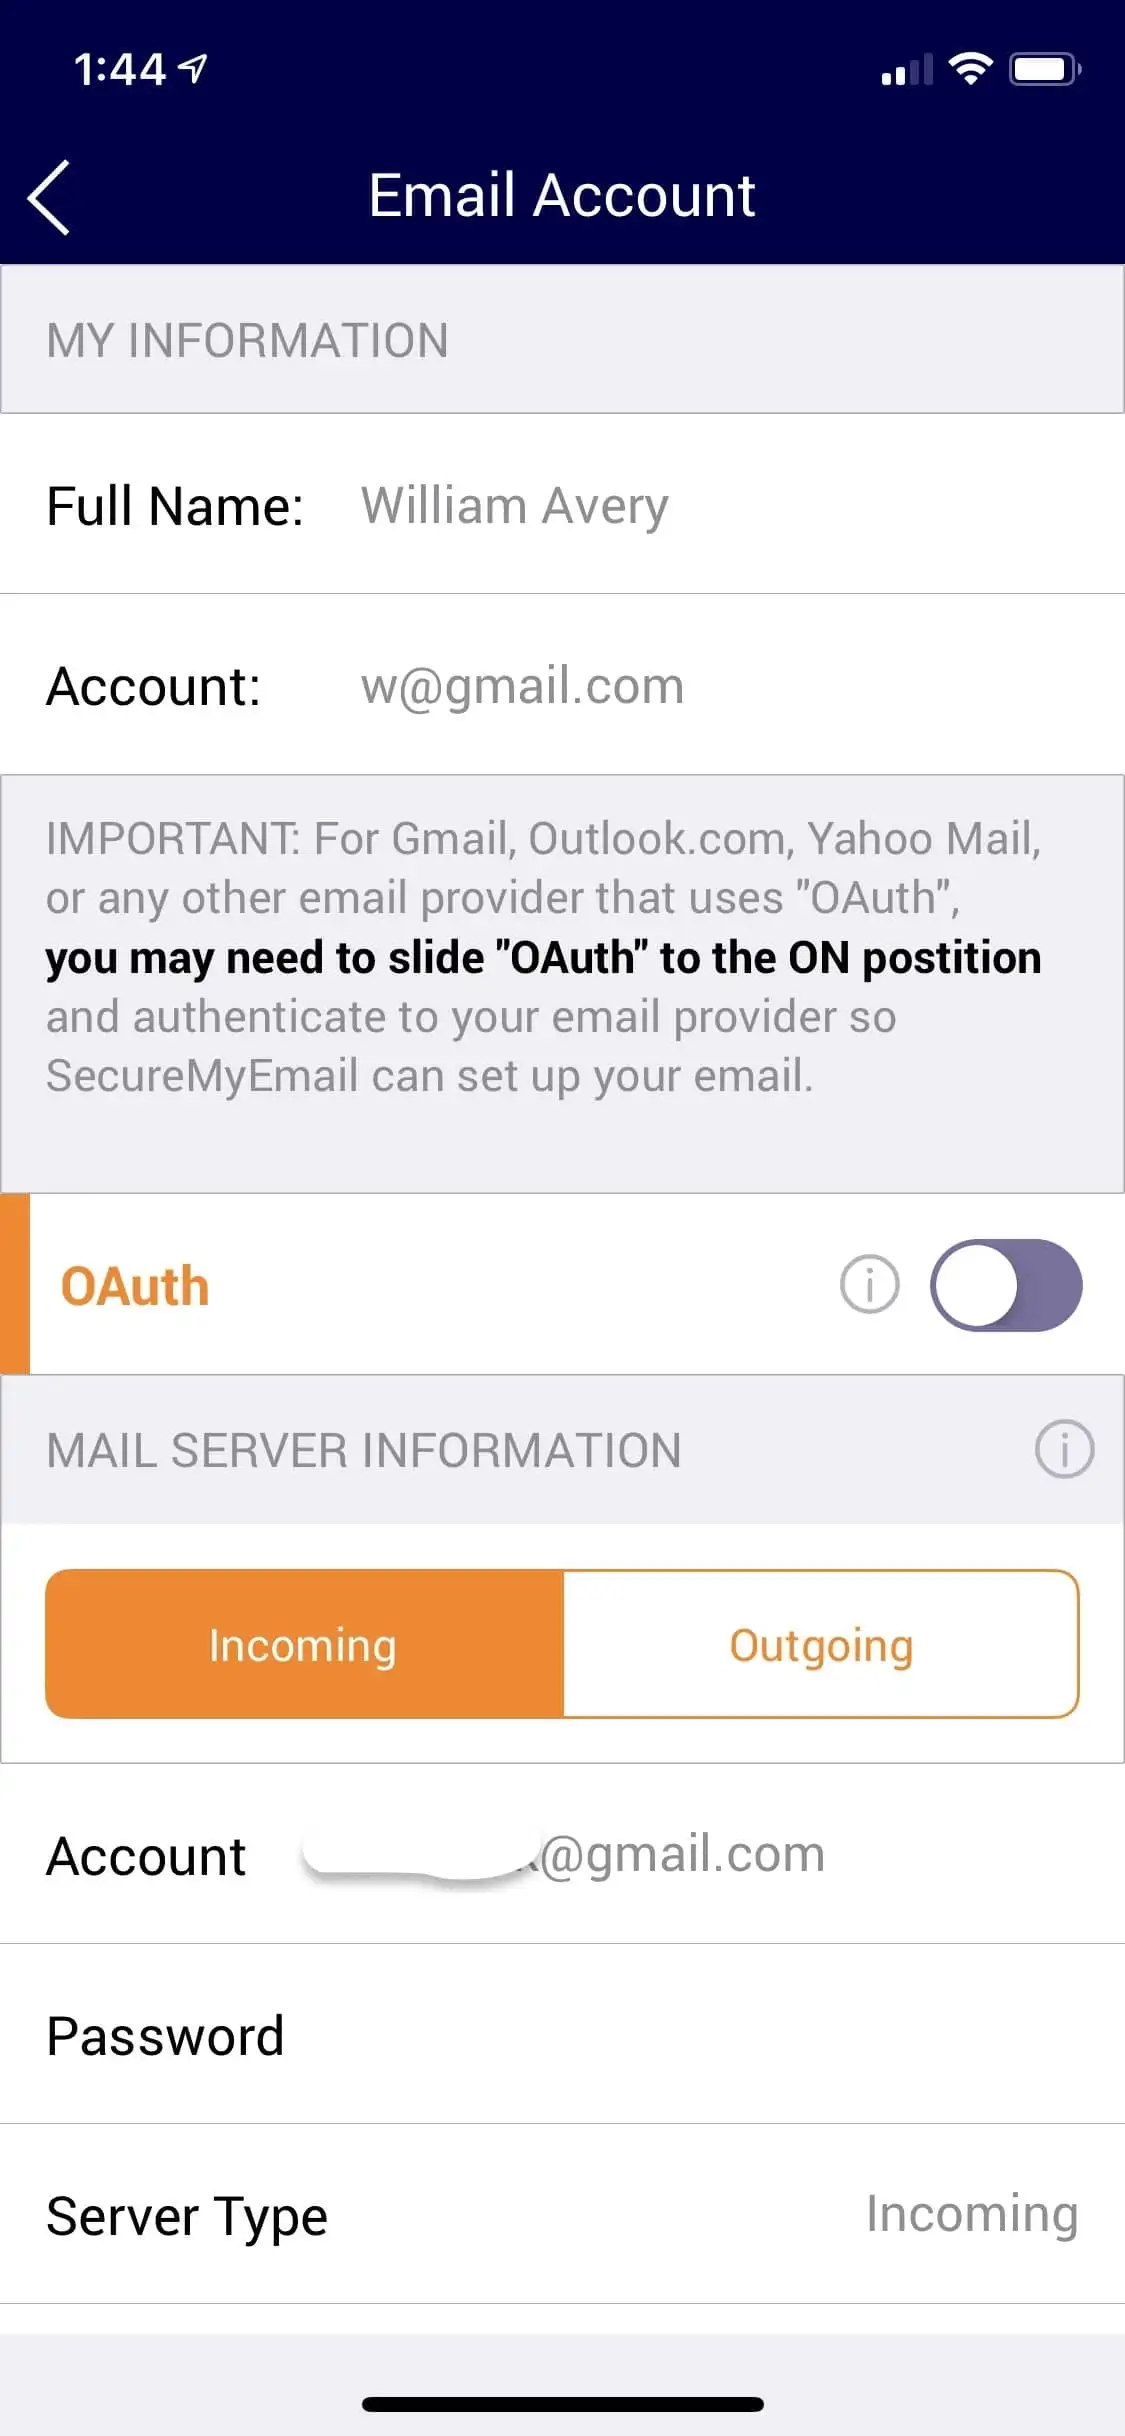
How to encrypt Gmail, G Suite,Yahoo Mail, Outlook.com and other legacy Microsoft email addresses (Hotmail, etc.)
After clicking on Google logo, you’ll see this screen. It should have your email information filled in. Simply slide Oauth slider to the right.
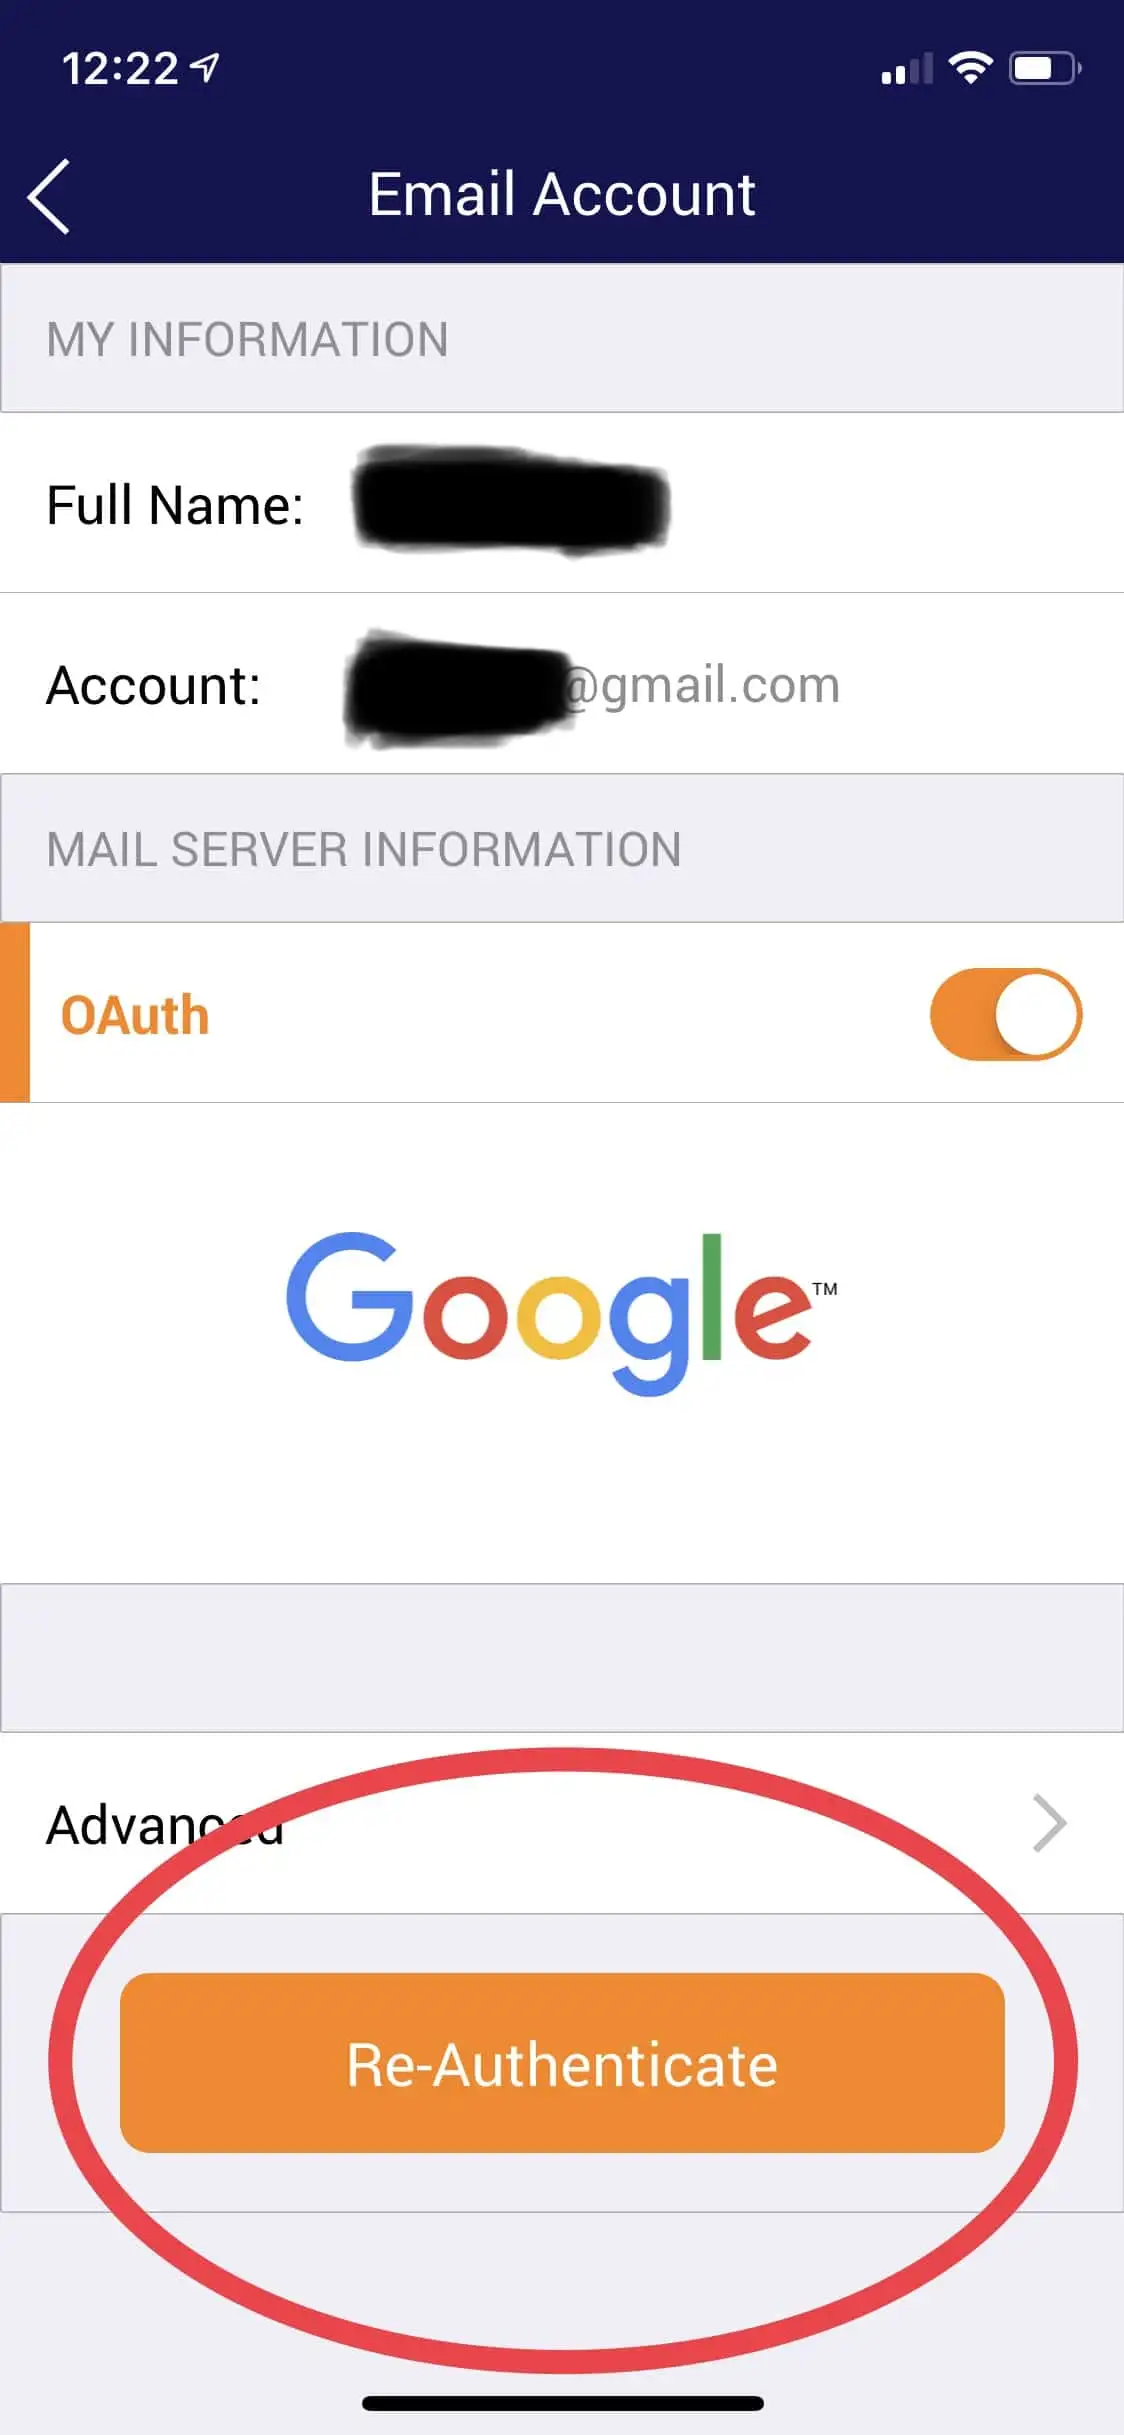
Now, click on the orange button that says “Authenticate” or “Re-authenticate” (if you had previously set this account up).
You should now see the below. Click “Continue” and follow the steps Google presents for you to authenticate. They will vary based on what information exists on your device.
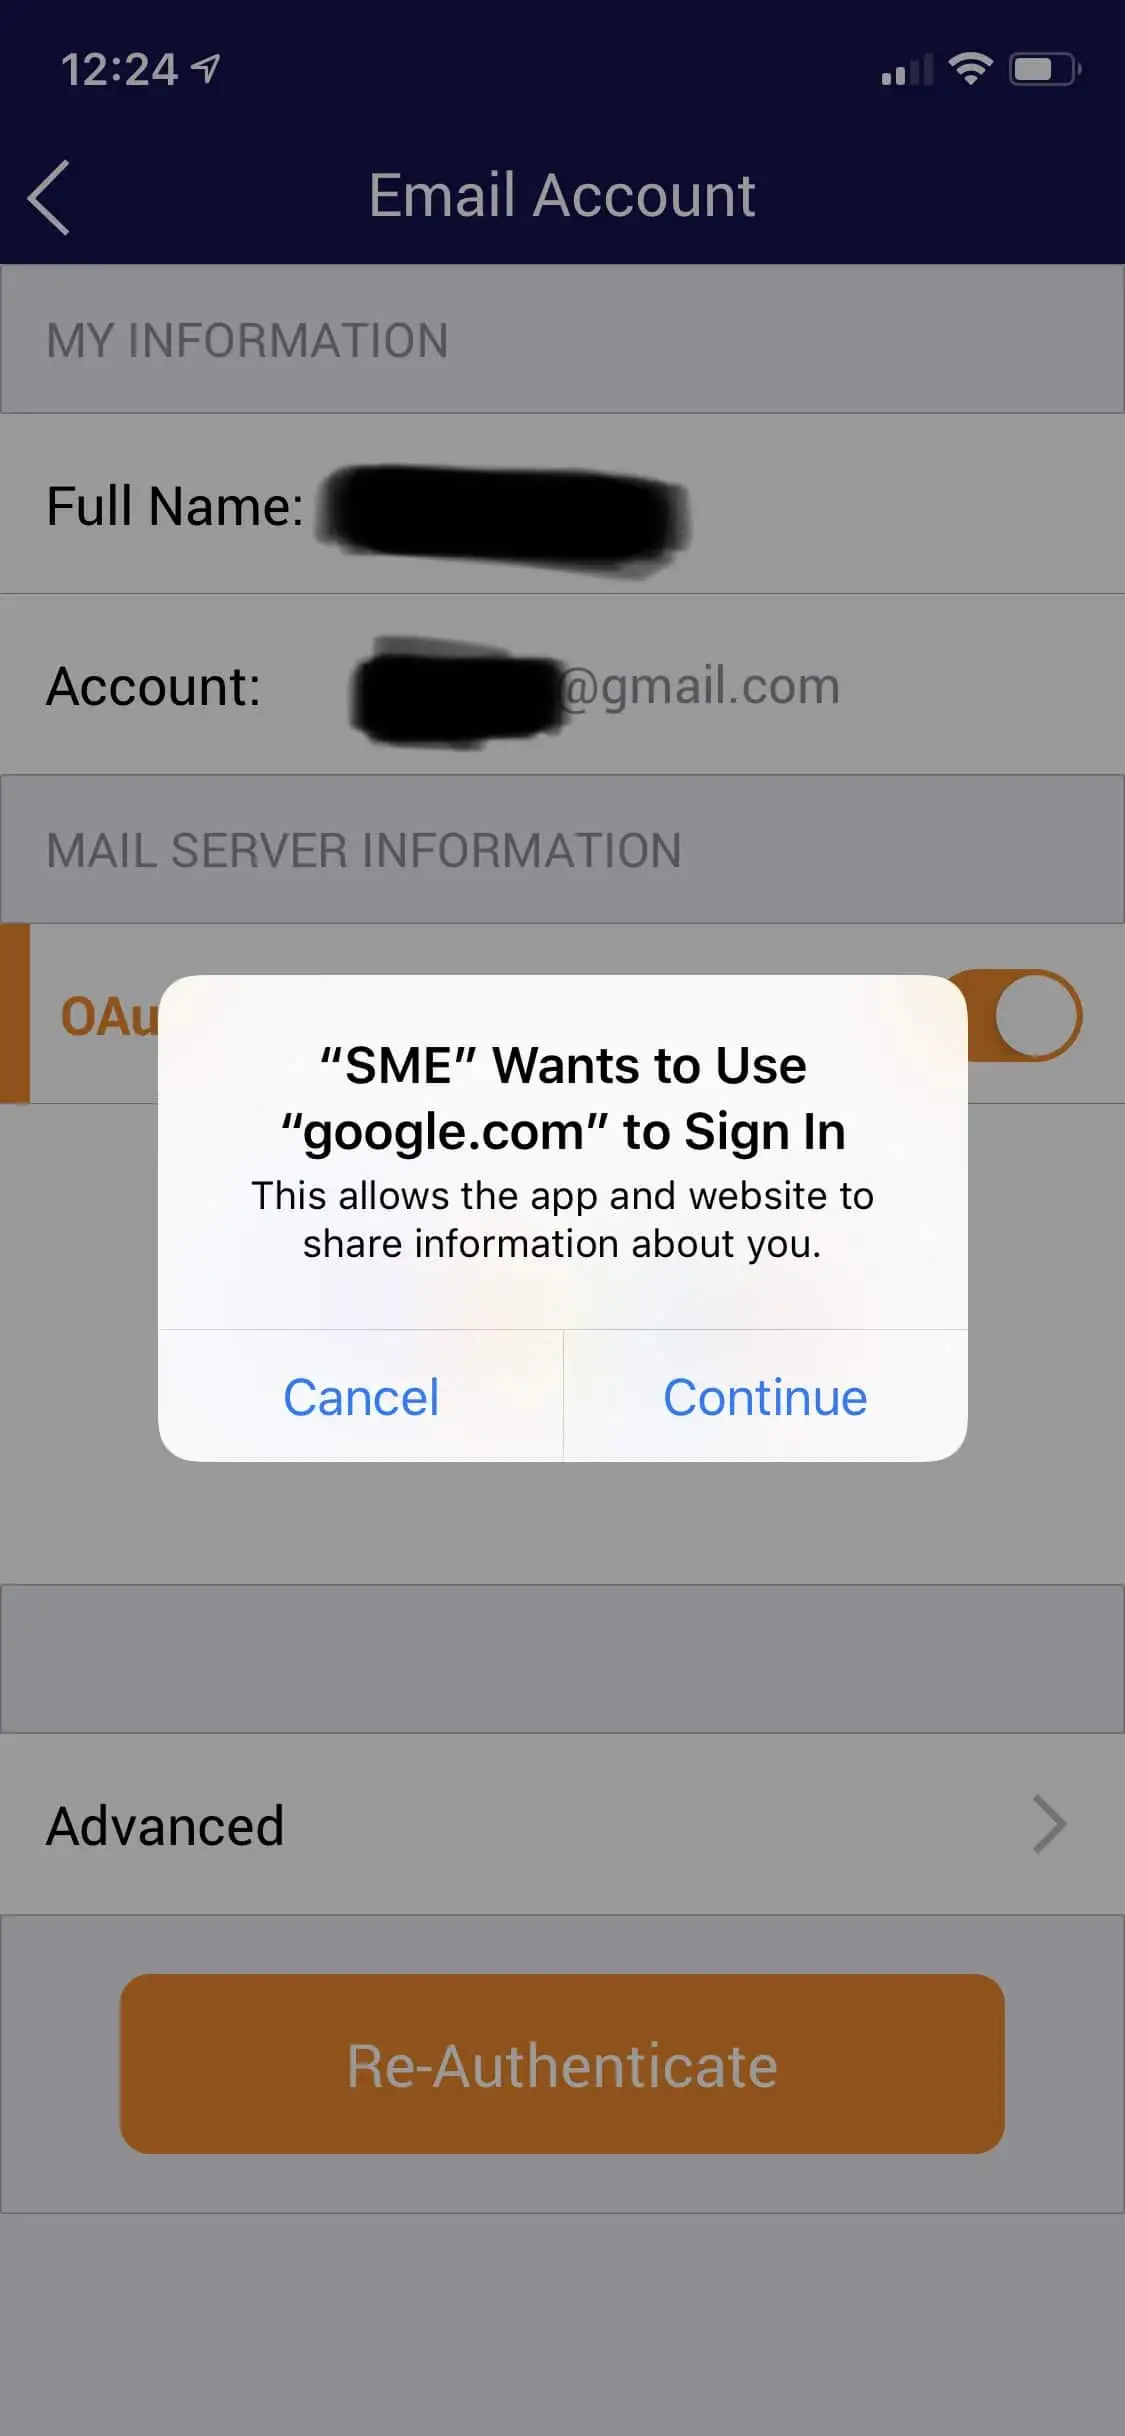
After successful authentication you should immediately be dropped into your INBOX. Mail should start loading immediately, but if you have a great deal of email, it may take a bit longer. You should be able to start sending encrypted email immediately.
How to encrypt “Other” email providers…
Pretty much everyone else, including personal and business domains.
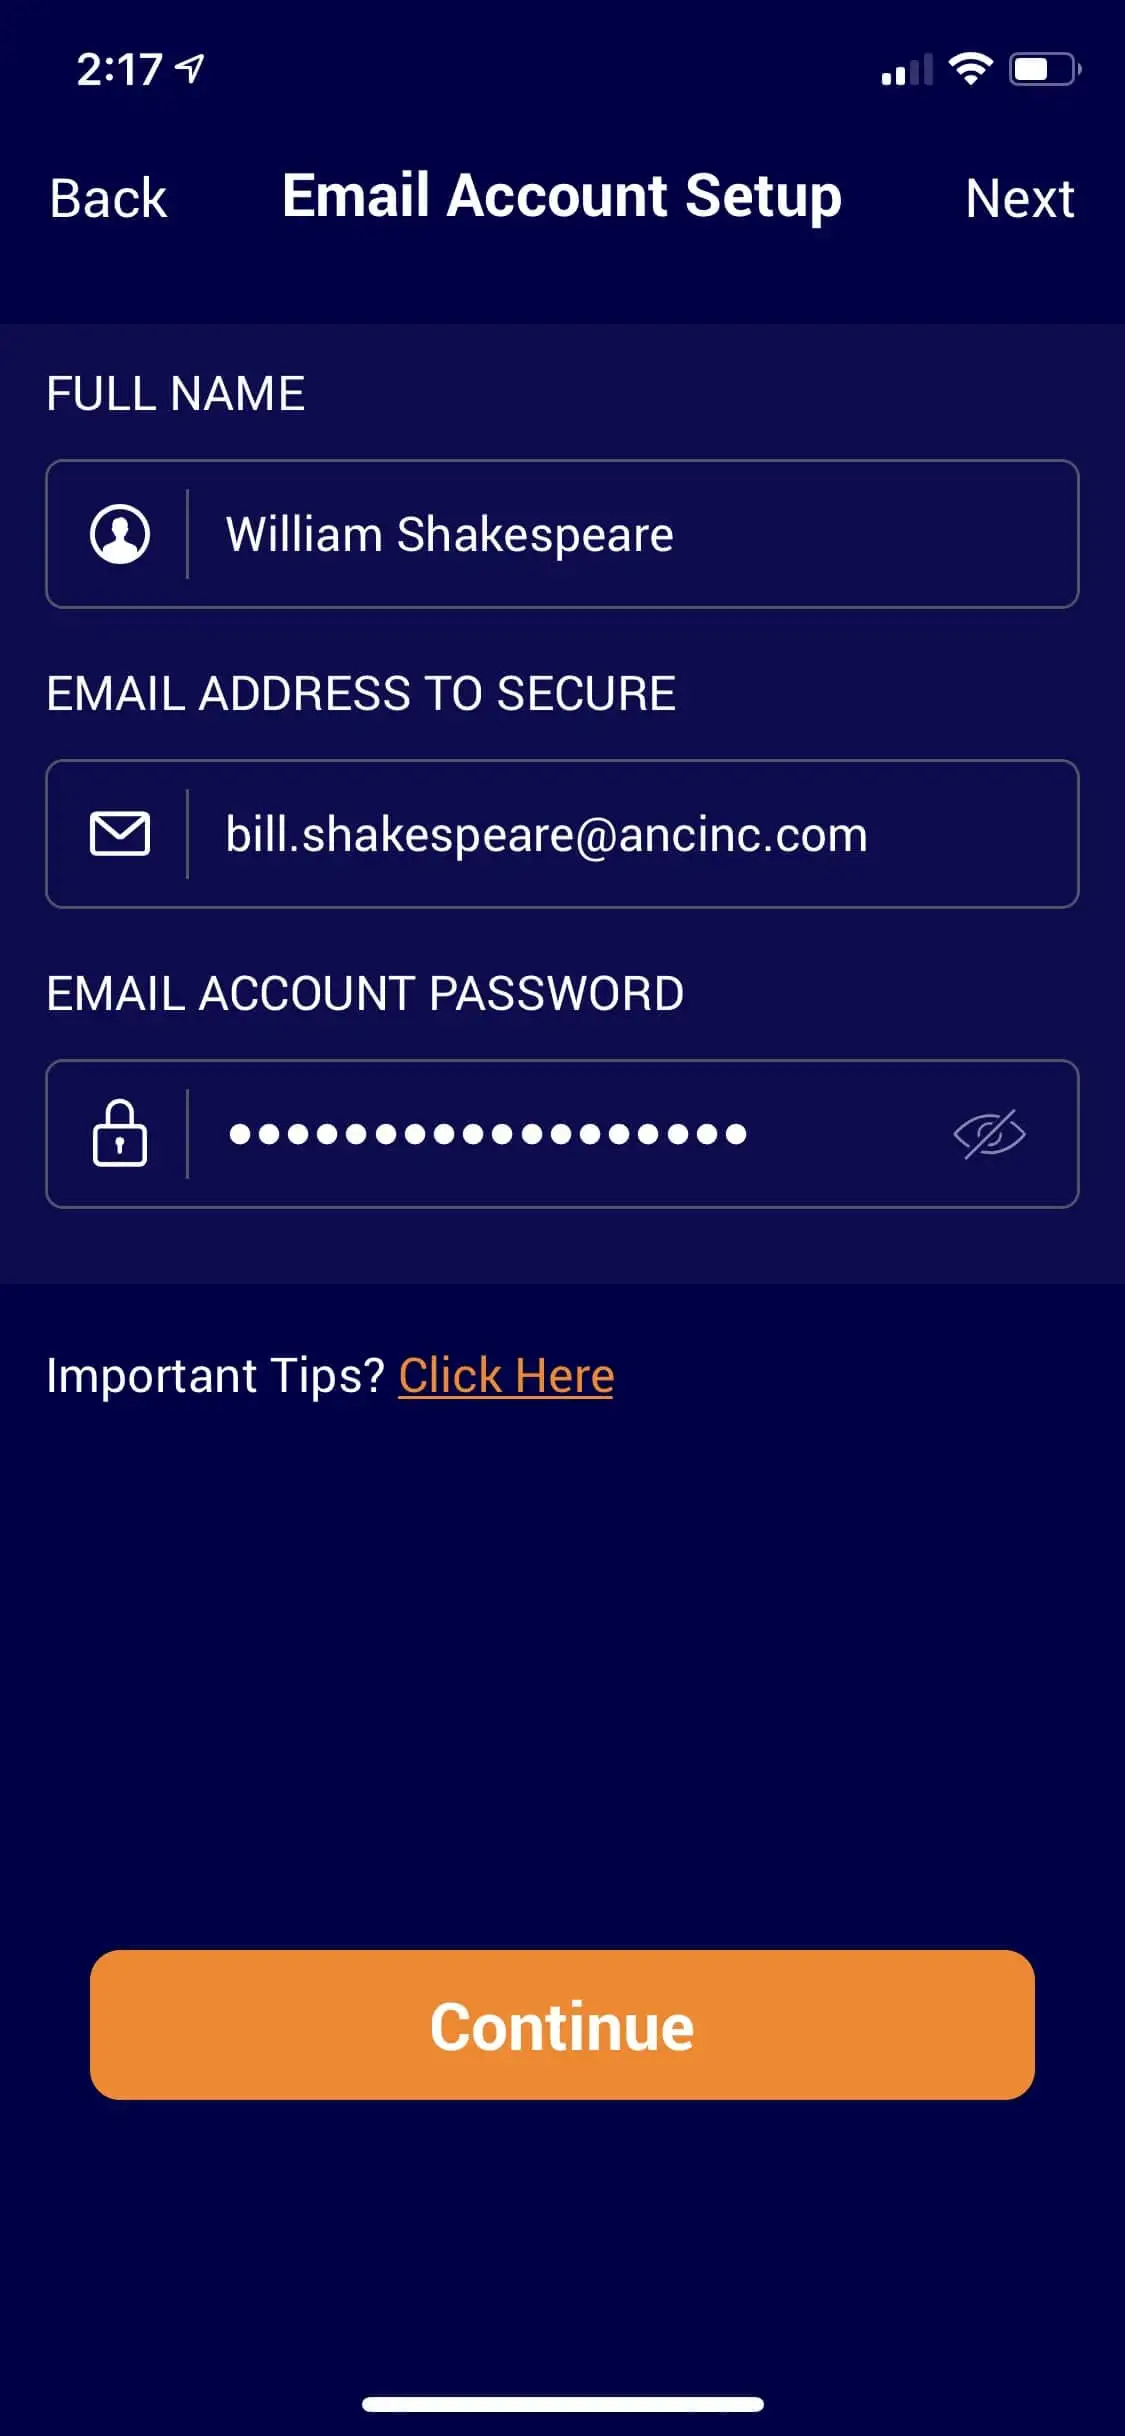
If you’re using a provider other than Google, Microsoft, Yahoo, or Exchange, you’ll need to manually input your email settings, although we will attempt to enter these for you automatically from our large and growing database of email settings.
- Fill in your desired email display name for this account or use the one we enter for you.
- Enter the email address (check carefully…a typo is bad here)
- Enter the password for this specific email account. (Does you provider require an “Application Specific Password” for third pary email software?)
- Click “Next”
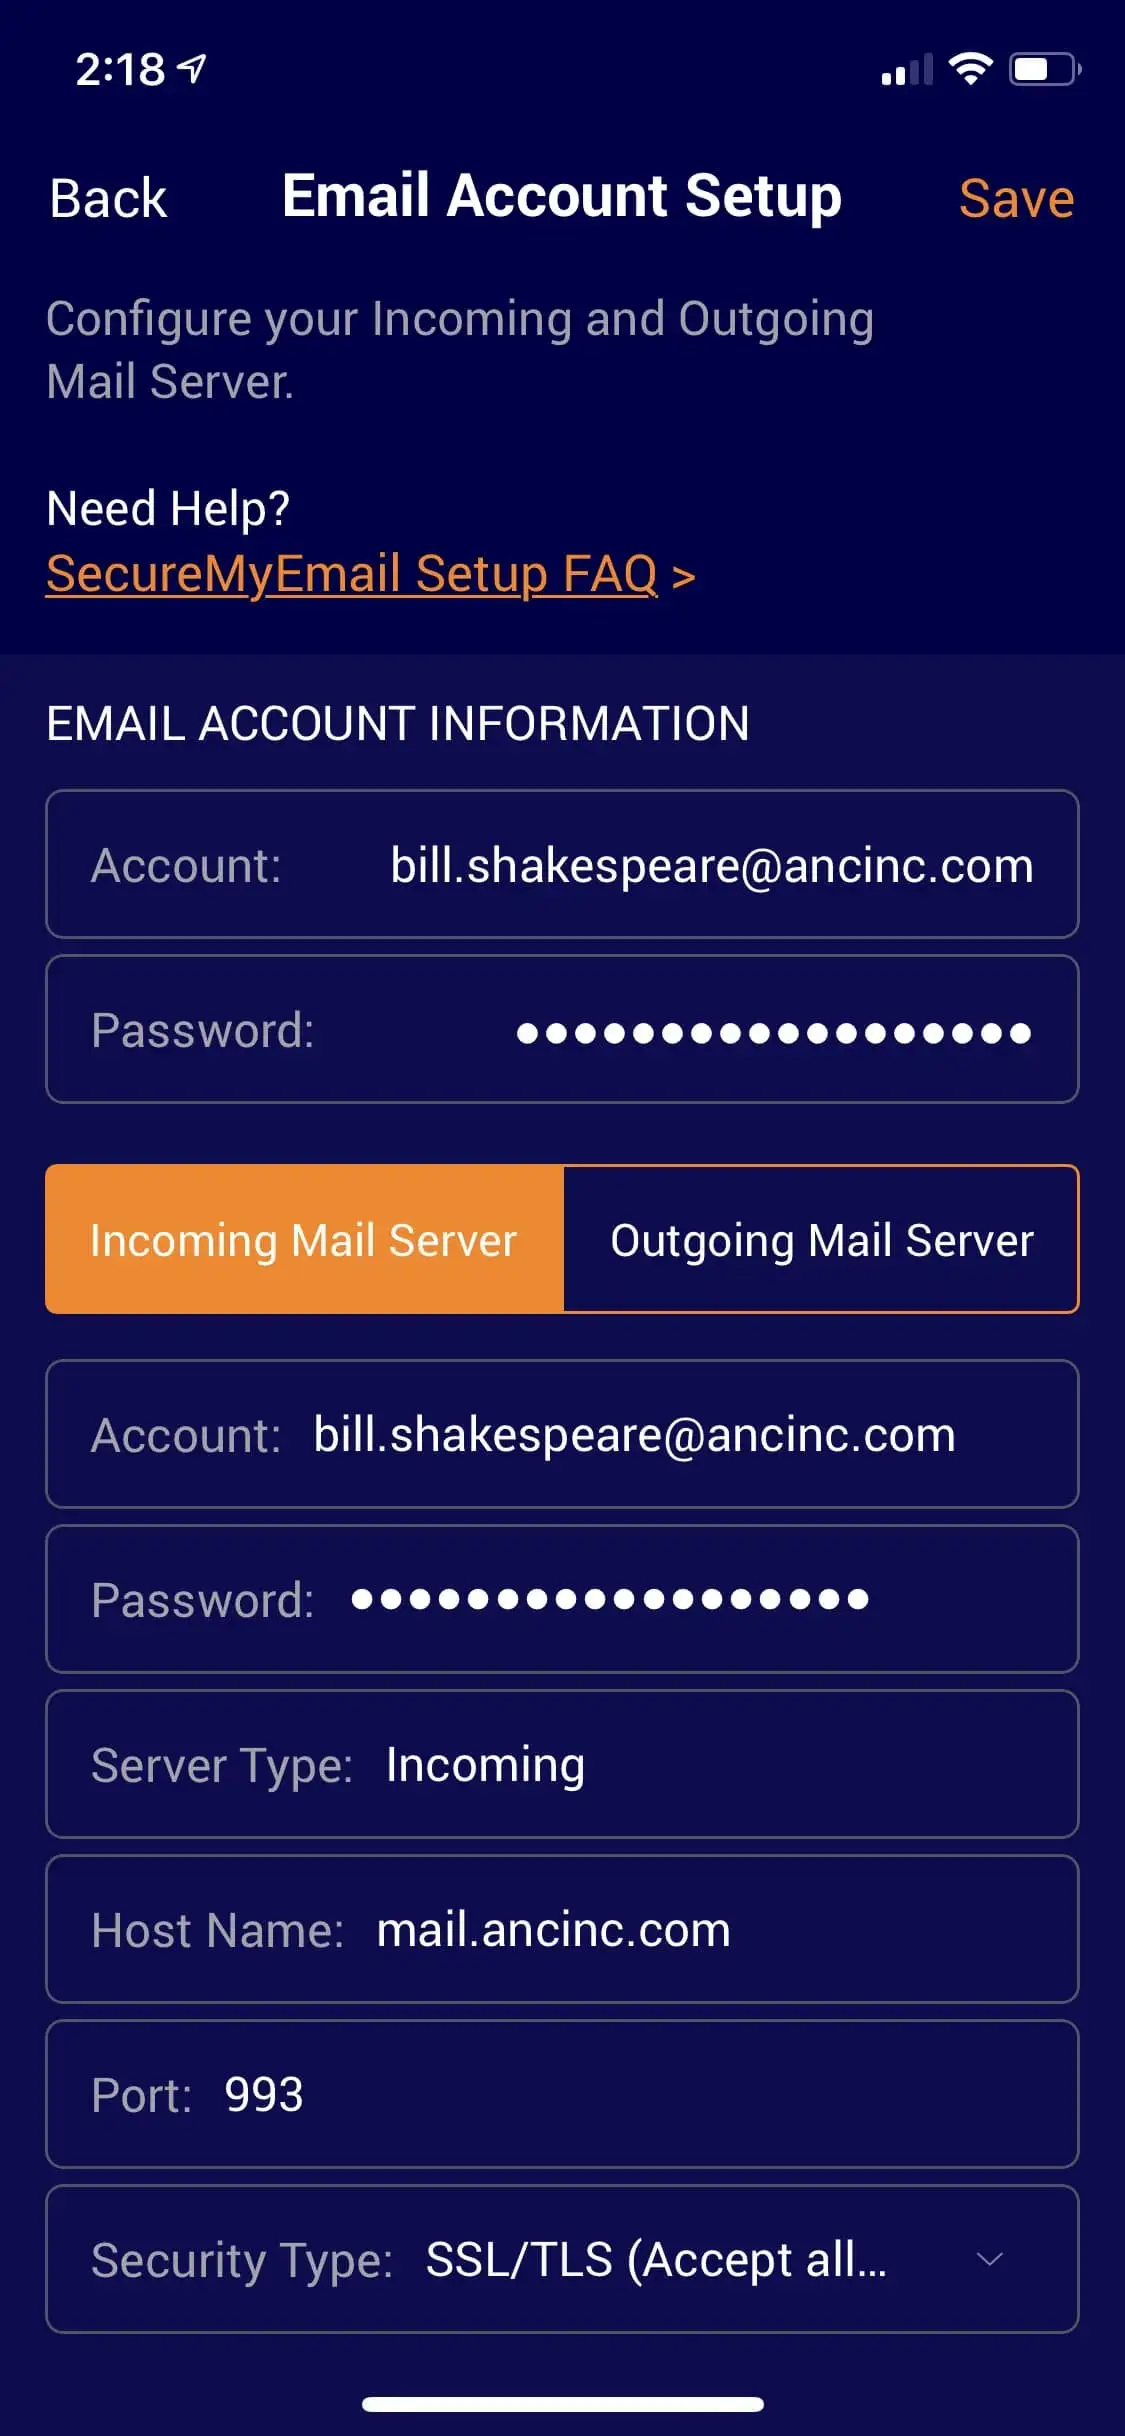
On the next screen you’ll need to closely check your settings. Again, we do maintain a database for many providers so we will attempt to populate these settings for you. Still, this doesn’t always work so you’ll want to check both the Incoming and Outgoing mail server settings closely.
Okay, I did all that and it still isn’t connecting…
Fear not. Here are some common things to try:
Are you using the provider’s correct IMAP settings? (we do not support POP email)
Are your internet connection and firewall settings ok? (if other email clients and internet applications are working okay this probably is not the issue).
Does your email provider require an “app-specific password?” (iCloud mail definitely does, for example.) You must set this up before you try to connect and use the new password in place of your usual email password in the SecureMyEmail Email Settings)
Do you have two factor authentication set up with this provider? (This can sometimes cause an issue so try turning it off and retrying and then you can try turning it back on)
Does your provider use “Oauth” to authenticate you? (We have this setup with Gmail, Yahoo, and Outlook.com (as well as other Microsoft legacy email domains) so try sliding Oauth slider to “on” position to see if that helps.
If none of that works, contact our Support Team and we’ll try to help.Many providers have small idiosyncrasies that, once worked out, will enable trouble-free connecting from there on out.